Taming the Giant-Leaved Wonder: A Guide to Propagating Planchonella grandifolia
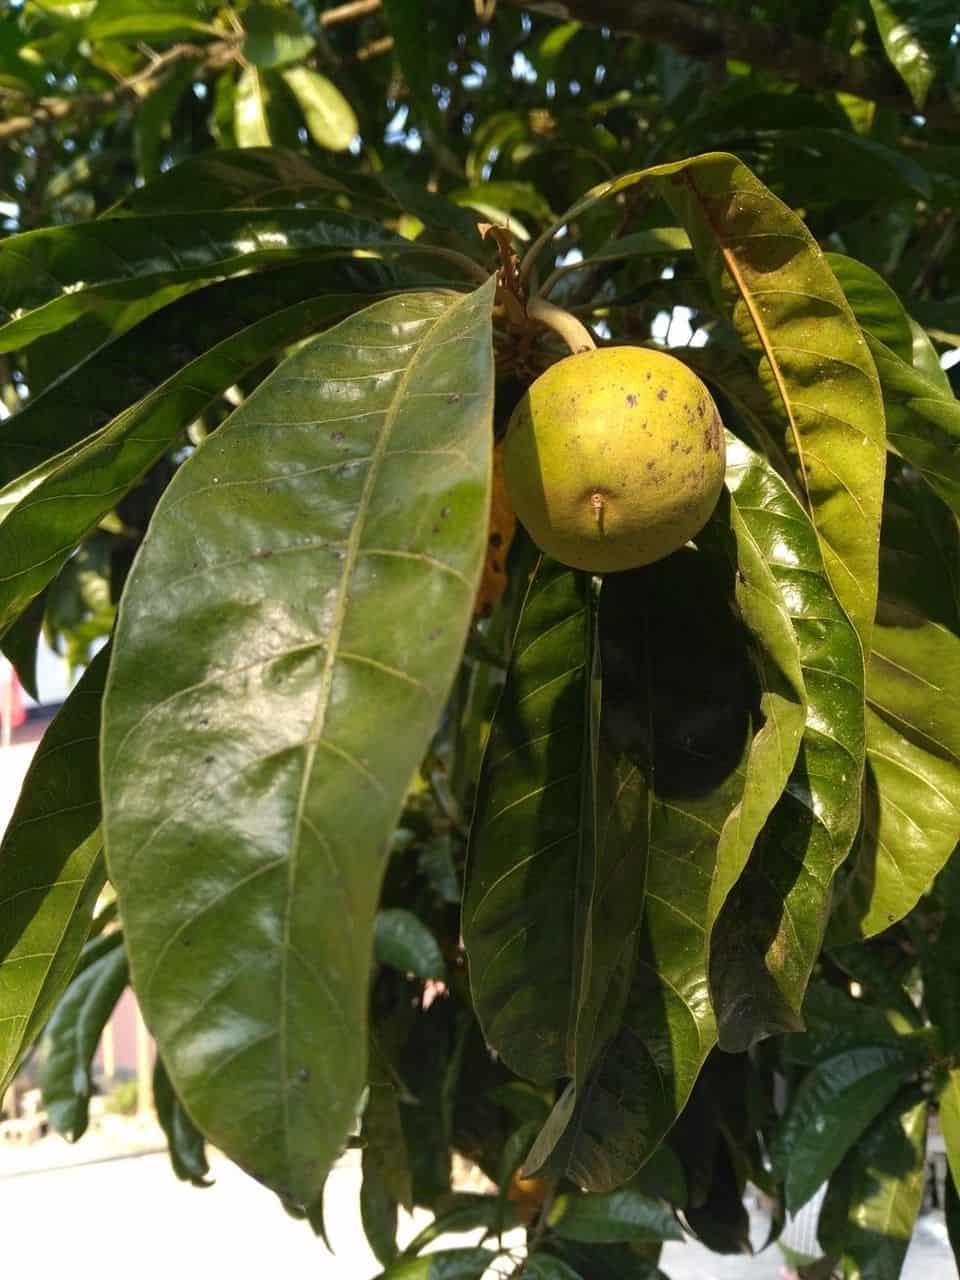
The Planchonella grandifolia, known for its impressive, glossy foliage and intriguing reddish-brown fruits, is a sight to behold. This rainforest native, part of the Sapotaceae family, is gaining popularity among plant enthusiasts for its unique aesthetic and rewarding growth habit. While admiring its beauty is one thing, bringing a piece of it into your own home is a whole other adventure.
This guide delves into the captivating world of Planchonella grandifolia propagation, equipping you with the knowledge to successfully grow this giant-leaved marvel from seed or cutting.
Method 1: Seed Propagation – Embracing the Patience Game
1. Sourcing Your Seeds:
Finding Planchonella grandifolia seeds can be a treasure hunt. Your best bet is to connect with fellow plant enthusiasts online or explore specialized nurseries. Fresh seeds directly from ripe fruits offer the highest germination rates.
2. Preparing for Germination:
- Clean the Seeds: Gently remove any remaining fruit pulp from the seeds to prevent fungal growth during germination.
- Soak to Awaken: Soak the seeds in lukewarm water for 24-48 hours. This helps soften the hard seed coat and encourages germination.
- Choose Your Medium: A well-draining seed raising mix or a mix of peat moss and perlite works well for germinating Planchonella grandifolia seeds.
3. Planting the Seeds:
- Shallow Planting is Key: Sow the seeds about 1-2 cm deep in your chosen medium.
- Maintain Consistent Moisture: Water the seeds gently, ensuring the mix remains consistently moist but not waterlogged.
- Warm and Humid Environment: Position your seed tray in a warm, humid location with indirect sunlight. A heat mat can be used to provide consistent bottom heat, further promoting germination.
4. The Waiting Game and Beyond:
- Patience is Paramount: Germination can be slow and inconsistent, taking anywhere from a few weeks to several months. Don’t lose heart!
- Gradual Light Exposure: Once your seedlings emerge, gradually introduce them to brighter indirect light.
- Pot Up When Ready: When your seedlings develop a few sets of true leaves and a robust root system, it’s time to pot them individually into larger containers.
Method 2: Propagation from Cuttings – A Faster Route to Success
1. Timing is Everything:
The best time to take cuttings is during the plant’s active growing season, typically in spring or early summer.
2. Selecting the Right Cutting:
- Healthy Stem: Choose a healthy, semi-hardwood stem, ideally from the current year’s growth.
- Suitable Length: Cut a section of stem that is approximately 10-15 cm long.
3. Preparing the Cutting:
- Remove Lower Leaves: Strip off the lower leaves from the cutting, leaving a few leaves at the top.
- Wounding to Encourage Roots: Make a small wound or scrape at the base of the cutting to encourage root development.
- Hormone Boost: Dip the wounded end of the cutting into rooting hormone powder to enhance root formation.
4. Planting and Care:
- Choose Your Medium: A well-draining rooting mix, like a blend of peat moss and perlite, works best.
- Create Optimal Conditions: Place the cutting in a warm, humid environment. A humidity dome or clear plastic bag placed over the pot can help maintain moisture.
- Monitor Regularly: Keep the rooting mix consistently moist and ensure adequate indirect light.
5. Rooting and Transplanting:
- Signs of Success: Rooting can take several weeks. Look for signs of new growth, indicating successful rooting.
- Transplanting to Larger Pots: Once the cutting shows signs of new growth and a strong root system, it’s time to transplant it into a larger pot with a well-draining potting mix.
A Rewarding Endeavor:
Propagating Planchonella grandifolia might require patience and dedication, but the sense of accomplishment and the joy of nurturing a new life make it an incredibly rewarding endeavor. Whether you choose the seed route or the cutting method, these techniques can help you grow your very own Planchonella grandifolia and bring a touch of rainforest magic into your home.