Unlocking the Secrets of the Candlenut Tree: Propagating Planchonella rufocostata
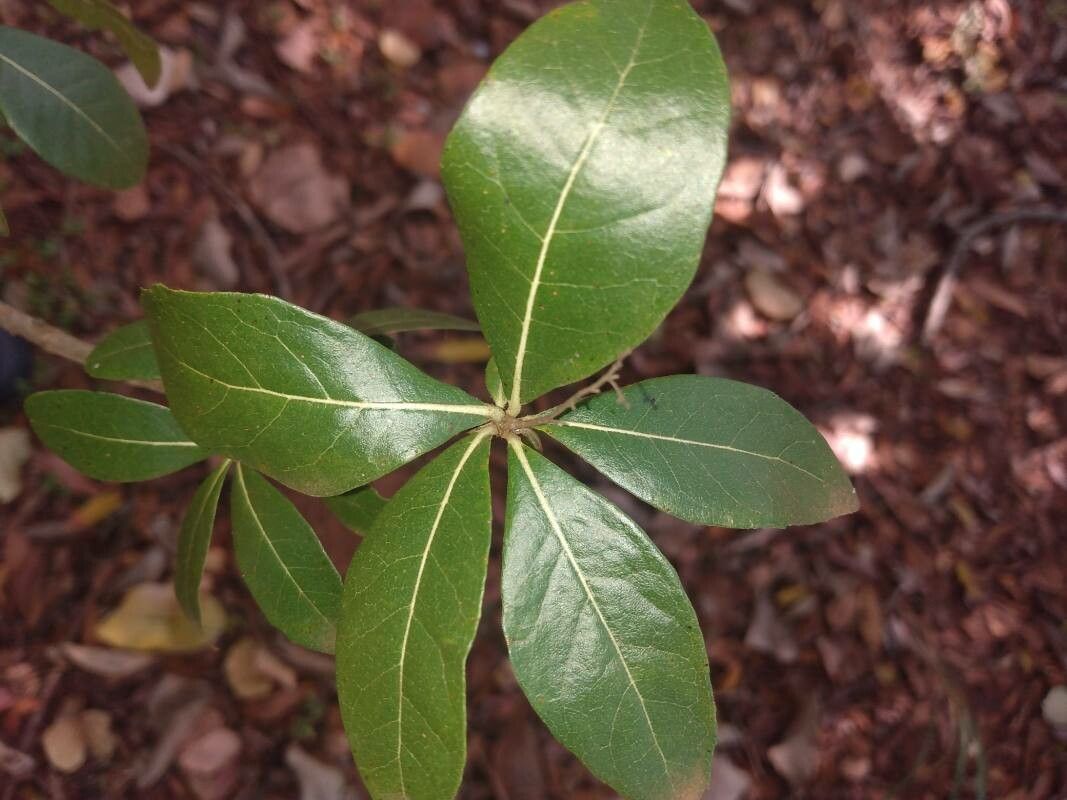
The Candlenut Tree, also known by its scientific name Planchonella rufocostata, is a majestic rainforest giant native to Southeast Asia and Oceania. Prized for its beautiful foliage, edible nuts, and strong timber, this versatile tree holds both cultural and practical significance. But propagating this magnificent species can seem like a daunting task.
Fear not, green thumbs and plant enthusiasts! While Planchonella rufocostata can be slightly more challenging to propagate than some common garden varieties, success is achievable with a bit of patience and the right techniques. This guide will walk you through the ins and outs of propagating your very own Candlenut Tree, demystifying the process and equipping you with the knowledge to cultivate these rainforest wonders.
Method 1: Starting from Seed
Seed Collection and Preparation: The journey begins with sourcing fresh, mature seeds. Look for ripe fruits that have fallen from the tree, as these contain the most viable seeds. Once collected, remove the fleshy outer layer and allow the seeds to air dry for a day or two. You’ll notice the hard, woody shell that characterizes the Candlenut Tree’s seeds.
Scarification: To overcome the seed’s natural dormancy and encourage germination, scarification is key. This process involves gently nicking or sanding a small section of the hard seed coat. Be careful not to damage the embryo inside. Soaking the seeds in warm water for 24 hours prior to scarification can help soften the outer layer.
- Sowing the Seeds: Plant your scarified seeds in a well-draining seed-raising mix, burying them about an inch deep. Ensure the potting mix remains consistently moist but not waterlogged. Place the container in a warm, shaded location and be patient – germination can take anywhere from a few weeks to several months.
Method 2: Propagation from Cuttings
Selecting the Right Cutting: For successful propagation from cuttings, choose healthy, semi-hardwood stems from the current year’s growth. Ideally, the cutting should be about 4-6 inches long and have at least two sets of leaves.
Preparing the Cutting: Remove the leaves from the bottom inch of the cutting, leaving 2-3 leaves at the top. To encourage rooting, dip the cut end in rooting hormone powder (available at most garden centers).
Planting the Cutting: Fill a small pot with a well-draining potting mix and create a hole with a pencil or your finger. Gently insert the cutting into the hole, burying the bottom node completely.
- Creating a Humid Environment: Maintain high humidity around the cutting by placing the pot inside a plastic bag or propagating chamber. This will help prevent the cutting from drying out. Ensure the cutting receives indirect sunlight and the soil remains consistently moist.
Caring for Your Propagated Candlenut Tree
Whether you’ve chosen the seed or cutting route, young Planchonella rufocostata trees thrive in a warm, humid environment with plenty of indirect sunlight. Consistent watering is essential, but avoid overwatering, which can lead to root rot. Once your sapling has developed a strong root system and several sets of new leaves, you can gradually acclimate it to outdoor conditions and eventually transplant it to a larger pot or a suitable spot in your garden.
Propagating Planchonella rufocostata might require some extra steps, but the reward of raising these magnificent trees from seed or cutting is well worth the effort. With patience and the right techniques, you can play a part in preserving the legacy of this beautiful and valuable rainforest species.