Unlocking the Secrets to Propagating the Rare Beauty: Platylophus trifoliatus
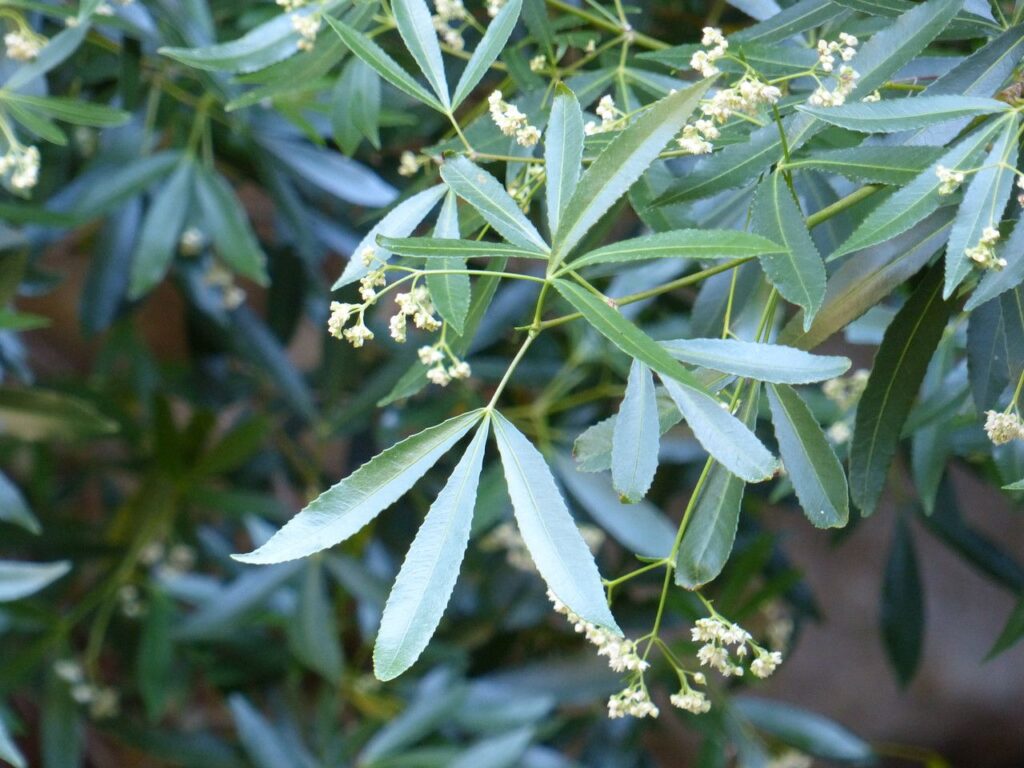
The Platylophus trifoliatus, more commonly known as the “Bordered Witch Hazel” or “Dwarf Mountain Bell,” is a visual delight for any plant enthusiast. This evergreen shrub, native to the mountainous regions of Tasmania, captivates with its glossy green leaves delicately rimmed in creamy-white and clusters of charming, bell-shaped white flowers. While obtaining this rare beauty might be a quest in itself, successfully propagating it can feel like conquering a horticultural Everest. Fear not, fellow plant lovers! We’re here to guide you through the process and equip you with the knowledge to multiply your very own Platylophus trifoliatus.
Two Paths to Propagation: Understanding Your Options
Like many woody shrubs, the Platylophus trifoliatus can be propagated through two main methods: seed propagation and cuttings.
- Seed Propagation: A Test of Patience
Propagating from seed offers a rewarding, albeit slower, journey. Here’s how:
- Seed Collection and Preparation: Seeds are typically found within small capsules on the plant. Once the capsules mature and turn brown, collect and carefully extract the seeds. Soaking the seeds in warm water for 24 hours before sowing can help soften the outer shell and encourage germination.
- Sowing: Use a well-draining seed raising mix and sow the seeds shallowly, pressing them gently into the damp medium.
- Environment Control: Maintaining a consistently moist (not waterlogged) environment is crucial. Covering the seed tray with a plastic dome or using a propagator can help retain humidity. Place the tray in a brightly lit area but out of direct sunlight.
- Germination Period: Be prepared for a waiting game! Germination can take several weeks or even months.
- Transplanting: Once seedlings develop a strong root system and a few sets of true leaves, they can be carefully transplanted into individual pots.
- Cuttings: The Faster Route
Taking cuttings is generally the preferred method for propagating Platylophus trifoliatus, as it offers faster results and retains the parent plant’s characteristics.
- Timing is Key: Early to mid-spring or late summer to early autumn are the ideal periods for taking cuttings.
- Selecting the Right Cuttings: Look for healthy, non-flowering shoots from the current year’s growth. Cuttings should ideally be 4-6 inches long.
- Preparing the Cuttings: Remove the lower leaves from the cutting, leaving a few at the top. Dip the cut end in rooting hormone to encourage root development.
- Planting the Cuttings: Use a well-draining potting mix and make a small hole for each cutting. Gently insert the cutting and firm the soil around it.
- Creating a Humid Environment: Similar to seed propagation, maintaining humidity is key. Cover the cuttings with a plastic bag or use a propagator.
- Root Development: With proper care, roots should develop within 6-8 weeks. Once the cuttings show signs of new growth, you can gradually acclimate them to normal humidity levels.
- Transplanting: When the cuttings are well-rooted and show robust growth, they can be transplanted into larger pots or directly into the garden.
Patience and Persistence: Key to Success
Propagating Platylophus trifoliatus requires patience and attention to detail. It might take a few attempts to achieve success, but the reward of nurturing this breathtaking plant from seed or cutting to a thriving shrub is truly fulfilling. So, don your gardening gloves, embrace the journey, and enjoy the rewarding experience of witnessing new life sprout from the remarkable Platylophus trifoliatus!