Unleash the Power of Spores: How to Propagate Your Pleopeltis macrocarpa (and Watch It Thrive!)
The Pleopeltis macrocarpa, also affectionately known as the “Giant Leather Fern,” is a dramatic and beautiful addition to any home. With its large, leathery fronds and unique, almost sculptural, growth habit, this fern can quickly become the focal point of your plant collection. But the real magic of this fern lies in its propagation: you can easily create new plants from spores, embarking on a fascinating journey of botanical creation.
Understanding Spores: The Secret to Fern Reproduction
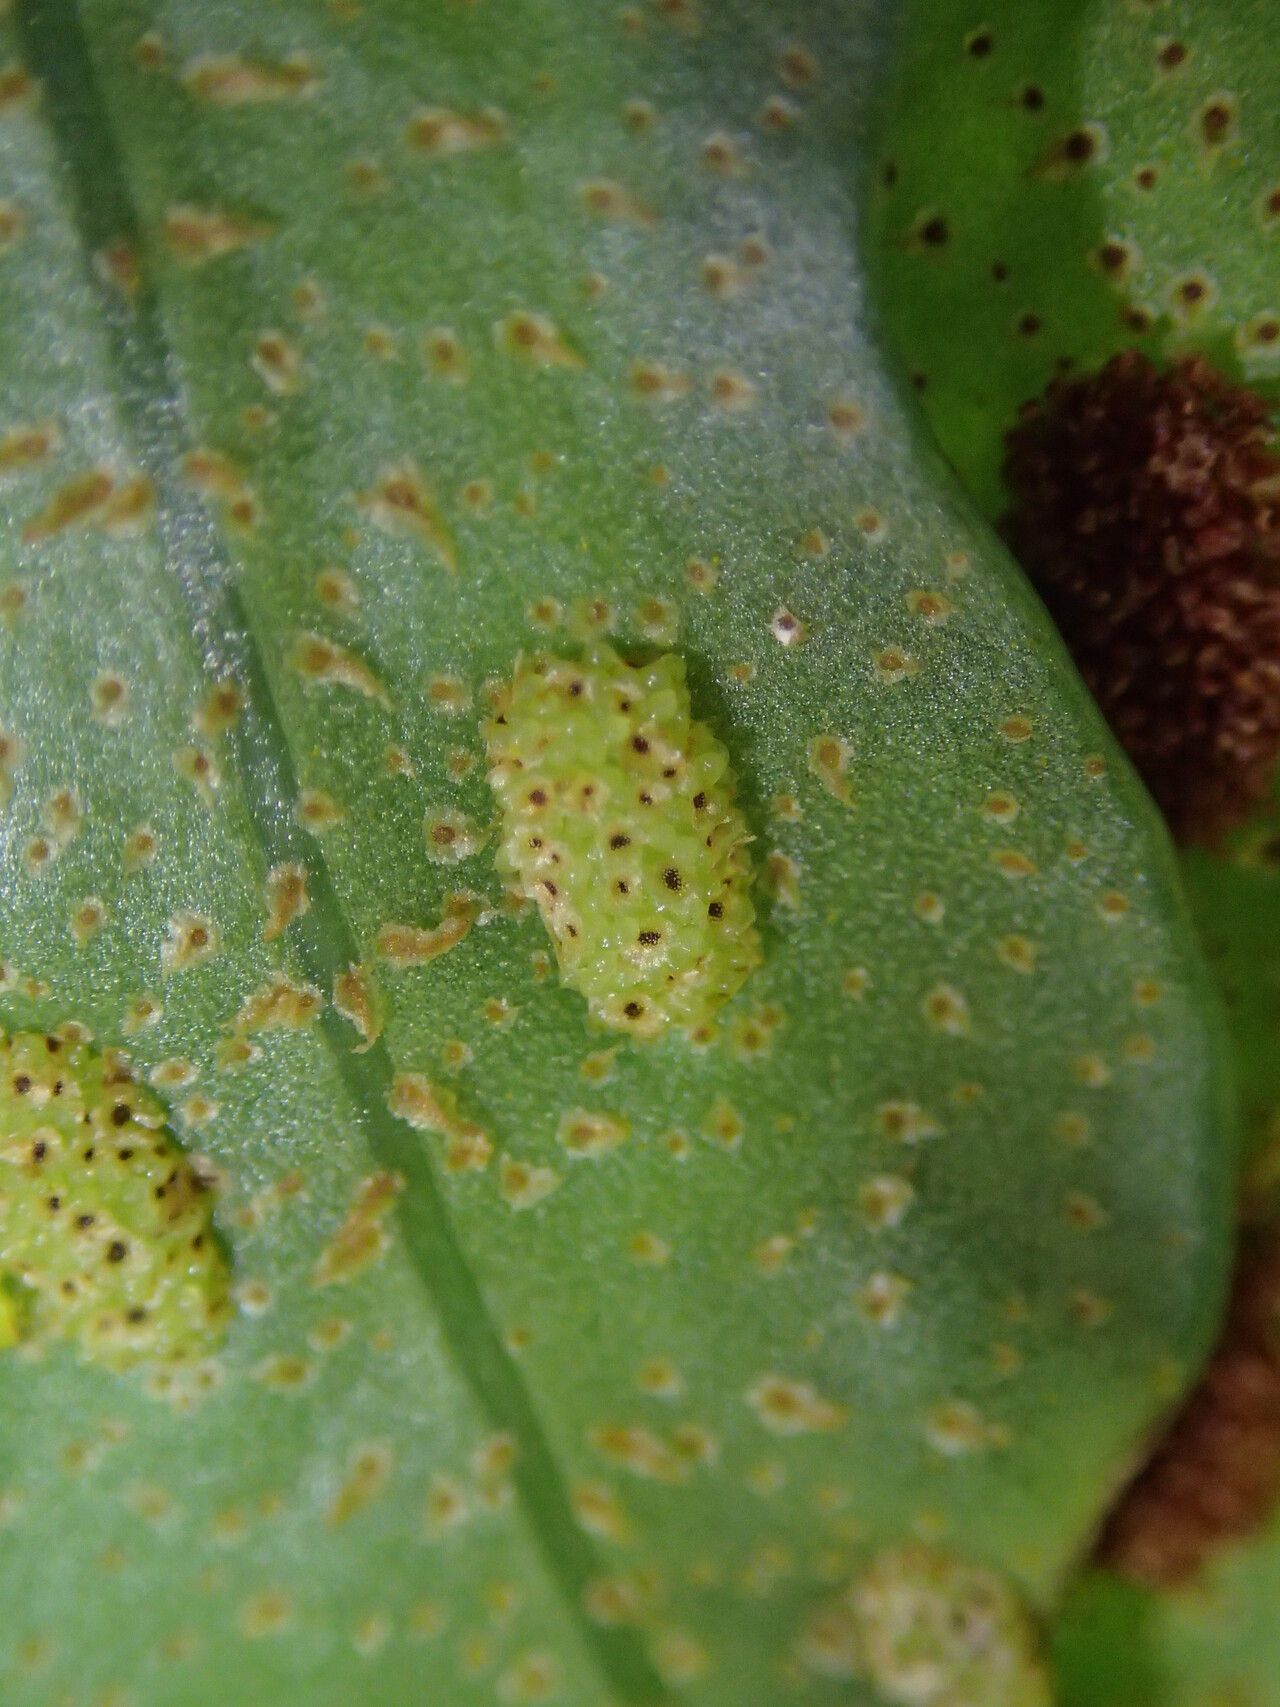
Unlike flowering plants that reproduce through seeds, ferns rely on spores. These tiny structures, almost invisible to the naked eye, are produced on the underside of the fern’s fronds in clusters called “sori.” When mature, the spores are released into the air, ready to embark on their journey to create new ferns.
The Spore to Fern Transformation: A Miniature Miracle
Spores are the key to understanding the ancient lineage of ferns. When they land on a suitable surface, they germinate, producing a tiny, heart-shaped structure called a “prothallus.” This structure is the fern’s gametophyte phase, meaning it is the sexual stage of the fern’s lifecycle. The prothallus produces both male and female reproductive organs, allowing fertilization to occur. From this fertilization, a new fern plant, the sporophyte phase, emerges, marking the beginning of the life cycle anew.
Prophetic Potential: How to Propagate Pleopeltis macrocarpa
Bringing a new Pleopeltis macrocarpa to life from spores is a rewarding and surprisingly simple process. Here’s a step-by-step guide to ensure your success:
Spore Collection: Identify mature fronds with sori that are a darker brown color, indicating spore maturity. Gently scrape the underside of these fronds with a clean utensil, collecting the spores in a container.
Preparing the Growing Medium: A sterile mixture of peat moss and vermiculite provides the perfect environment for spore germination. Fill a seed tray or shallow pot with this mixture, gently press it down, and sterilize it by microwaving the medium for a few minutes.
Sowing the Spores: Sprinkle the collected spores evenly over the surface of the moistened medium, taking care not to overcrowd them. You can gently mist the surface for even hydration, but avoid excessive soaking.
Creating the Ideal Environment: Cover the seed tray with a clear plastic wrap or transparent lid to create a high-humidity atmosphere. Place the tray in a bright, indirect light location.
Patience is Key: Germination can take several weeks to months, depending on factors like temperature and humidity. Be patient, keep the medium consistently moist, and avoid direct sunlight. Over time, you’ll notice tiny green prothalli forming on the surface.
- Transplanting Your Young Ferns: Once the prothalli have developed, carefully separate them and transplant them into individual pots filled with a well-draining potting mix. Provide them with consistent moisture and bright, indirect light.
Embracing the Journey
Propagating your Pleopeltis macrocarpa from spores is an extraordinary journey of botanical exploration. Witnessing the transformation from an invisible spore to a magnificent fern is a testament to the resilience and beauty of nature.
So, take the plunge, collect some spores, and experience the magic of growing your own Pleopeltis macrocarpa from scratch. It’s a rewarding adventure that will leave you with a sense of wonder and a thriving new addition to your plant family.