
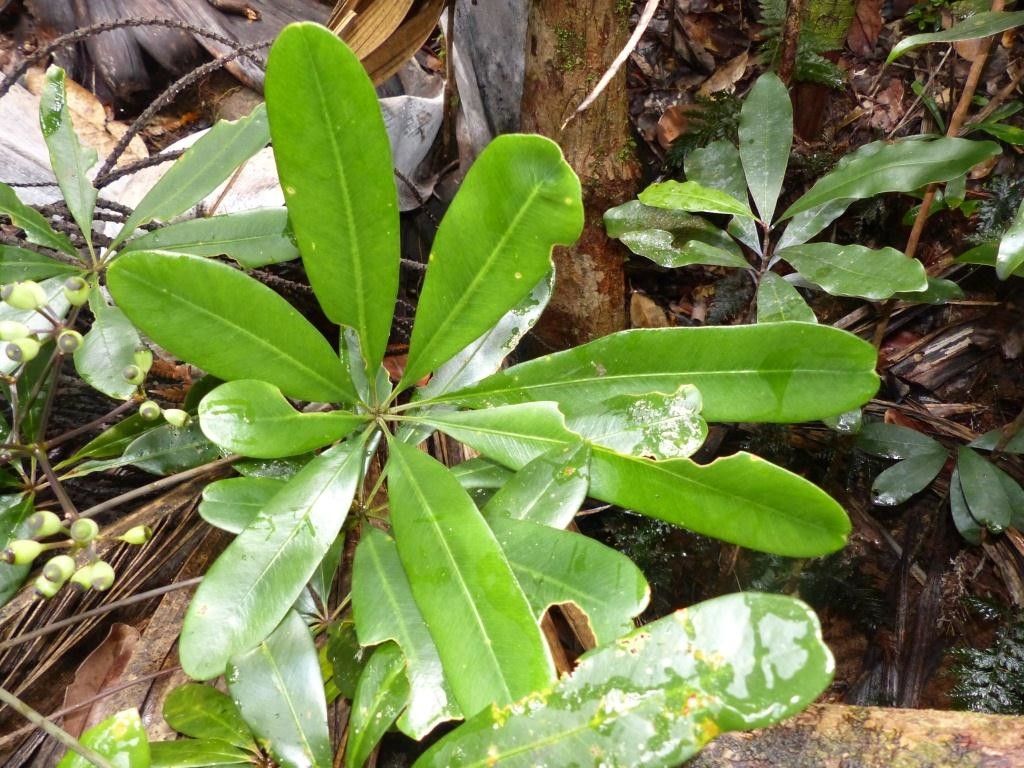
From One Leaf to Many: The Easy Guide to Propagating Plerandra Baillonii
Plerandra baillonii, with its striking dark green leaves and unique, almost alien appearance, is a stunning addition to any home. But what if you could easily share this beauty with friends or fill your own space with more of these captivating plants? That’s where propagation comes in!
This article will guide you through the simple process of propagating Plerandra baillonii, allowing you to create new plants from cuttings, maximizing your existing treasures.
Understanding the Process:
Propagation is the magical process of creating new plants from existing ones. With Plerandra baillonii, the most common and effective method is through leaf cuttings. This technique relies on the plant’s incredible ability to regrow from just a small piece of its foliage.
Here’s what you’ll need:
- Sharp, sterile knife or scissors: Ensure a clean cut to prevent disease.
- Healthy Plerandra baillonii leaf: Choose a mature, disease-free leaf.
- Propagation medium: Perlite, vermiculite, or a mixture of both provide excellent drainage and aeration.
- Potting mix: Suitable for succulents or cacti.
- Small pots: Select pots with drainage holes.
- Watering can: For gentle watering.
- Optional: Root hormone: This encourages faster root development.
Instructions for Leaf Cutting Propagation:
- Prepare the leaf: Select a healthy, mature leaf with a stem attached. Using your sharp tool, cut the leaf stem just below a node (the small bump where new growth emerges).
- Prepare the propagation medium: Fill a small pot with perlite, vermiculite, or a mixture of both. Lightly moisten the medium.
- Plant the cutting: Make a shallow hole in the medium and gently insert the cut end of the leaf stem. Insert the leaf cutting deep enough so that the bottom node is submerged in the medium.
- Water: Lightly mist the propagation medium to keep it moist but not waterlogged.
- Provide warmth and light: Place the pot in a warm, bright location with indirect sunlight. You can also use a propagation mat for added warmth.
- Patience is key! New roots and eventually, a new plantlet, should start to emerge from the base of the leaf within a few weeks to a couple of months.
- Repotting: Once the new plantlet has developed a healthy root system, it’s time to pot it up into a larger container filled with your preferred potting mix.
A Few Tips for Success:
- Sterilization: Always sterilize your tools before making cuts to minimize the risk of infection.
- Moisture: Don’t let the propagation medium dry out completely. Maintain consistently moist but not saturated conditions.
- Humidity: Creating a humid environment can help stimulate root development. Cover the pot with a plastic dome or bag to trap moisture.
- Patience: Propagation takes time. Don’t be discouraged if you don’t see root growth immediately.
Conclusion:
Propagating Plerandra baillonii is a rewarding and surprisingly easy process. With a bit of patience and these simple instructions, you can expand your Plerandra family and share these unique beauties with others. Remember, the key is to provide the right conditions for root development and a touch of love for these fascinating plants.