From Fluffy Blooms to Flourishing Shrubs: Propagating the Glory of Pleroma Arboreum
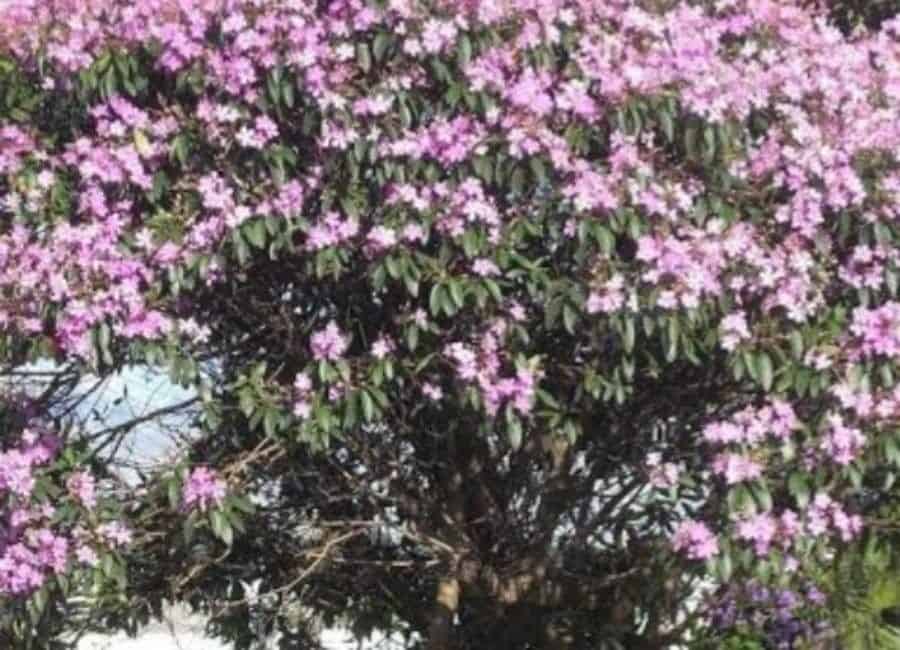
The Pleroma arboreum, also known as the Glory Bush or Princess Flower, is a sight to behold. Its vibrant purple blooms erupt in a flurry of delicate petals, attracting hummingbirds and butterflies alike. If, like many others, you’re captivated by this plant’s beauty, you might be wondering how to bring more of its glory into your life (and garden!). Well, the answer lies in the rewarding art of propagation. Let’s delve into the techniques that will help you grow new Pleroma arboreum plants and expand your floral dominion!
The Power of Two: Methods for Propagation
Two primary methods stand out for propagating Pleroma arboreum:
1. Seed Propagation:
- Adventure Time: Seed propagation is the more unpredictable route. While it’s possible to collect seeds from spent flowers, germination rates can be inconsistent.
- Best for the Bold: Consider this method if you enjoy a touch of the unknown and the satisfaction of nurturing a plant from its earliest stages.
- Steps:
- Collect ripe seed pods from the plant when they turn brown and begin to split open.
- Gently crush the pods to release the tiny seeds within.
- Sow the seeds on the surface of a well-draining seed-starting mix and lightly press them in.
- Mist the soil and cover the tray with a clear lid or plastic wrap to maintain humidity.
- Place the tray in a warm, bright location out of direct sunlight.
- Germination can take several weeks to a few months.
- Once seedlings have a couple of sets of true leaves, they can be transplanted into individual pots.
2. Cutting Propagation:
- The Path to Predictability: This technique boasts higher success rates and is the preferred method for many gardeners.
- Clone Your Favorite: It allows you to create identical copies of the parent plant, ensuring you retain its desired characteristics.
- Steps:
- In spring or early summer, select healthy, non-flowering stems from the current year’s growth.
- Make a clean cut just below a leaf node using a sharp, sterilized knife or pruning shears.
- Remove the lower leaves from the cutting, leaving a few at the top.
- Dip the cut end in rooting hormone (optional, but recommended).
- Plant the cutting in a pot filled with a well-draining potting mix.
- Water well and place the pot in a warm, bright location out of direct sunlight.
- Keep the soil consistently moist but not waterlogged.
- Rooting typically occurs within 4-6 weeks. You can test for success by gently tugging on the cutting; resistance indicates root development.
Nurturing Your New Recruits
- Light: Pleroma arboreum thrives in bright, indirect light. Indoors, a south or west-facing window is ideal.
- Water: Water thoroughly when the top inch of soil feels dry to the touch. Good drainage is essential to prevent root rot.
- Humidity: These plants appreciate slightly higher humidity. Regular misting or placing the pot on a pebble tray filled with water can help.
- Fertilizer: Feed your Pleroma arboreum with a balanced, water-soluble fertilizer during the growing season (spring and summer).
By mastering the art of propagation, you can expand your garden’s symphony of colors with the captivating elegance of Pleroma arboreum. Remember, patience and attention to detail are key to success. Happy propagating!