Decoding the Dance of Division: Propagating your Pleurothallis penduliflora
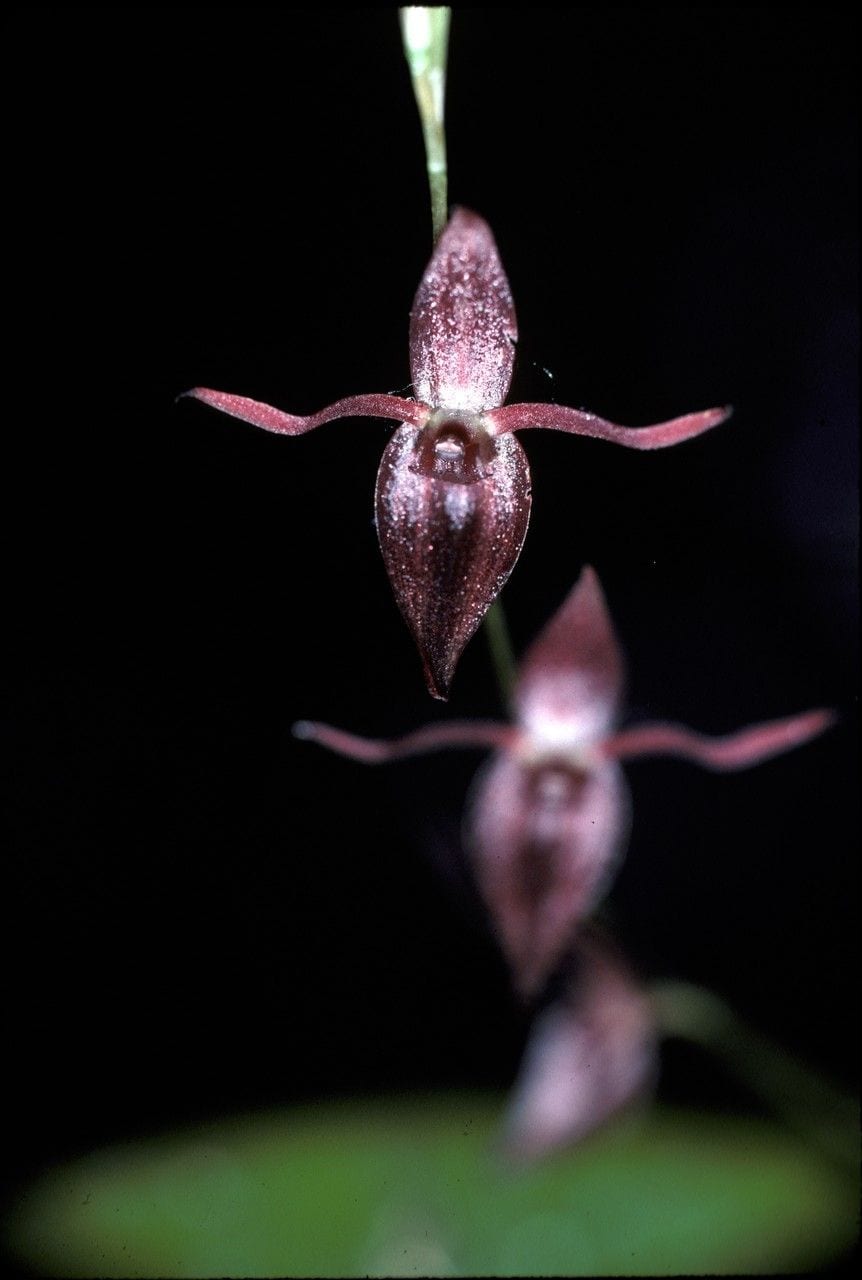
The Pleurothallis penduliflora, with its cascading stems and charming miniature blooms, is a jewel in the crown of any orchid aficionado. But unlike commercially produced orchids, part of the joy of nurturing these beauties comes from expanding your collection through propagation. While it might sound intimidating, propagating Pleurothallis penduliflora is a rewarding experience that even beginners can master with a little patience and the right know-how.
Understanding the Basics
Before we delve into the specifics, it’s crucial to understand that Pleurothallis penduliflora, like many orchids, are sympodial epiphytes. This means they grow horizontally, producing new shoots from rhizomes, and naturally attach themselves to trees in their native habitat. For successful propagation, we will focus on division, the most reliable method for this species.
Timing is Everything
The optimal time to divide your Pleurothallis penduliflora is during its active growing season, ideally in spring or early summer. Look for signs of new growth, like vibrant green shoots emerging from the rhizome. Avoid dividing during dormancy periods, as this can stress the plant and hinder its recovery.
Tools of the Trade
Gather your equipment before you begin. You’ll need:
- Sterilized cutting tool: A sharp, sterilized knife or pruning shears are essential.
- Potting medium: A well-draining orchid mix specifically formulated for Pleurothallis, or a mix of bark, perlite, and sphagnum moss is ideal.
- Pots: Choose small, well-draining pots with adequate ventilation holes.
- Cinnamon or rooting hormone (optional): These can help prevent fungal infections and encourage root development.
The Art of Division
- Gently remove the orchid from its pot: Loosen the potting medium around the roots and carefully lift the plant.
- Identify division points: Look for healthy sections with at least three mature pseudobulbs (the thickened stem segments) each.
- Make the cut: Using your sterilized tool, carefully divide the rhizome between the chosen sections.
- Treat the wounds: Dust the cut ends with cinnamon or rooting hormone (optional).
- Potting up the divisions: Plant each new division in a prepared pot with fresh, moist potting mix, ensuring the base of the plant sits level with the surface.
- Provide optimal care: Place the newly potted divisions in a warm, humid location with bright, indirect light. Water sparingly until new growth appears.
Patience is Key
Propagating Pleurothallis penduliflora isn’t an overnight process. It requires patience and consistent care. Resist the urge to overwater, as this can lead to root rot. Instead, focus on maintaining consistent humidity and monitor for signs of new growth, which indicates successful establishment.
Reaping the Rewards
Success! You’ve successfully propagated your Pleurothallis penduliflora. Now you can enjoy the satisfaction of nurturing your new orchid divisions and watching them flourish, creating a cascading symphony of blooms in your own home. With practice and a gentle touch, you can continue to expand your orchid family and share the joy of these remarkable plants for generations to come.