Conquering the Cuttings: How to Propagate Your Own Podocarpus novae-caledoniae
The Podocarpus novae-caledoniae, also known as the New Caledonian Pine or Southern Yew Pine, is a stunning evergreen conifer prized for its lush, feathery foliage and elegant, upright form. This tropical beauty, hailing from the rainforests of New Caledonia, adds a touch of exotic elegance to any garden or indoor space.
While acquiring a mature specimen can be costly, there’s a rewarding way to expand your collection or share the joy of this plant with friends: propagation. Let’s explore the fascinating journey of growing Podocarpus novae-caledoniae from cuttings.
Understanding the Process
Propagating Podocarpus novae-caledoniae is best achieved through semi-hardwood cuttings, a method that utilizes partially matured stems to generate new roots. This process might seem daunting at first, but with a little patience and the right techniques, you can successfully cultivate your own miniature forest.
Step-by-Step Guide to Success
Timing is Key: The ideal time for taking cuttings is late spring to early summer when the plant is actively growing. This ensures the stems have the best chance of developing roots.
Gathering Your Tools: Before you begin, gather the following:
- Sharp, sterilized pruning shears or a knife
- Rooting hormone (powder or liquid form)
- Well-draining potting mix specifically formulated for cuttings
- Small pots or seed trays
- Spray bottle filled with water
- Clear plastic wrap or a propagation dome (optional)
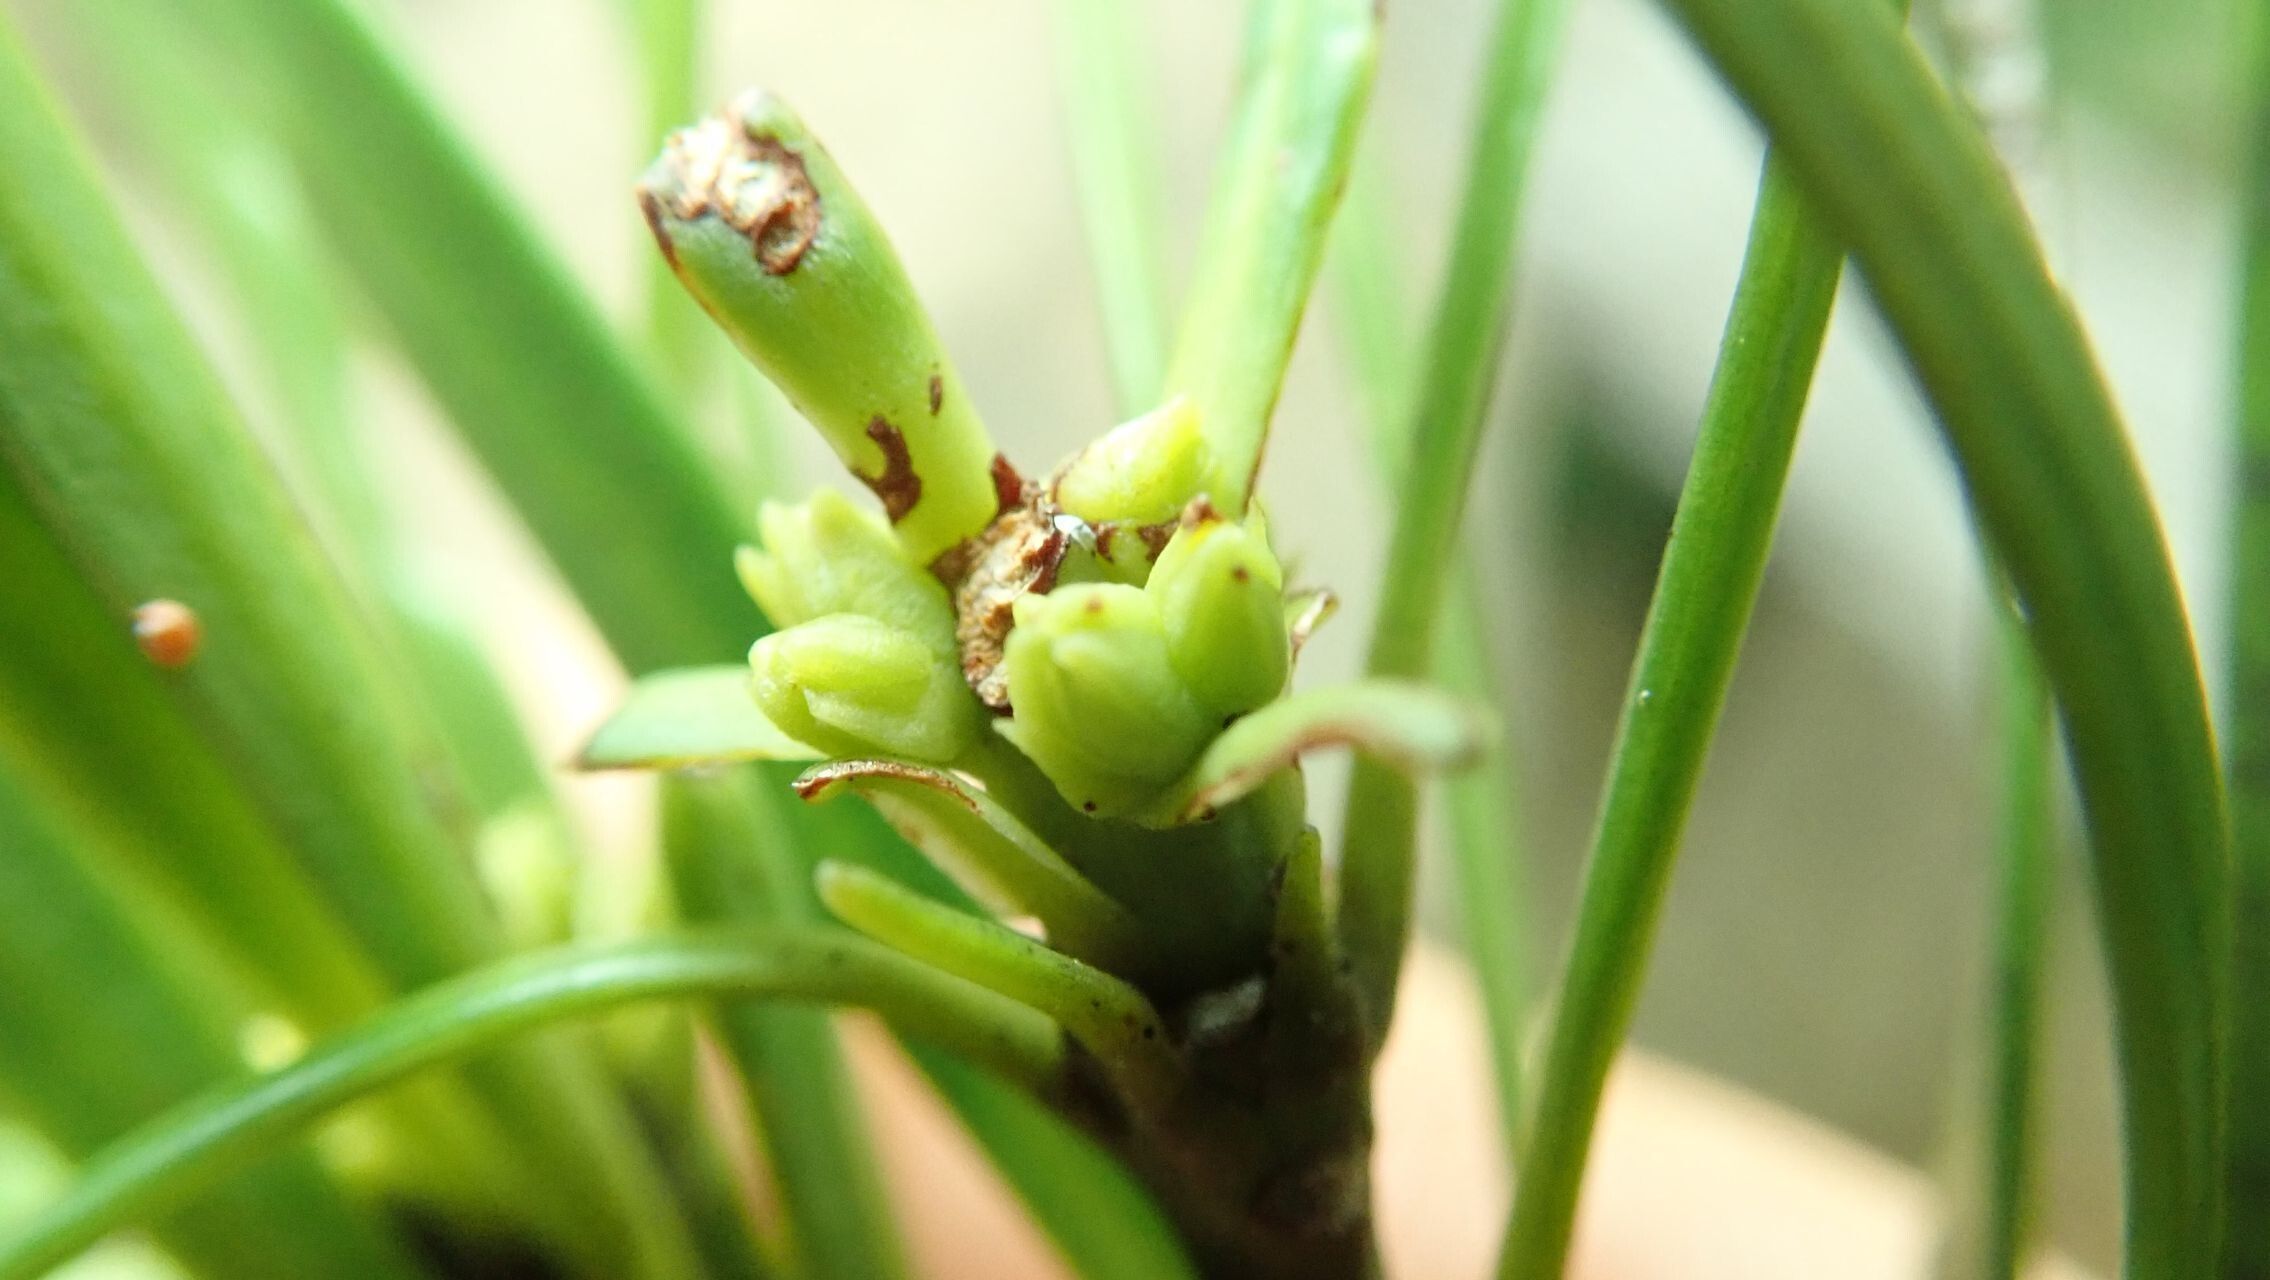
Selecting the Cuttings:
- Choose healthy, vigorous stems that are showing new growth.
- Each cutting should be approximately 4-6 inches long.
- Make a clean cut just below a leaf node (the point where a leaf emerges from the stem).
Preparing the Cuttings:
- Remove the lower leaves from the cutting, leaving 2-3 pairs at the top.
- If the remaining leaves are large, you can trim them in half horizontally to reduce moisture loss.
- Dip the cut end of the stem into the rooting hormone, ensuring it covers the area where roots will develop.
Planting the Cuttings:
- Fill your pots or seed trays with the prepared potting mix and moisten it thoroughly.
- Make a small hole in the center of each pot using a pencil or your finger.
- Gently insert the cutting into the hole, burying the node where the bottom leaves were removed.
- Firm the soil around the base of the cutting to provide support.
Creating a Humid Environment:
- Mist the cuttings and the surrounding area with water.
- To increase humidity and create a mini-greenhouse effect, cover the pots with clear plastic wrap or a propagation dome.
- Ensure the cover doesn’t touch the cuttings to prevent fungal problems.
Nurturing Your Cuttings:
- Place your cuttings in a warm, brightly lit location, but avoid direct sunlight, which can scorch the delicate new growth.
- Keep the soil consistently moist but not waterlogged.
- Check the cuttings regularly for root development by gently tugging on them. You should feel resistance after a few weeks, indicating successful rooting.
- Transplanting:
- Once the cuttings have developed a strong root system (typically after 6-8 weeks), they are ready to be transplanted into individual pots with a well-draining potting mix.
- Gradually acclimate them to outdoor conditions if you plan to grow them outdoors. This process, called “hardening off,” involves slowly introducing them to increased sunlight and wind over a week or two.
Patience is a Virtue
Propagating Podocarpus novae-caledoniae requires patience, as it can take several weeks for roots to form. However, the reward of nurturing a new plant from a simple cutting is incredibly satisfying. Enjoy the process, and soon you’ll have new additions to your plant family, adding a touch of tropical elegance to your indoor or outdoor spaces.