Unearthing the Secrets: Propagating the Elegant Podocarpus smithii
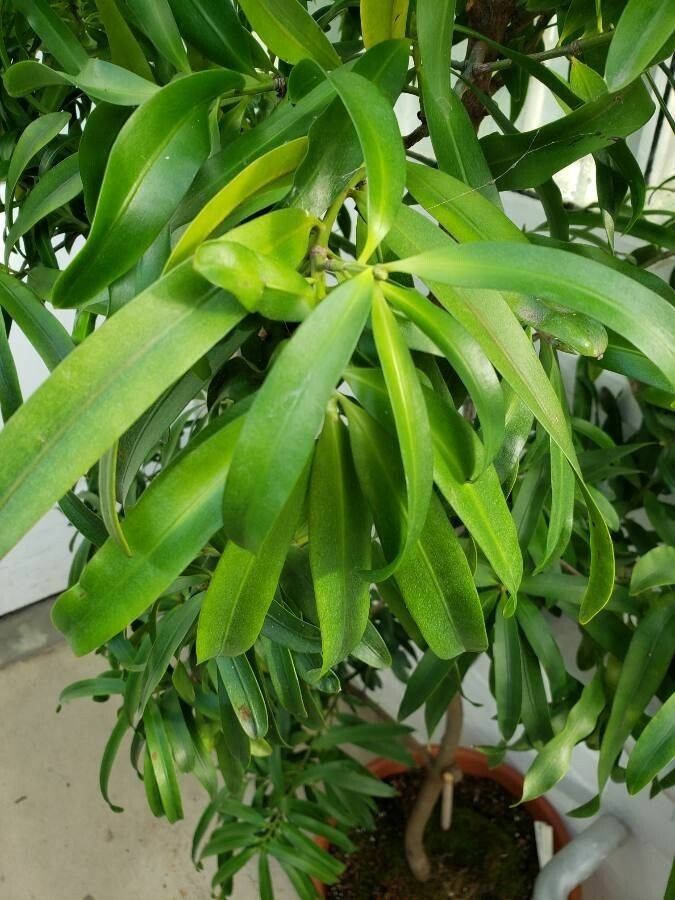
The Podocarpus smithii, also known as the Plum Pine or Illawarra Plum, is a striking evergreen prized for its lush, feathery foliage and graceful form. Whether used as a privacy hedge, a stately specimen plant, or even shaped into a topiary masterpiece, this versatile beauty can bring year-round elegance to your garden. But have you ever thought about multiplying its splendor? Propagating your own Podocarpus smithii might seem daunting, but with a little patience and the right techniques, it’s a rewarding endeavor for any plant enthusiast.
While this hardy plant can be grown from seed, germination can be slow and unreliable. For more guaranteed results, two methods reign supreme: cuttings and air layering.
Method 1: Taking the Cutting Edge
Propagation through cuttings involves encouraging a cut branch to develop roots and grow into an independent plant. Here’s how to do it:
- Timing is Key: Late spring or early summer, when the plant is actively growing, offers the best chance of success.
- Selecting the Cuttings: Choose healthy, non-flowering shoots that are around 4-6 inches long. Look for semi-hardwood cuttings – these are slightly flexible but not too soft.
- Prepare the Cuttings: Using a sharp, sterilized knife or pruning shears, make a clean cut just below a leaf node (the point where the leaf attaches to the stem). Remove the lower leaves, leaving 2-3 pairs at the top.
- Hormone Boost: While not essential, dipping the cut end in rooting hormone powder can significantly improve the odds of success.
- Planting the Cuttings: Fill a small pot with a well-draining potting mix (a blend of peat moss, perlite, and vermiculite works well). Make a hole in the mix with a pencil and gently insert the cutting, ensuring the leaf nodes are covered.
- Creating a Humid Environment: Moisture is key. Cover the pot with a clear plastic bag or use a propagation dome to retain humidity and promote root development.
- Patience is a Virtue: Place the pot in a warm, shaded location out of direct sunlight. Keep the soil consistently moist but not waterlogged.
- Signs of Success: It may take several weeks, even months, for roots to develop. Once new growth appears, you’ll know your cutting has successfully rooted!
Method 2: Air Layering – A Branching Out Strategy
Air layering, while slightly more advanced, offers another effective way to propagate Podocarpus smithii, particularly when dealing with larger, woodier branches:
- Choose Your Branch: Select a healthy branch that is at least 1-2 feet long and preferably from the previous year’s growth.
- Prepare the Branch: Locate a point about 12-18 inches from the branch tip and make a 1-inch upward, slanted cut about halfway through the branch.
- Apply Rooting Hormone (Optional): Dust the cut area with rooting hormone for faster root development.
- Wrap it Up: Surround the wounded area with a handful of sphagnum moss that has been soaked in water and squeezed to remove excess moisture. Secure the moss in place by wrapping it tightly with plastic wrap.
- Monitor and Maintain Moisture: Check the moss regularly and mist it with water if it starts to dry out. Remember to keep the plastic wrap securely in place to retain moisture.
- Rooting Revelation: After a couple of months, you should start to see roots developing within the moss ball. Once you have a good network of roots, you can sever the branch below the moss and pot the newly rooted plant.
A Legacy of Greenery
Whether you embrace the straightforward approach of cuttings or delve into the fascinating world of air layering, propagating your own Podocarpus smithii is a rewarding experience. With a little patience and the right techniques, you’ll soon have vibrant new plants to expand your garden’s beauty or share with fellow plant enthusiasts. This gift of greenery makes the journey of propagation even more fulfilling.