Unearthing the Secrets of Podocarpus Totara Propagation: Grow Your Own Majestic Evergreen
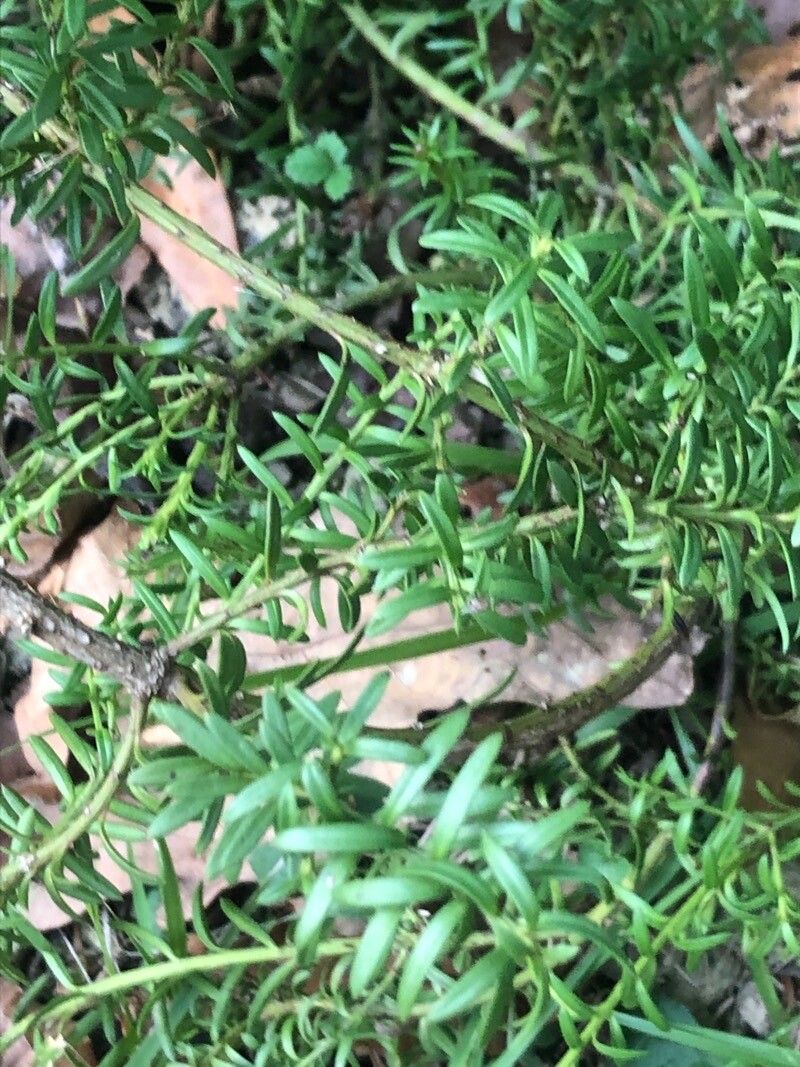
The Podocarpus totara, a majestic evergreen native to New Zealand, is a sight to behold. With its dense, dark green foliage and towering presence, it commands attention in any landscape. If you’re lucky enough to have one gracing your garden, you might be wondering how to propagate this magnificent tree and share its beauty. While it might seem daunting, propagating Podocarpus totara is achievable with a bit of patience and the right knowledge. Let’s delve into the secrets of cultivating new life from this iconic tree.
Two Paths to Propagation: Seed vs. Cuttings
There are two primary methods for propagating Podocarpus totara: by seed and by cuttings. Each has its pros and cons, so understanding both will help you choose the best approach for your situation.
1. The Seed Route: A Test of Patience
Propagating Podocarpus totara from seed is a rewarding, albeit lengthy, process. Here’s how it’s done:
- Seed Collection and Preparation: Totara trees produce small, fleshy fruits containing a single seed. Collect ripe fruits in late summer or early fall, remove the fleshy outer layer, and soak the seeds in water for 24 hours to improve germination rates.
- Sowing the Seeds: Plant the seeds in a well-draining seed-raising mix, covering them lightly with soil. Keep the soil consistently moist but not waterlogged.
- Patience is Key: Germination is often slow and erratic, taking anywhere from a few months to a year. Providing bottom heat using a heat mat can help speed up the process.
Pros:
- Cost-effective: Collecting seeds from existing trees is a budget-friendly way to obtain multiple plants.
- Genetic diversity: Seed propagation introduces genetic variation, potentially leading to stronger and more adaptable plants.
Cons:
- Time-consuming: Be prepared for a lengthy process from seed to mature plant.
- Variability: Seed-grown plants may not exhibit the same characteristics as the parent tree.
2. Taking the Cutting Edge: A Quicker Approach
Propagating Podocarpus totara from cuttings offers a faster alternative with a higher success rate. This method involves taking a section of stem and encouraging it to develop roots. Here’s a breakdown:
- Timing is Everything: Take semi-hardwood cuttings in late summer or early fall when the new growth has started to mature.
- Cut with Precision: Select healthy, non-flowering shoots and cut sections about 6-8 inches long. Remove the lower leaves to prevent rotting.
- Rooting Hormone Boost: Dip the cut end in rooting hormone to encourage root development.
- Create the Ideal Environment: Plant the cuttings in a well-draining potting mix and place them in a warm, humid environment, like a propagator or under a plastic bag.
- Patience, Once Again: It can take several weeks or even months for roots to develop.
Pros:
- Faster results: Cuttings typically root quicker than seeds.
- Replicating Characteristics: Plants grown from cuttings will be genetically identical to the parent plant.
Cons:
- Limited Quantity: You can only obtain a limited number of plants from one parent tree using cuttings.
Nurturing Your New Podocarpus Totara Generation
Once your seedlings or cuttings have developed a strong root system, it’s time to transplant them into individual pots or a prepared garden bed. Choose a location with well-drained soil and ample sunlight, and remember to keep the young plants well-watered, especially during their first year.
Propagating Podocarpus totara, whether through seed or cuttings, is a rewarding endeavor. By following these steps and embracing the journey, you can enjoy the satisfaction of cultivating new life from this magnificent tree and expanding its majestic presence in your landscape for years to come.