Unveiling the Secrets of Miniature Orchid Propagation: A Guide to Multiplying Your Podochilus hellwigii
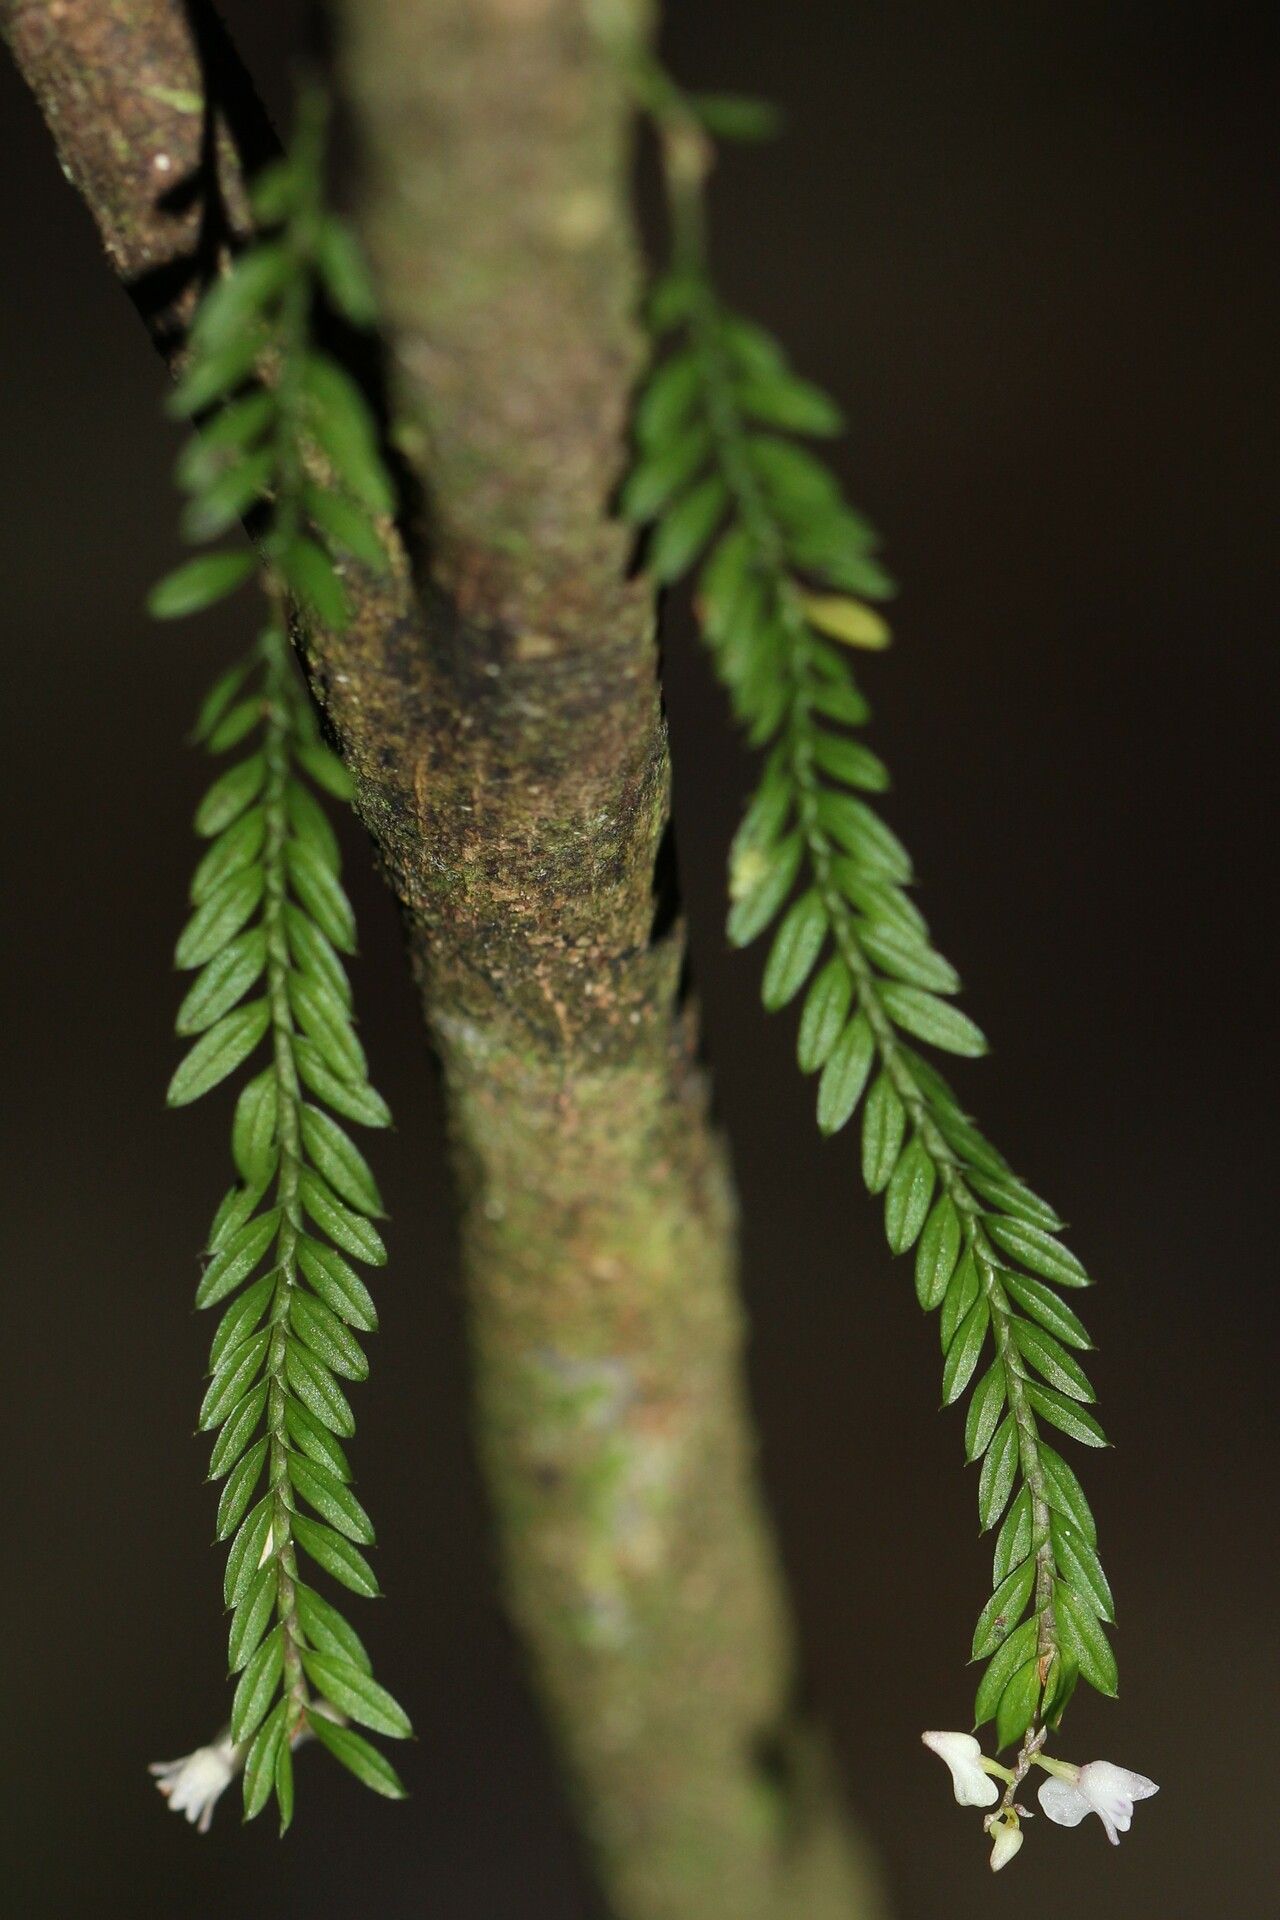
The world of orchids is vast and fascinating, encompassing a dizzying array of shapes, sizes, and colors. Among these captivating plants lies the Podochilus hellwigii, a miniature marvel treasured for its delicate beauty and intriguing growth habit. If you’re lucky enough to own one of these beauties and dream of expanding your collection, you’ve come to the right place. Let’s unlock the secrets of propagating Podochilus hellwigii!
Understanding the Basics
Before we dive into the specifics, it’s important to grasp the fundamental propagation methods applicable to orchids in general. Unlike many plants that readily root from cuttings, orchids require a bit more finesse. The two primary propagation methods for Podochilus hellwigii are:
Division: This method involves carefully separating a mature plant into multiple sections, each containing healthy roots and growths. It’s the most common and often the easiest method for home growers.
- Keikis: “Keiki” is a Hawaiian term meaning “baby.” These are essentially plantlets that develop on the flower stems of mature orchids. While less common in Podochilus hellwigii than in some other orchid species, keiki propagation is still a potential option.
Propagating Podochilus hellwigii by Division
Timing is Key: The ideal time for division is spring, just as the plant begins its active growth period.
Tools of the Trade: Assemble your tools: a sharp, sterilized cutting tool (scissors or a knife), a fresh potting mix specifically designed for orchids, small pots, and cinnamon or a fungicide powder.
Dividing with Care: Gently remove the plant from its pot and inspect the root system. Aim to divide the plant into sections containing at least 3-4 healthy pseudobulbs (the swollen, stem-like structures) and a robust root system. Make clean cuts, ensuring minimal damage to the roots.
Potting Up the Divisions: Dust the cut ends with cinnamon or fungicide to prevent infections. Plant each division in individual pots, using the orchid mix. Ensure the base of the pseudobulbs sits slightly above the soil line.
- Post-Division Care: Place the newly potted divisions in a warm, humid environment with indirect light. Water sparingly until new growth emerges, then gradually increase watering frequency. Avoid overwatering, as this can lead to root rot.
Propagating from Keikis
Patience is a Virtue: Keikis can take several months to mature enough for removal. Wait until the keiki develops a good root system (at least 2-3 roots about 2 inches long).
Separation and Potting: Carefully detach the keiki from the mother plant, ensuring some stem tissue remains with the roots. Pot the keiki in a small pot with orchid mix, providing support with a small stake if necessary.
- Keiki Care: Follow the same post-division care instructions for light, humidity, and watering.
A Rewarding Endeavor
Propagating Podochilus hellwigii might require a bit of patience and care, but the rewards are well worth the effort. Successfully multiplying your orchid collection allows you to share these miniature beauties with others or simply enjoy an even more stunning display in your own home. So, gather your tools, embrace the challenge, and enjoy the journey of expanding your orchid family!