Unlocking Lush Greenery: The Simple Guide to Propagating Bengal Pogostemon
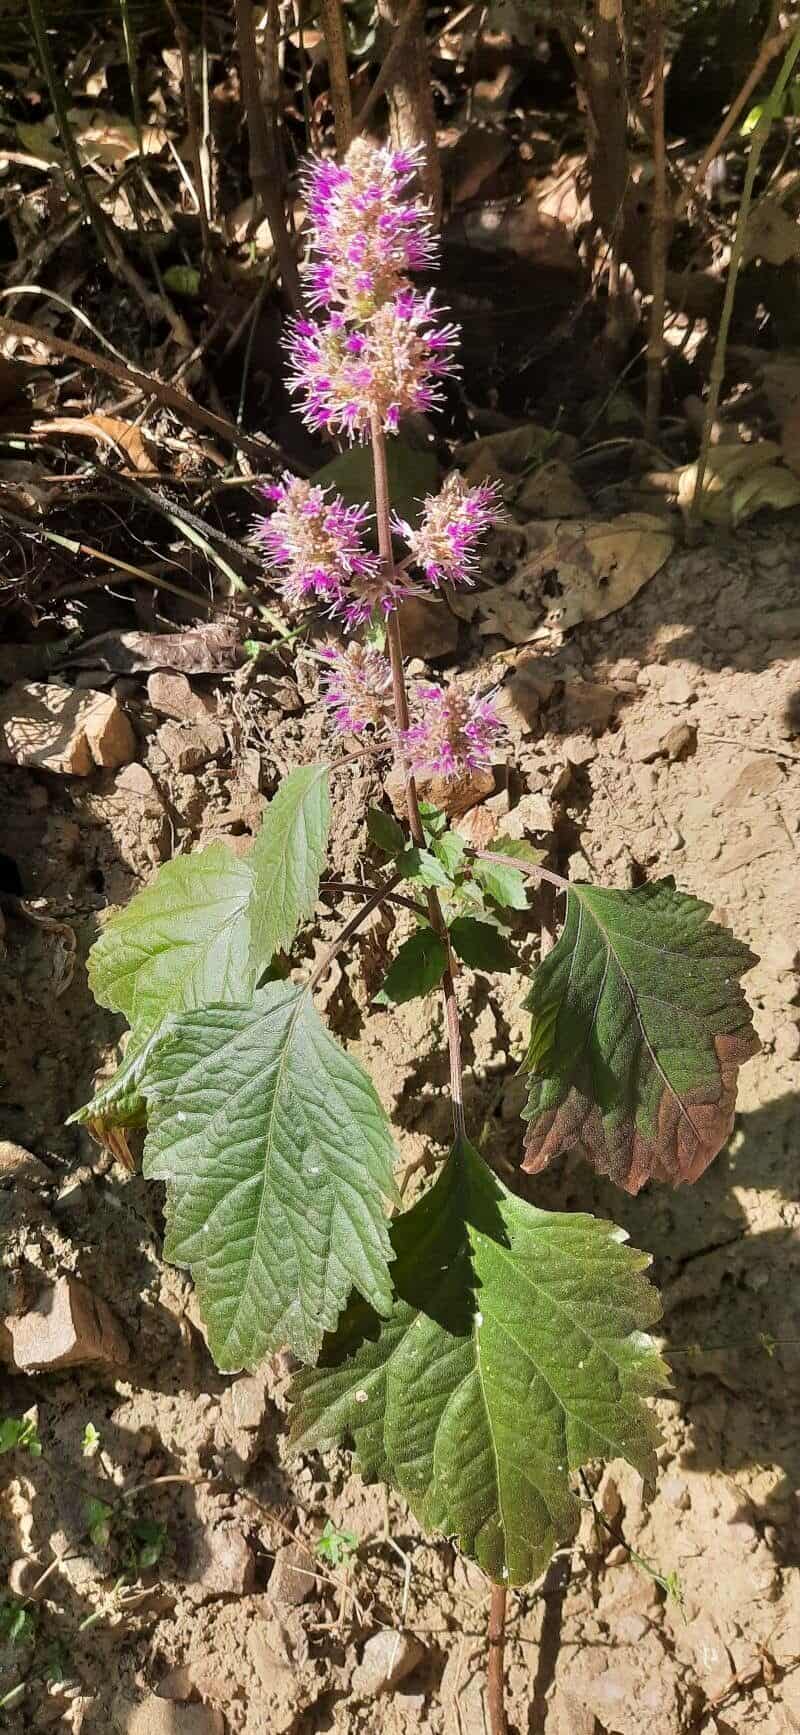
Bengal Pogostemon (Pogostemon benghalensis), with its vibrant green foliage and enchanting aroma, is a captivating addition to any indoor or outdoor space. And the best part? It’s surprisingly easy to propagate, meaning you can multiply your verdant treasures without breaking the bank.
Whether you’re a seasoned green thumb or a budding enthusiast, this guide will equip you with the knowledge to successfully propagate Bengal Pogostemon and fill your home with its refreshing charm.
Understanding Propagation Methods
Propagating Bengal Pogostemon is all about encouraging new growth from existing plant parts. This can be achieved through two primary methods:
1. Stem Cuttings: This popular and effective method involves snipping a healthy stem section and encouraging it to develop roots.
2. Layering: Though less common, layering offers an alternative for propagating your plant. It involves bending a stem down to the soil and encouraging root development directly from the stem node.
Propagating Bengal Pogostemon: A Step-by-Step Guide
Method 1: Stem Cuttings
Materials:
- Sharp, sterilized pruning shears or scissors
- Small pots or seedling trays
- Well-draining potting mix
- Rooting hormone (optional, but recommended)
Instructions:
- Select Healthy Stems: Identify healthy, non-flowering stems about 4-6 inches long. Look for stems with multiple nodes (small bumps on the stem where leaves emerge).
- Make the Cut: Using your sterilized shears, make a clean cut just below a node. Remove any leaves from the lower inch of the stem.
- Apply Rooting Hormone (Optional): Dip the cut end of the stem in rooting hormone powder to accelerate root development.
- Prepare the Potting Mix: Fill your pots or trays with a well-draining potting mix, moistening it evenly.
- Plant the Cuttings: Make small indentations in the potting mix and gently insert the cuttings, ensuring at least one node is buried.
- Create a Humid Environment: Cover the pots with a clear plastic bag or humidity dome to trap moisture and maintain warmth. Place in a bright location, out of direct sunlight.
- Monitor and Water: Regularly check the moisture level of the potting mix, misting or lightly watering as needed to keep it consistently moist but not waterlogged.
- Transplanting: After 4-6 weeks, your cuttings should have developed a healthy root system. Once the roots are visible at the drainage holes, transplant them into individual pots or your desired location.
Method 2: Layering
Materials:
- Same as stem cutting method
- Small stones or weights
Instructions:
- Choose a Stem: Select a flexible, healthy stem near the base of the plant.
- Prepare the Stem and Soil: Gently wound the stem at a node, then carefully bend the wounded section down to the soil. You can use small stones or weights to keep the stem in contact with the soil.
- Bury the Wounded Node: Cover the wounded portion of the stem with soil, ensuring the rest of the stem and leaves remain above ground.
- Maintain Moisture: Keep the soil consistently moist.
- Separation: After several weeks, roots should have formed at the buried node. Once established, you can sever the newly rooted section from the parent plant and pot it separately.
Enjoying Your New Bengal Pogostemon Plants
With a little patience and care, you’ll soon have an abundance of these vibrant plants to brighten your home. Remember to provide your propagated Bengal Pogostemon with adequate indirect light, well-draining soil, and consistent moisture to help them thrive. Enjoy the process of witnessing new life emerge from your existing plant and embrace the satisfaction of multiplying your green companions.