Unveiling the Secrets: How to Propagate the Enchanting Polygala Anatolica
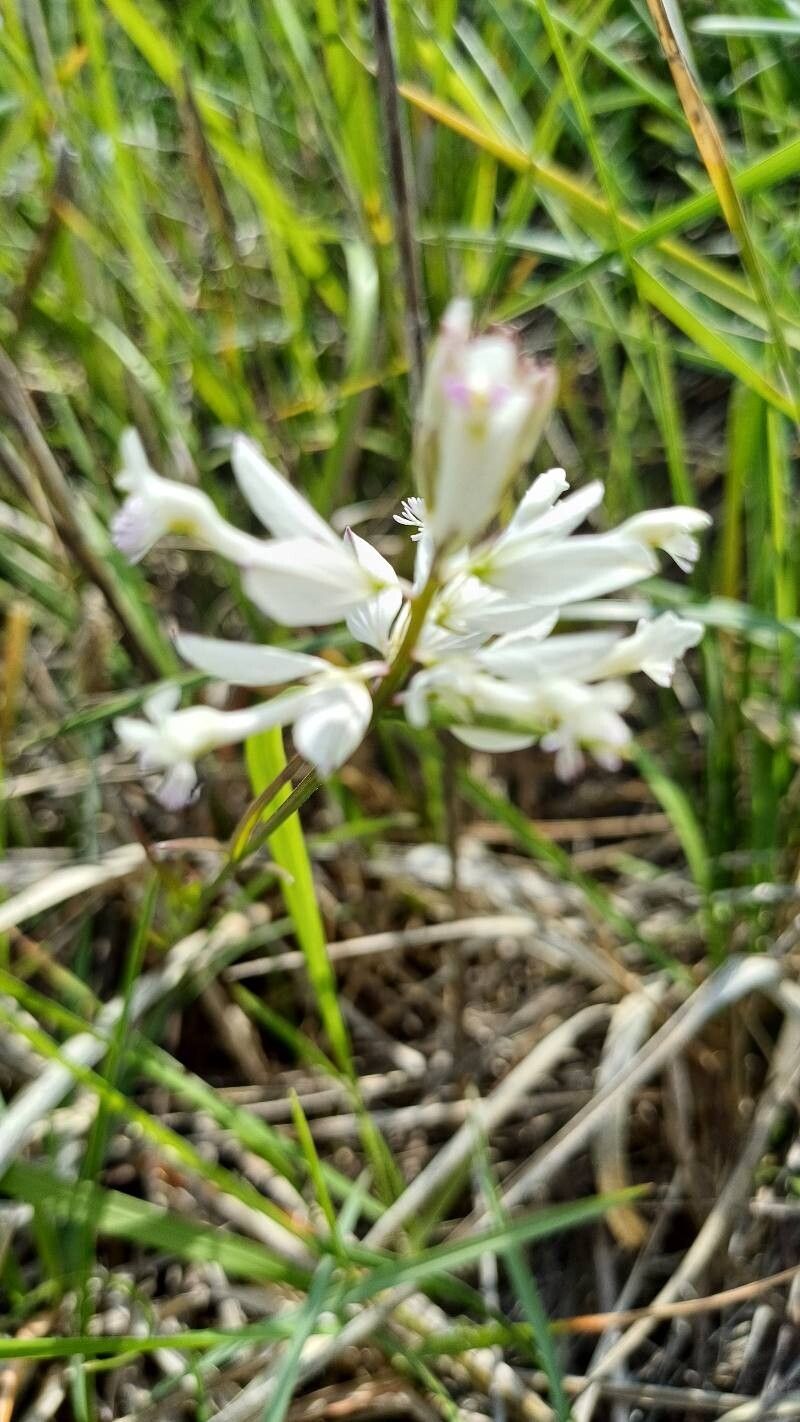
The Polygala Anatolica, with its delicate blooms resembling miniature orchids, is a charming addition to any garden. While relatively unknown, this easy-to-care-for perennial captivates with its graceful beauty. But how do you introduce this intriguing plant to your own green haven? Let’s unlock the secrets of propagating Polygala Anatolica.
Understanding the Options: Seeds vs. Cuttings
Propagating Polygala Anatolica offers two primary paths: seeds and cuttings. Each method has its own unique set of advantages and challenges:
- Pros: Ideal for producing multiple plants and potentially introducing subtle variations.
- Cons: Requires more patience, as germination can be slow and inconsistent.
- Best Time: Spring, after the last frost.
Cutting Propagation:
- Pros: Offers quicker results and ensures plants retain the parent’s characteristics.
- Cons: Yields a limited number of new plants compared to seeds.
- Best Time: Late spring or early summer, during the active growing season.
Embarking on Your Propagation Journey
1. Seed Propagation: A Test of Patience
- Sowing the Seeds: Begin by filling seed trays with a well-draining seed-starting mix. Sprinkle the Polygala Anatolica seeds sparsely on the surface and lightly press them in. Mist the soil gently, ensuring it remains consistently moist but not waterlogged.
- Providing Ideal Conditions: Place the seed trays in a warm, brightly lit location, but avoid direct sunlight. A temperature range of 65-75°F (18-24°C) is ideal for germination. Patience is key, as it can take anywhere from a few weeks to a couple of months for the seeds to sprout.
- Transplanting Success: Once the seedlings develop a couple of true leaves, they can be carefully transplanted into individual pots filled with well-draining potting mix. Gradually acclimate the young plants to outdoor conditions before planting them in their permanent locations in the garden.
2. Cutting Propagation: The Faster Route to Blooms
- Selecting Healthy Cuttings: Choose healthy, non-flowering stems from the current year’s growth. Ideally, each cutting should be around 4-6 inches long.
- Preparing the Cuttings: Using a sharp, clean knife or pruning shears, make a clean cut just below a leaf node. Remove the lower leaves, leaving a few at the top.
- Encouraging Root Development: Dip the cut end of the stem in rooting hormone (optional but recommended) and then plant it in a pot filled with a well-draining, moist potting mix.
- Creating a Humid Environment: To increase the success rate, cover the pot with a clear plastic bag or use a propagation dome to maintain humidity. Place the cutting in a warm, brightly lit location, out of direct sunlight.
- Transplanting with Care: After about 4-6 weeks, gently tug on the cutting to check for root development. Once the roots are established, carefully transplant the new plant into a larger pot or directly into the garden.
Nurturing Your New Polygala Anatolica
Regardless of the propagation method you choose, provide your new Polygala Anatolica plants with well-drained soil, ample sunlight (at least 6 hours per day), and moderate watering. With proper care, these exquisite plants will reward you with their delightful blooms year after year.
Ready to welcome the enchanting Polygala Anatolica into your garden? Embrace the joy of propagation and watch your efforts blossom into stunning displays of delicate beauty.