Unveiling the Secrets: How to Propagate the Delicate Beauty of Polygala Exilis
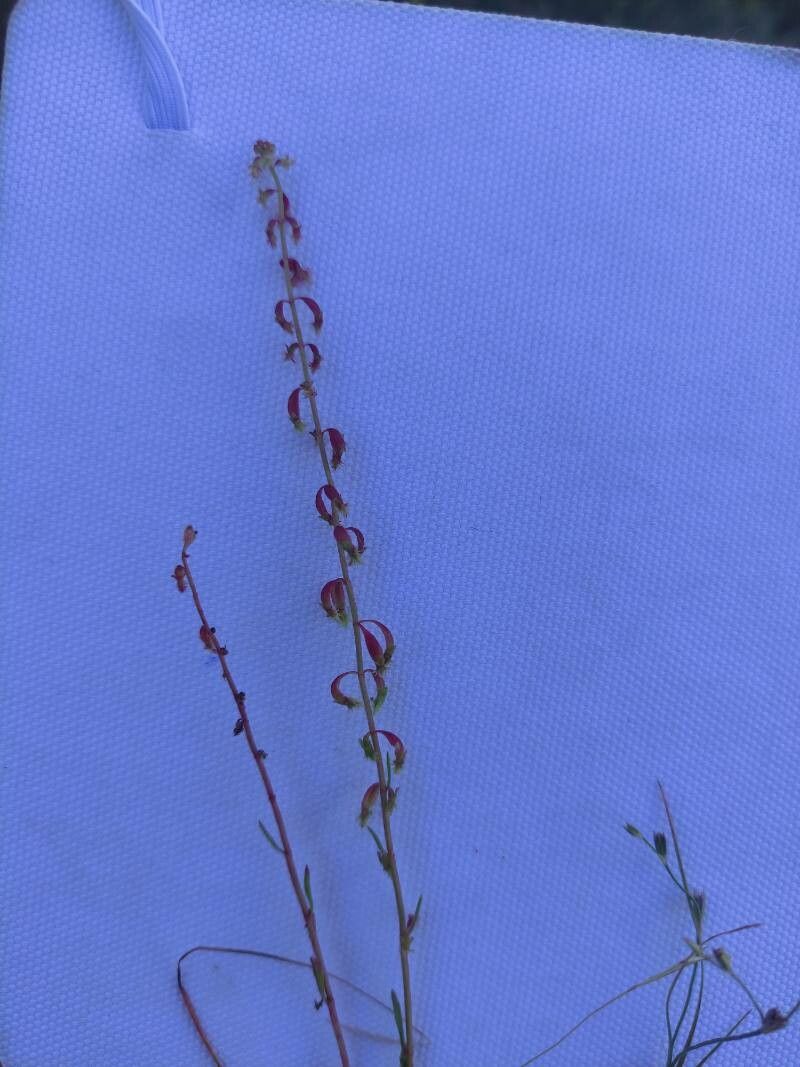
Polygala exilis, with its cloud-like clusters of tiny pink or white flowers, brings a touch of ethereal beauty to any garden. Often referred to as “Tiny polygala,” this low-growing, spreading perennial thrives in warmer climates and adds a unique texture to rock gardens, borders, and container arrangements. While obtaining this delicate beauty may be as easy as purchasing a seedling, wouldn’t it be even more rewarding to propagate your own?
While Polygala exilis can be a bit finicky, don’t let that deter you. With a little patience and the right techniques, you can successfully propagate this charming plant and fill your garden with its subtle elegance.
Here are the two most effective methods to propagate Polygala exilis:
1. Seed Propagation: A Test of Patience
- Timing is Key: Begin sowing Polygala exilis seeds indoors 6-8 weeks before the last expected frost in your area.
- Sowing the Seeds: Use a well-draining seed starting mix and sprinkle the fine seeds on the surface. Gently press them in, ensuring they have good contact with the soil but are not buried.
- Creating the Ideal Environment: Polygala exilis seeds require light to germinate, so avoid covering them with soil. Place the seed tray in a bright location, out of direct sunlight. Maintain a consistent temperature of around 70-75°F (21-24°C).
- Patience is a Virtue: Germination can be slow and erratic, taking anywhere from a few weeks to a couple of months. Keep the soil consistently moist but not waterlogged.
- Transplanting: Once the seedlings have developed a couple of sets of true leaves, they can be carefully transplanted into individual pots or directly into your garden after the danger of frost has passed.
2. Softwood Cuttings: A Faster Route to Success
- Timing is Crucial: Take softwood cuttings in late spring or early summer, when the plant is actively growing. Select healthy, non-flowering stems that are around 3-4 inches long.
- Making the Cut: Use a sharp, sterilized knife or pruning shears to make a clean cut just below a leaf node. Remove the lower leaves, leaving only a couple of pairs at the top.
- Encouraging Root Development: Dip the cut end of the stem in rooting hormone (optional but beneficial) and plant it in a pot filled with a well-draining, moist potting mix.
- Creating a Humid Environment: Cover the pot with a clear plastic bag or place it in a propagator to maintain high humidity levels, which is crucial for successful rooting.
- Monitoring Progress: Place the cutting in a bright location, out of direct sunlight. Check the moisture regularly and mist the soil if needed. Rooting typically takes 4-6 weeks.
- Transplanting: Once you see new growth, it’s a good indication that the cutting has rooted. You can then carefully transplant it into a larger pot or directly into your garden.
Important Tips for Success:
- Well-Draining Soil: Polygala exilis is susceptible to root rot in overly wet conditions. Use a well-draining soil mix and avoid overwatering.
- Sunlight Needs: While Polygala exilis can tolerate some shade, it thrives in full sun to partial shade conditions for optimal flowering.
- Minimal Feeding: This plant isn’t a heavy feeder. A light application of a balanced fertilizer in spring is usually sufficient.
Propagating Polygala exilis might require a touch of patience and attention to detail, but the reward of watching new life flourish from seed or cutting is incredibly satisfying. So, why not give it a try? With a little effort, you can easily multiply your collection of this enchanting plant and enjoy its airy beauty for years to come.