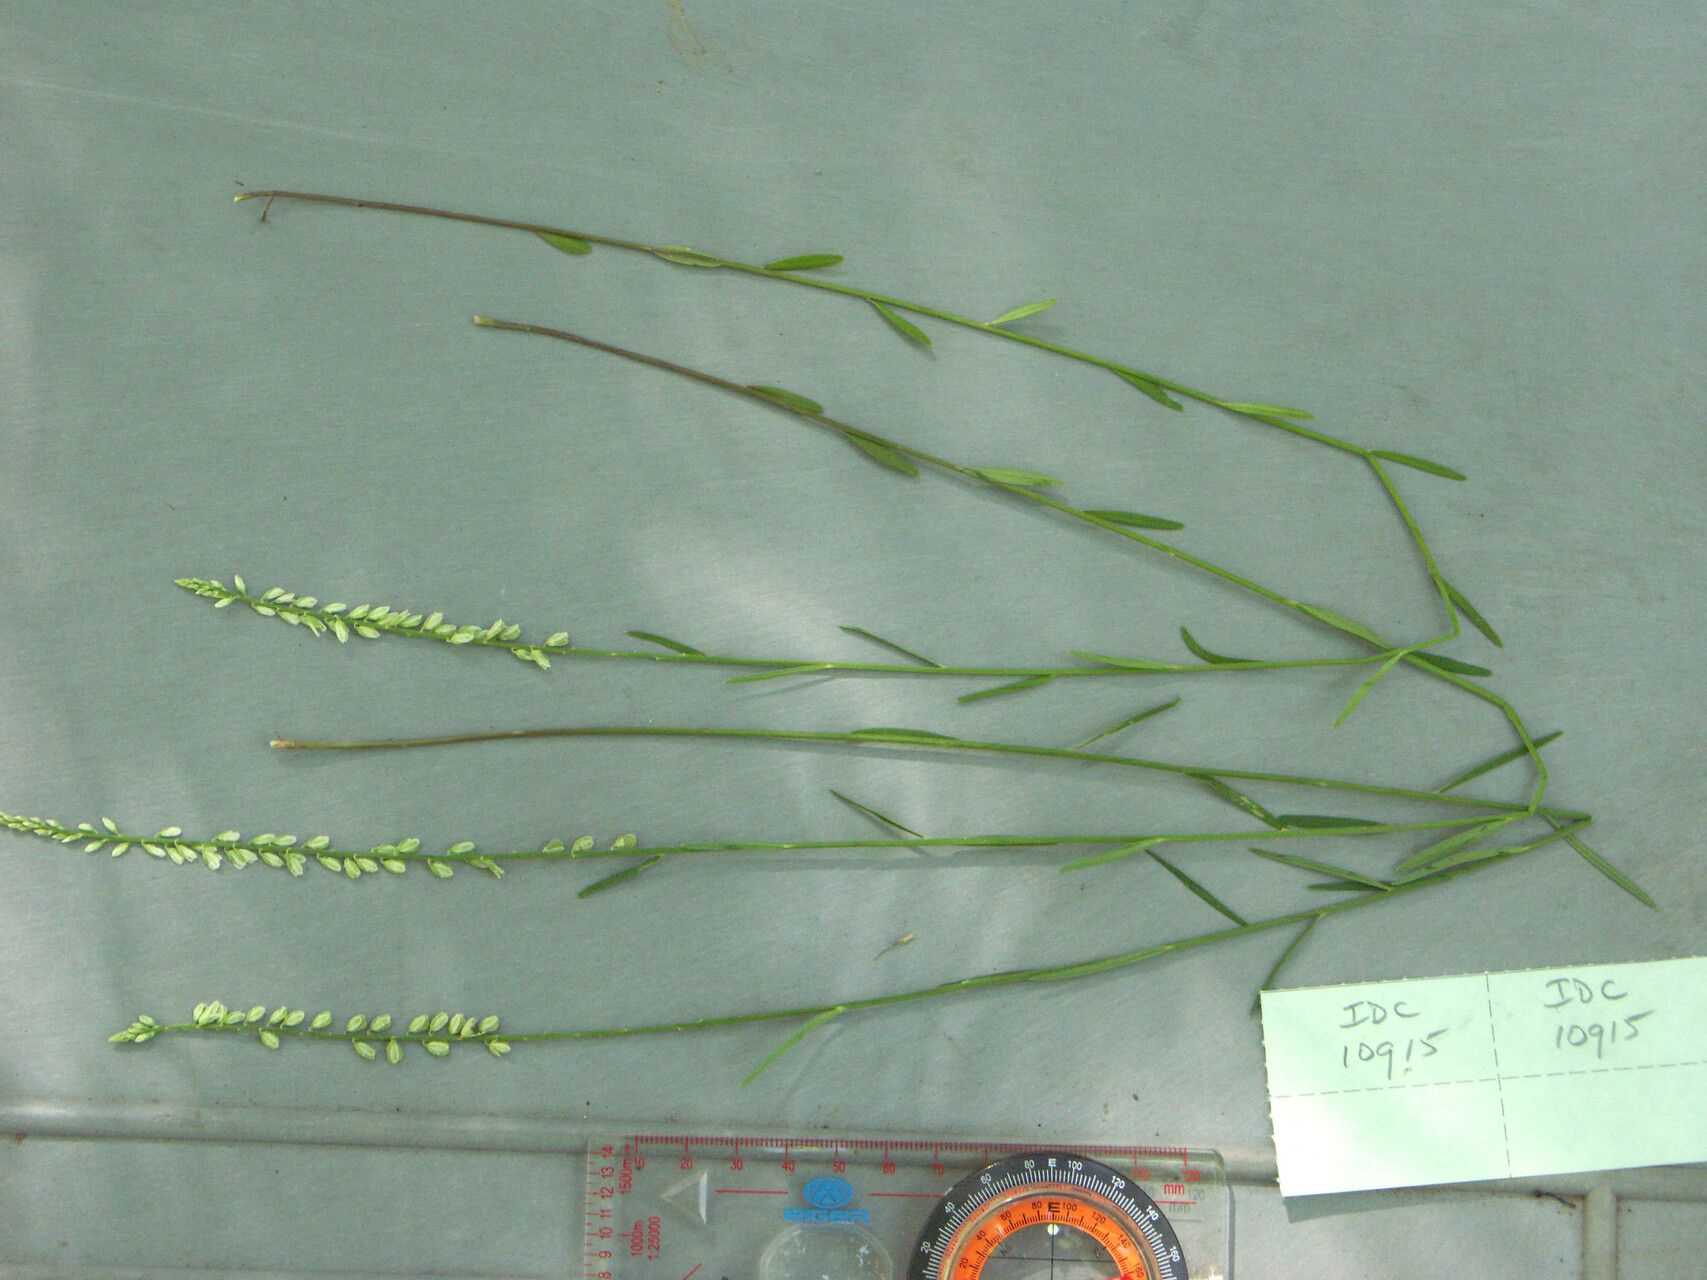
Unveiling the Secrets of Polygala Longifolia Propagation: A Step-by-Step Guide
Polygala longifolia, with its delicate blossoms and lush foliage, has become a sought-after treasure for plant enthusiasts. But its beauty isn’t its only allure. This captivating plant also holds the secret to relatively easy propagation, allowing you to expand your collection and share its charm with others.
Whether you’re a seasoned gardener or just starting your green journey, this comprehensive guide will equip you with all the knowledge you need to propagate Polygala longifolia successfully.
Two Paths to Propagation: Seeds and Cuttings
Polygala longifolia offers two primary methods of propagation:
Seed Propagation: Embark on a rewarding experience, starting with seeds. While this method might take longer to see results, it offers the satisfaction of nurturing a plant from its earliest stage.
- Cutting Propagation: This approach provides a quicker route to establishing new plants. By taking cuttings from a healthy mother plant, you can replicate its characteristics and enjoy blooms sooner.
Seed Propagation: Nurturing Life from Tiny Beginnings
- Timing is Key: Spring is the ideal season for sowing Polygala longifolia seeds. The warmer temperatures and increased sunlight provide optimal conditions for germination.
- Sowing the Seeds: Prepare a well-draining seed starting mix. Sow the seeds superficially, pressing them gently into the moist medium.
- Creating a Humid Environment: Cover the tray or pot with a clear plastic lid or wrap to trap moisture and maintain humidity. Place it in a well-lit area but avoid direct sunlight.
- Germination Patience: Be patient – germination can take anywhere from a few weeks to a couple of months. Once the seedlings emerge and develop a few sets of true leaves, you can transplant them into individual pots.
Cutting Propagation: A Shortcut to Success
- Selecting the Right Cuttings: Choose healthy, non-flowering stems from the current year’s growth. Ideally, the cutting should be 4-6 inches long and have at least two sets of leaves.
- Preparing the Cuttings: Using a sharp, sterilized knife or shears, make a clean cut just below a leaf node. Remove the lower leaves to prevent them from rotting in the soil.
- Encouraging Root Development: Dipping the cut end in rooting hormone powder can encourage faster and stronger root growth.
- Planting the Cuttings: Plant the cuttings in a well-draining potting mix, burying the bottom node. Water thoroughly and maintain a consistently moist environment.
- New Growth: In several weeks, you should observe new growth, signifying successful rooting. Once the cuttings are well-established, you can transplant them into larger containers or your garden.
Essential Care Tips for Thriving Polygala Longifolia
No matter your chosen propagation method, these care tips will help your new Polygala Longifolia thrive:
- Sunshine and Shade: These plants enjoy a balance of sunshine and shade. Aim for at least 4-6 hours of sunlight per day.
- Well-Drained Soil: Ensure good drainage to prevent root rot.
- Watering Routine: Water regularly, allowing the soil to dry slightly between waterings.
- Fertilization for Flourishing: Feed with a balanced fertilizer during the growing season (spring and summer) to promote healthy growth and abundant blooms.
Propagating Polygala Longifolia: A Rewarding Endeavor
While the process requires a touch of patience and dedication, the rewards of propagating Polygala longifolia are boundless. By following these simple steps, you can expand your plant collection, witness the miracle of new life, and share the joy of these stunning blooms with fellow plant enthusiasts. So, roll up your sleeves, embrace the world of propagation, and let the journey begin!