From Seeds to Blooms: The Joy of Propagating Polygala rugelii
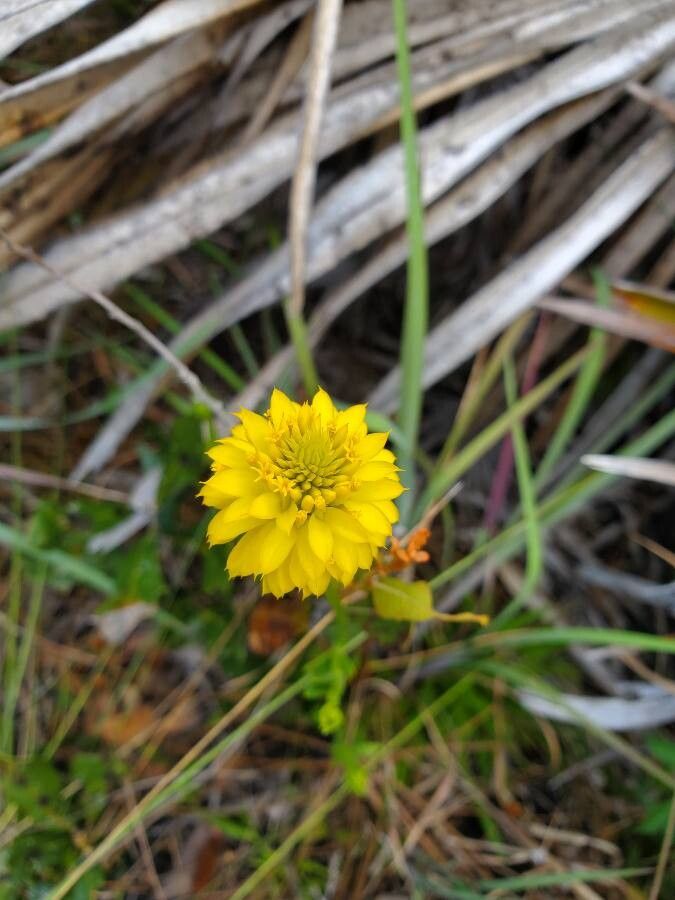
Polygala rugelii, with its delicate pink blooms and charmingly mounded growth, is a delightful addition to any garden. But imagine the joy of multiplying those cheerful blossoms and sharing this plant with friends or expanding your own collection! That’s where propagation comes in.
This guide will walk you through the simple and rewarding process of propagating Polygala rugelii, opening up a world of possibilities for nurturing this lovely plant.
Understanding the Two Main Methods
There are two primary ways to propagate Polygala rugelii:
- Seed Propagation: This is the classic method that replicates the natural life cycle of the plant. It’s ideal if you’re looking to start a large number of plants or want to experiment with different varieties.
- Division: If you already have a mature Polygala rugelii plant, dividing it is a quicker and easier way to create new individuals. This method allows you to quickly expand your existing collection with healthy clones of your original plant.
Getting Started with Seed Propagation
- Collecting Seeds: Look for seedpods on your Polygala rugelii plant. These pods will appear after the flowers fade and turn brown. Carefully collect the mature pods and let them dry completely in a cool, dry place. Once dried, gently extract the tiny seeds.
- Sowing Seeds: Choose a well-drained seed-starting mix and fill small pots or trays. Gently press the seeds onto the surface of the soil mixture, barely covering them. Keep the sowed seeds moist and in a bright, indirect light location.
- Germination: Patience is key! Polygala rugelii seeds can be slow to germinate. It may take weeks or even months depending on the environment and the seeds. Keep the soil moist but not soggy.
- Thinning and Transplanting: Once seedlings emerge, thin them to give each plant ample room to grow. When they are a few inches tall, you can transplant the seedlings into individual pots or directly into your garden.
Simple Steps for Division
- Best Time: The ideal time to divide your Polygala rugelii plant is in the spring, just before new growth emerges. This allows the divided plants ample time to establish themselves before winter.
- Prepare the Plant: Carefully dig up the mature Polygala rugelii plant, making sure to preserve as much of the root system as possible.
- Divide the Roots: Use a sharp knife or shovel to carefully divide the roots of the plant into smaller sections. Each section should have a good amount of root mass and healthy stems.
- Replant: Plant the divided segments in fresh soil in their new locations, making sure to water them thoroughly. They should settle in quickly and continue to grow vigorously.
Tips for Success
- Sunlight: Polygala rugelii thrives in a sunny to partially shady location. Aim for at least six hours of direct sunlight per day.
- Watering: Water your new plants regularly, especially during the first few weeks after planting.
- Soil: This plant prefers well-drained, fertile soil. Amend your soil with compost or other organic matter if necessary.
From Seeds to Blooms:
Propagating Polygala rugelii is a rewarding experience that allows you to deepen your connection with nature. Witnessing those tiny seeds transform into beautiful blooms is a truly magical journey. So go ahead, embark on this adventure, and enjoy the satisfaction of multiplying your own little patch of Polygala rugelii paradise.