Unleash the Power of Tiny Seeds: Propagating Knotweed from Seed
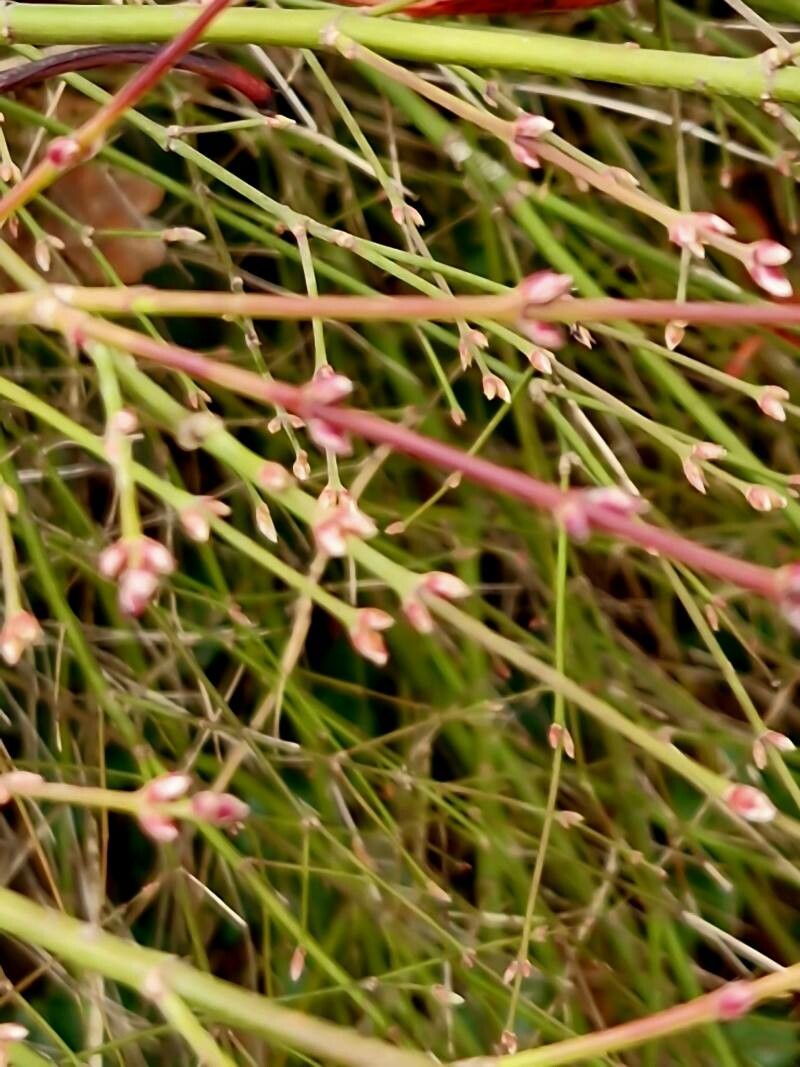
Ever heard of Polygonum arenarium, better known as Sand Knotweed? This resilient little plant, with its delicate pink flowers and striking foliage, is a favorite among gardeners seeking a low-maintenance, drought-tolerant addition to their landscape. But did you know you can easily multiply your Sand Knotweed collection by propagating it from seed?
This blog post will walk you through the fascinating process of growing Sand Knotweed from seed, giving you the knowledge and confidence to create new plants and share your passion for this captivating species.
Understanding Sand Knotweed and its Seed Potential
Sand Knotweed, a member of the Polygonaceae family, is a perennial herb that readily spreads by seed. Its small, triangular-shaped seeds are packed with life and easily germinate.
The Art of Seed Collection and Storage
Timing is Key: The best time to collect Sand Knotweed seeds is in late summer or early fall, when the seed pods turn brown and dry out. This indicates the seeds are mature and ready for propagation.
Careful Collection: Carefully remove the seed pods from the plant. Once collected, spread them out on a newspaper or a screen in a warm, dry location for a few days. This allows the seeds to fully dry, improving their longevity.
- Proper Storage: Place your dried seeds in airtight containers and store them in a cool, dark, dry environment. This ensures your seeds remain viable for up to two years.
Sowing the Seeds: A Beginner-Friendly Process
Prepare the Soil: Sand Knotweed thrives in well-drained, sandy soil. Mix a combination of equal parts potting soil, sand, and perlite for optimal drainage.
Choose Your Seed Tray: Select a seed tray with drainage holes to prevent waterlogging. Fill the tray with the prepared soil mixture, pressing it down gently.
Sowing the Seeds: Sprinkle the seeds on the surface of the soil. Do not cover them with soil as they need light to germinate. After sowing, lightly mist the soil surface with water.
Maintain the Right Environment: Cover the seed tray with a transparent plastic dome or wrap it in a plastic bag to create a humid environment. Place the tray in a warm location with bright, indirect light.
- Germination and Growth: Sand Knotweed seeds can take anywhere from 1 to 3 weeks to germinate. Once the seedlings develop their first true leaves, you can gradually acclimate them to outdoor conditions.
Transplanting your Tiny Treasures
Timing is Crucial: Wait until your seedlings are about 3 to 4 inches tall before transplanting them outdoors. Choose a sunny spot with well-drained soil.
Planting Depth: Dig a hole slightly larger than the seedling’s root ball. Gently place the seedling in the hole, making sure the top of the root ball is level with the soil surface. Backfill the hole with soil and gently pat it down to create a firm base.
- Water Thoroughly: Water your newly transplanted seedlings well to settle the soil and help them establish their roots.
Caring for your Sand Knotweed Beauties
Sand Knotweed is a hardy plant that requires minimal care. Water them regularly, especially during dry periods. However, avoid overwatering as it can lead to root rot.
A World of Possibilities
With its easy propagation and stunning appearance, Sand Knotweed offers a delightful experience for seasoned and novice gardeners alike. Whether you’re enhancing your landscape with a vibrant splash of pink or gifting friends and family with starter plants, growing Sand Knotweed from seed is a truly rewarding journey. So, unleash your green thumb and discover the power of tiny seeds – the seeds of a vibrant, drought-tolerant garden!