Unlock the Secrets of Propagating Your Very Own Polyscias Crenata
The Polyscias crenata, with its captivating foliage and air-purifying capabilities, is a sought-after houseplant. But did you know you can easily multiply your green haven by propagating this beauty? Yes, you read that right! Let’s unlock the secrets to propagating your Polyscias Crenata and filling your space with these lush wonders.
Understanding the Basics
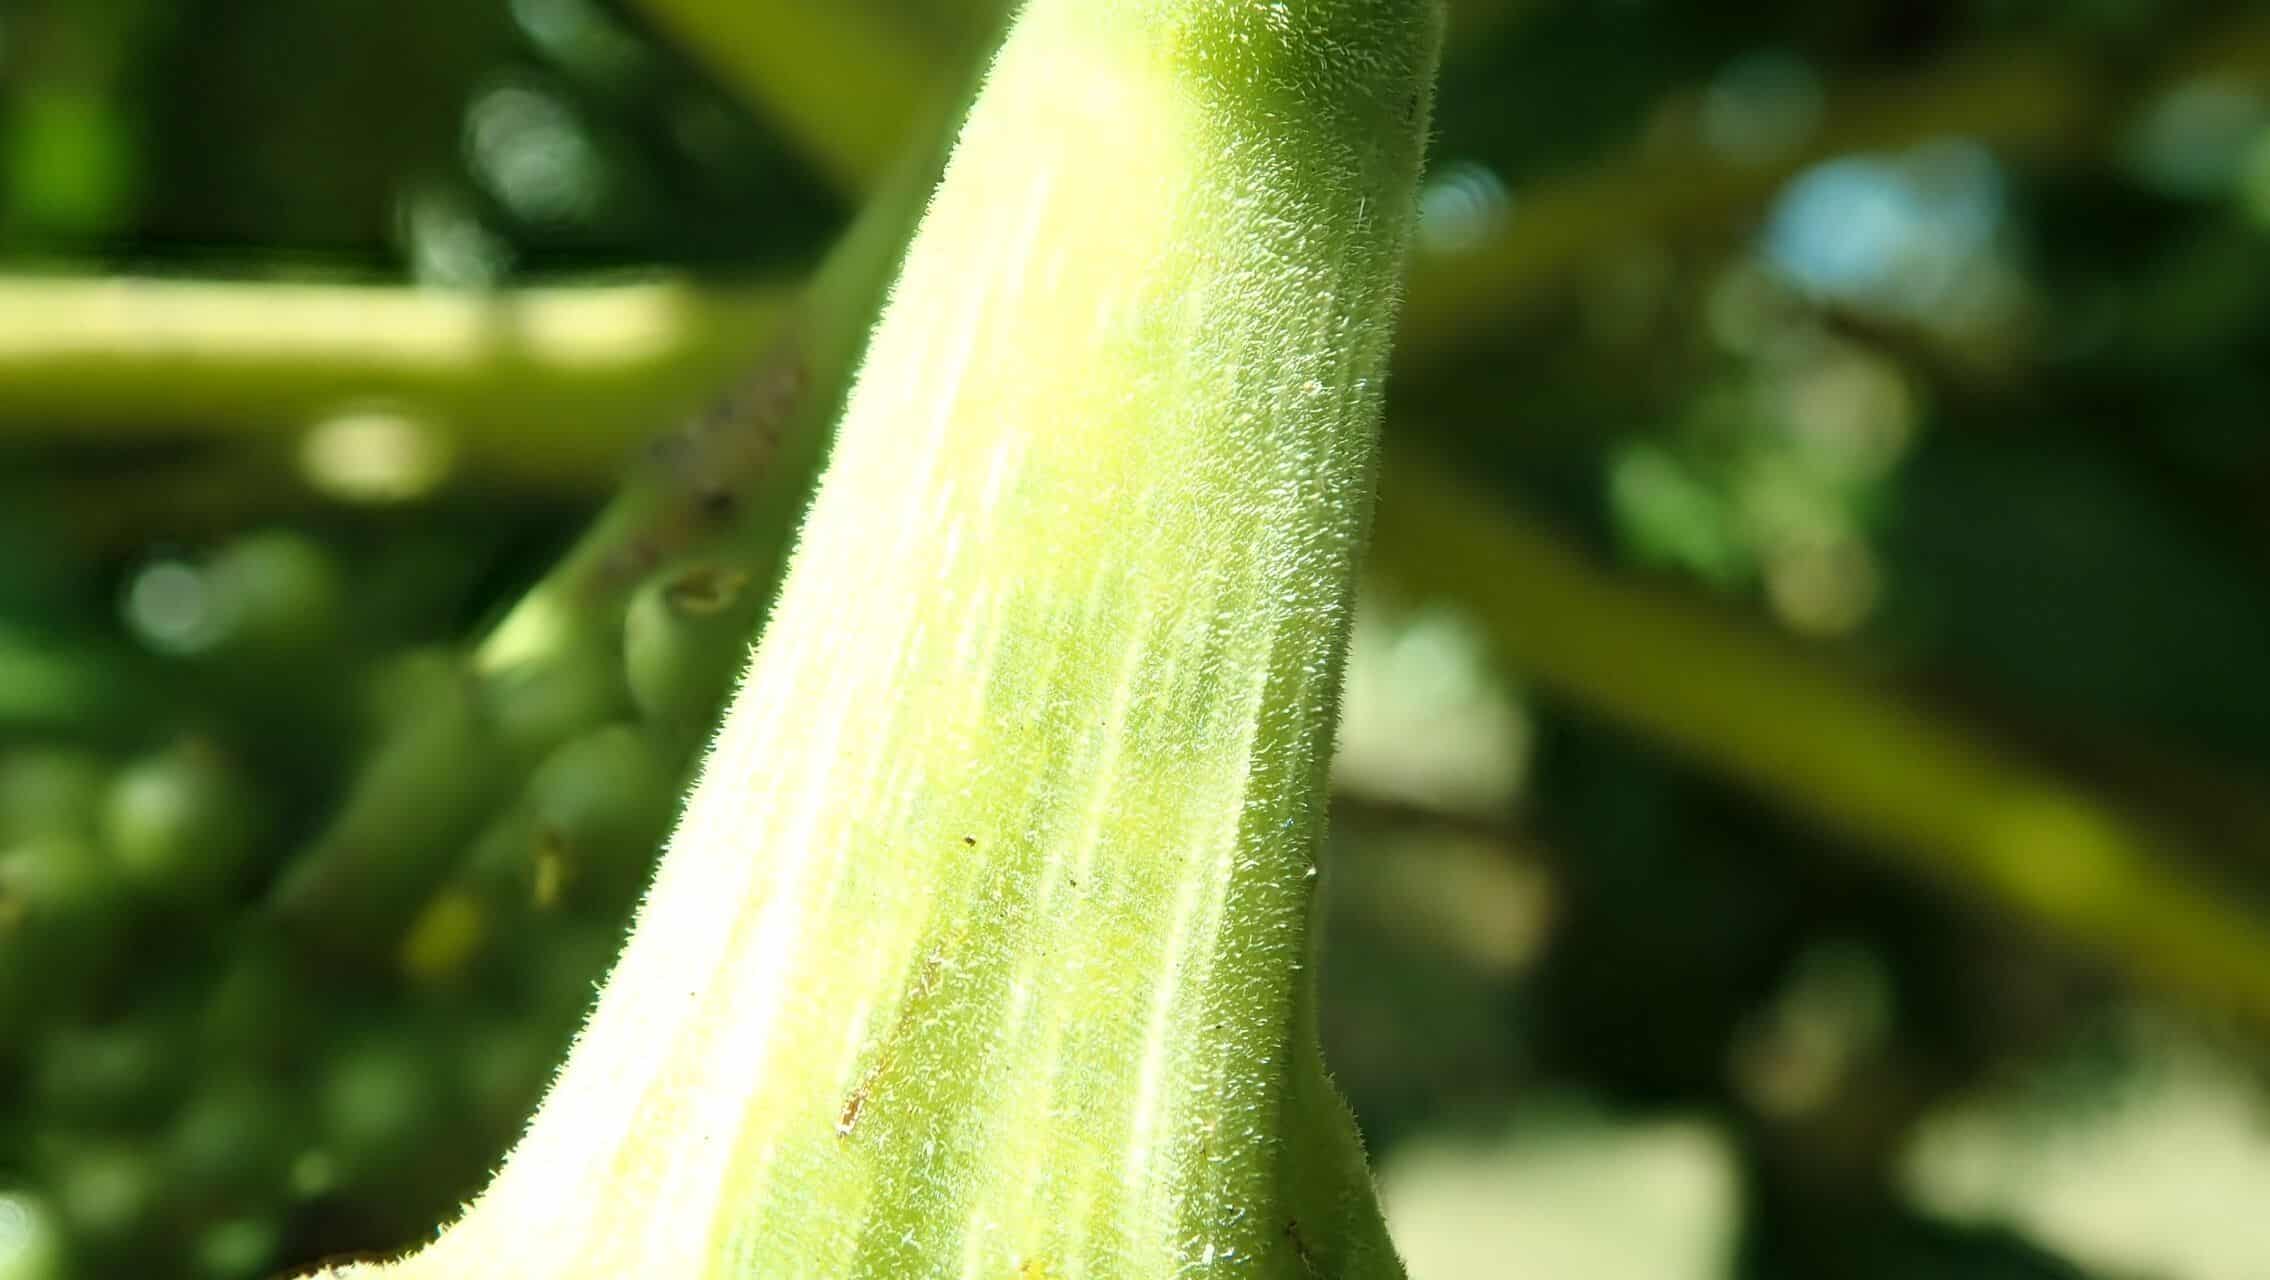
Before we delve into the techniques, let’s understand the plant. Native to the Pacific Islands, the Polyscias crenata, also known as the "Dinner Plate Aralia" or "Parsley Aralia," boasts vibrant green leaves with serrated edges, resembling oversized parsley.
The good news is, Polyscias crenata can be propagated through two primary methods: stem cuttings and air layering.
Method 1: Stem Cuttings – The Beginner’s Choice
Stem cuttings are the easiest and most popular way to propagate your Polyscias crenata. Here’s a step-by-step guide:
1. Gather Your Supplies:
- Sharp, sterilized pruning shears or scissors
- Small pots (2-4 inches in diameter)
- Well-draining potting mix
- Rooting hormone (optional but recommended)
2. Take the Cuttings:
- Choose a healthy stem with at least 2-3 nodes (small bumps where leaves emerge).
- Using your sterilized shears, cut just below a node at a 45-degree angle.
- Remove any leaves from the lower half of the cutting.
3. Prepare for Planting:
- Dip the cut end of the stem in rooting hormone to encourage faster root development (optional).
- Fill your pots with well-draining potting mix.
4. Plant Your Cuttings:
- Make a small hole in the potting mix and gently insert the cutting.
- Firm the soil around the cutting to secure it.
5. Water and Care:
- Water the cuttings thoroughly, allowing excess water to drain out.
- Place the pots in a bright, indirect light location.
- Maintain a warm and humid environment. Consider covering the pots with a clear plastic bag or humidity dome to create a mini greenhouse.
Method 2: Air Layering – For the Adventurous Gardener
Air layering is slightly more advanced but yields a more established plant in a shorter time frame as it promotes rooting while still attached to the mother plant.
1. Supplies:
- Sharp, sterilized knife or blade
- Sphagnum moss
- Plastic wrap or a small plastic bag
- Twist ties or string
2. Preparing the Stem:
- Choose a healthy stem with good growth.
- Make a small upward cut about halfway through the stem, about an inch long.
- You can insert a toothpick to prevent the cut from closing.
3. Applying the Moss:
- Soak the sphagnum moss in water and squeeze out excess moisture.
- Pack the moistened moss around the cut area of the stem.
- Enclose the moss completely with plastic wrap and secure it tightly with twist ties at both ends.
4. Patience is Key:
- Keep the moss consistently moist but not soggy. You may need to mist it occasionally.
- It may take several weeks to a couple of months for roots to develop within the moss ball.
5. Separating the New Plant:
- Once a healthy root system is visible through the plastic, you can cut the stem below the rooted section.
- Carefully remove the plastic wrap and plant the newly rooted section in a pot with well-draining potting mix.
Enjoying Your Propagated Beauties!
Whether you’ve chosen stem cuttings or air layering, successful propagation requires patience and proper care. It might take a few weeks to see significant root development. Once your new plants are established, you can enjoy the satisfaction of multiplying your Polyscias Crenata collection and adding a touch of natural elegance to your surroundings. Happy Propagating!