Unlocking the Secrets of Polyscias Vieillardii Propagation: Grow Your Own Verdant Masterpiece
The Polyscias vieillardii, with its intricate, fern-like foliage and elegant, upright growth, stands out as a captivating addition to any indoor plant collection. While finding this tropical beauty in your local nursery can be a stroke of luck, propagating your own offers a rewarding journey for plant enthusiasts of all levels. Let’s delve into the art of multiplying your Polyscias vieillardii and unlocking its full propagation potential.
Understanding the Basics
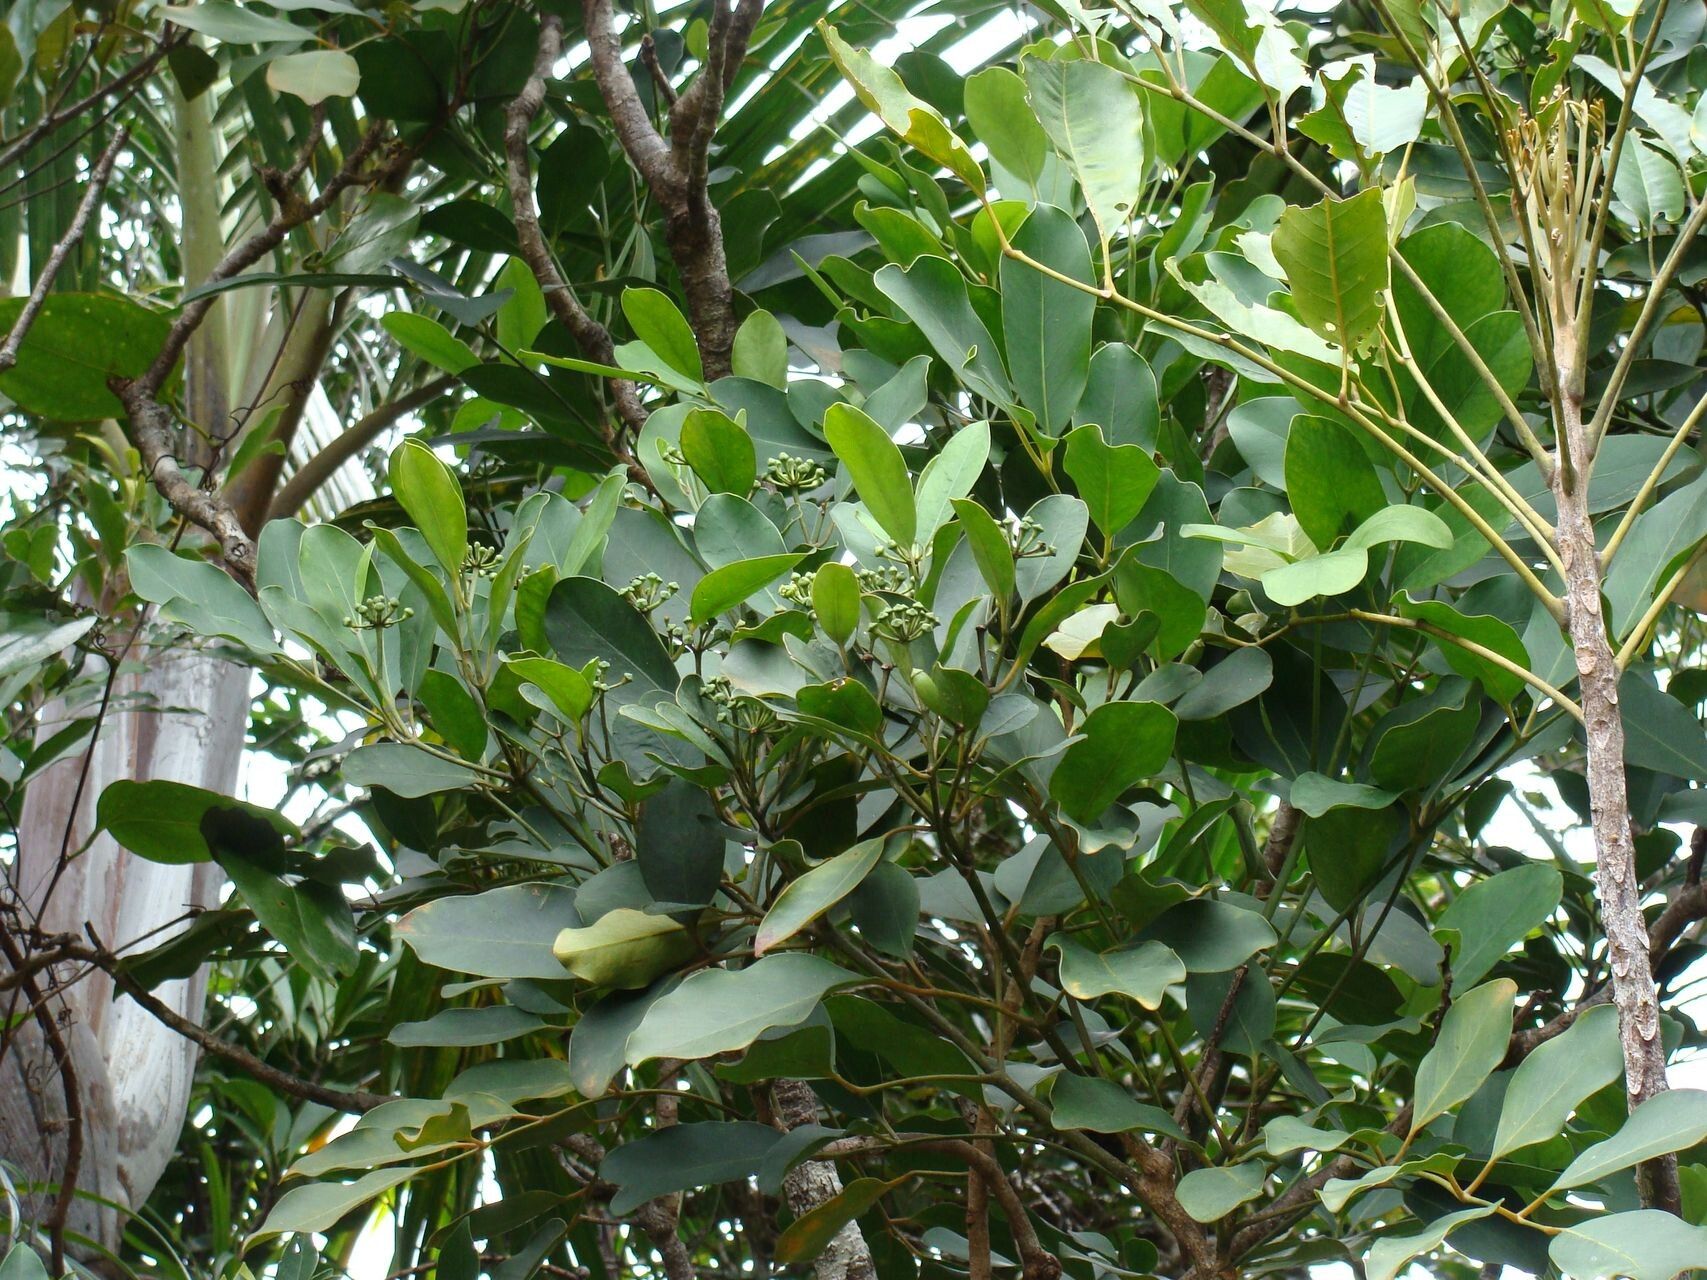
Native to the rainforests of the South Pacific, the Polyscias vieillardii thrives in warm, humid environments with bright, indirect light. Before embarking on your propagation journey, it’s essential to understand this plant’s preferences, as providing the right conditions will significantly impact your success rate.
Methods for Success
Two primary methods offer viable pathways for propagating your Polyscias vieillardii:
1. Stem Cuttings:
- Timing is Key: Spring and early summer, when the plant experiences active growth, present the ideal window for taking stem cuttings.
- Making the Cut: Using a clean, sharp knife or pruning shears, take cuttings around 4-6 inches long, just below a leaf node (the point where a leaf emerges from the stem).
- Prepare for Rooting: Remove the lower leaves from the cutting, leaving 2-3 leaves at the top.
- Hormone Boost (Optional): Dip the cut end in rooting hormone powder to stimulate faster root development.
- Potting Medium: Choose a well-draining soil mix, ideally combining peat moss, perlite, and vermiculite.
- Patience is a Virtue: Place the cuttings in a warm, humid environment, ensuring the soil remains consistently moist but not soggy. It may take several weeks for roots to develop.
2. Air Layering:
- Ideal for Larger Plants: Air layering proves particularly effective for mature Polyscias vieillardii with thicker stems.
- Creating the Wound: Select a healthy stem and make a small, upward-angled cut about a third of the way through the stem. You can insert a toothpick to prevent the cut from closing.
- Encouraging Root Growth: Wrap the wounded area with moist sphagnum moss, securing it with plastic wrap or aluminum foil.
- Maintaining Moisture: Regularly mist the moss to keep it consistently damp.
- Transplanting: Once roots develop and become visible through the moss, cut the stem below the rooting section and pot your new plant in a well-draining mix.
Nurturing Your New Propagations
After your cuttings have successfully rooted or your air-layered section is potted, provide them with the same care as mature Polyscias vieillardii:
- Light: Bright, indirect light is ideal. Avoid direct sunlight, which can scorch the delicate leaves.
- Watering: Water thoroughly when the top inch of soil feels dry. Ensure proper drainage to prevent root rot.
- Humidity: Maintain higher humidity levels by misting regularly, using a pebble tray, or placing a humidifier nearby.
- Fertilizing: Feed with a balanced liquid fertilizer diluted to half strength during the growing season (spring and summer).
Propagating your own Polyscias vieillardii offers a rewarding experience, allowing you to multiply your collection and witness the miracle of new life firsthand. By following these techniques and providing the optimal conditions, you’ll soon be on your way to cultivating a thriving family of these captivating tropical treasures.