Unfurling the Secrets: How to Propagate the Majestic Polystichum plicatum
The Polystichum plicatum, also known as the Japanese Lace Fern or Furled Spreader, is a sight to behold. With its cascading fronds, intricately woven like emerald lace, it brings a touch of woodland magic to any garden. While admiring its beauty is easy, you might wonder how to welcome more of these enchanting ferns into your life. Fear not, fellow plant enthusiast, for propagating this fern is an achievable feat, even for those without a green thumb.
Before we embark on our propagation journey, it’s important to understand that the P. plicatum doesn’t produce flowers or seeds like many other plants. Instead, we’ll be focusing on two primary methods: division and spores.
Divide and Conquer: Propagation by Division
This method is the most straightforward and yields quicker results. Here’s a step-by-step guide:
1. Timing is Key: Spring, when new growth emerges, is the ideal time to divide your P. plicatum.
2. Prepare for Surgery: Gather clean, sharp gardening shears or a knife, a pot with drainage holes, and fresh, well-draining potting mix.
3. Unearth and Divide: Gently remove the fern from its current pot. Examine the root ball and identify natural divisions – sections where the fern seems to be branching out from the center. Using your shears, carefully separate the sections, ensuring each division has a healthy set of roots and fronds.
4. Repotting Your Clones: Plant each division in its own pot, using the prepared potting mix. Ensure the crown of the fern (where the fronds emerge from the roots) sits slightly above the soil line.
5. Aftercare is Crucial: Water the newly potted divisions thoroughly, and place them in a shaded location, away from direct sunlight. Maintain a consistently moist environment, as young ferns are sensitive to drying out.
From Dust to Fern: Propagation by Spores
While slightly more challenging, propagating ferns from spores offers a rewarding experience and a chance to witness the magic of nature’s cycle firsthand.
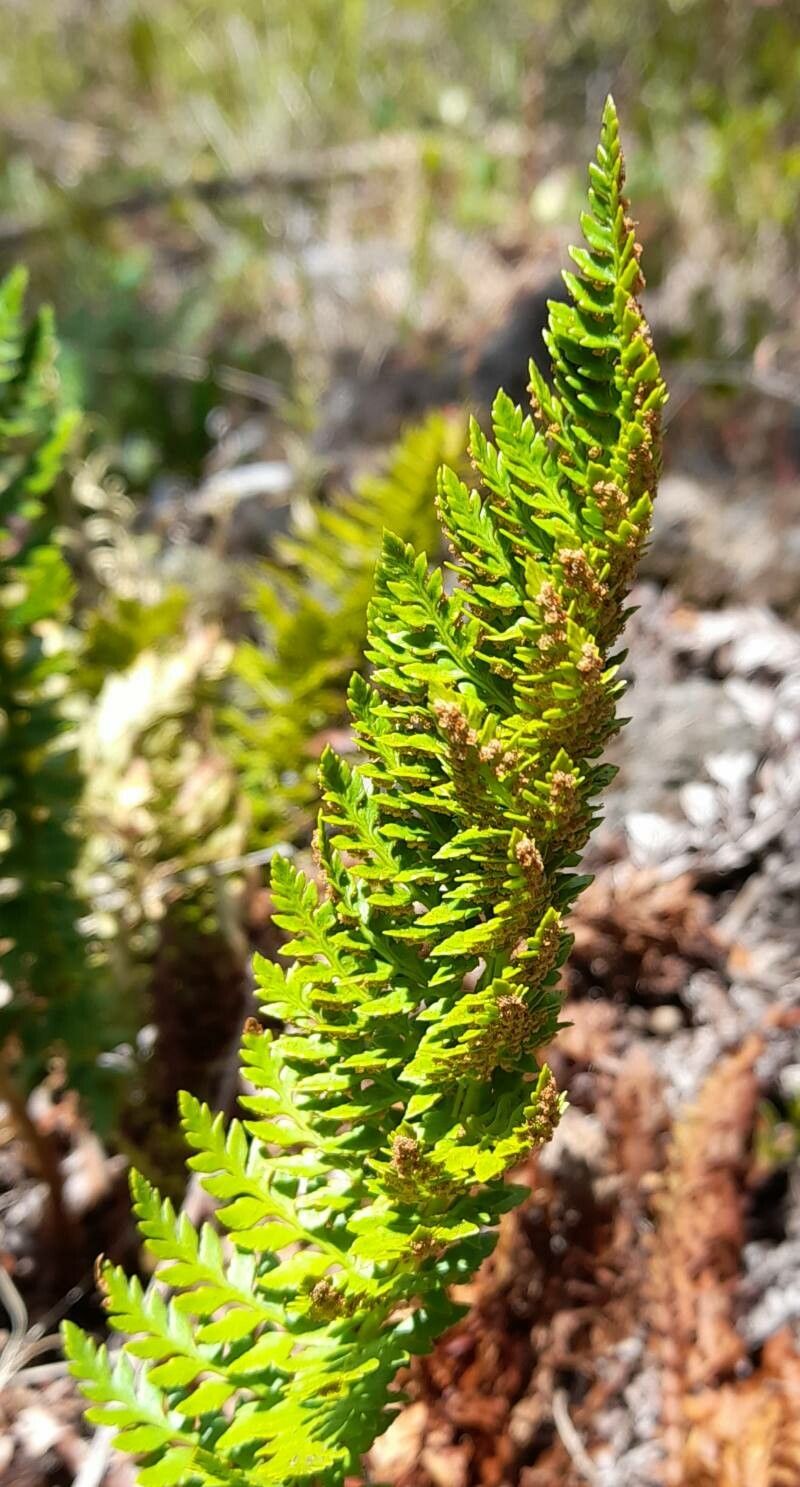
1. Spore Collection: On the underside of mature fronds, you’ll find small, brown structures called sori. These house the spores. Once the sori are plump and begin to release a dusty powder when lightly touched, they are ready for collection. Carefully remove a frond and place it in a paper bag to dry for a few days. The spores will naturally release into the bag.
2. Spore Sowing: Fill a seed tray or small pots with a sterilized peat-based seed starting mix. Mist the surface thoroughly. Sprinkle the collected spores sparingly onto the damp surface, avoiding overcrowding. Do not bury the spores; they require light to germinate.
3. Creating a Micro-Greenhouse: Cover the tray with a clear plastic lid or cling film to create a humid environment. Place the tray in a warm, brightly lit location, but out of direct sunlight.
4. Patience is a Virtue: Spore germination can take anywhere from a few weeks to several months. Ensure the soil remains consistently moist by misting regularly. Once the tiny fern gametophytes emerge and mature, they’ll develop into recognizable ferns.
Awaiting your Emerald Reward
Propagating your Polystichum plicatum is not just about multiplying your plant collection; it’s about connecting with nature’s rhythm and experiencing the joy of nurturing new life. So grab your gardening gloves, and let the adventure begin!