
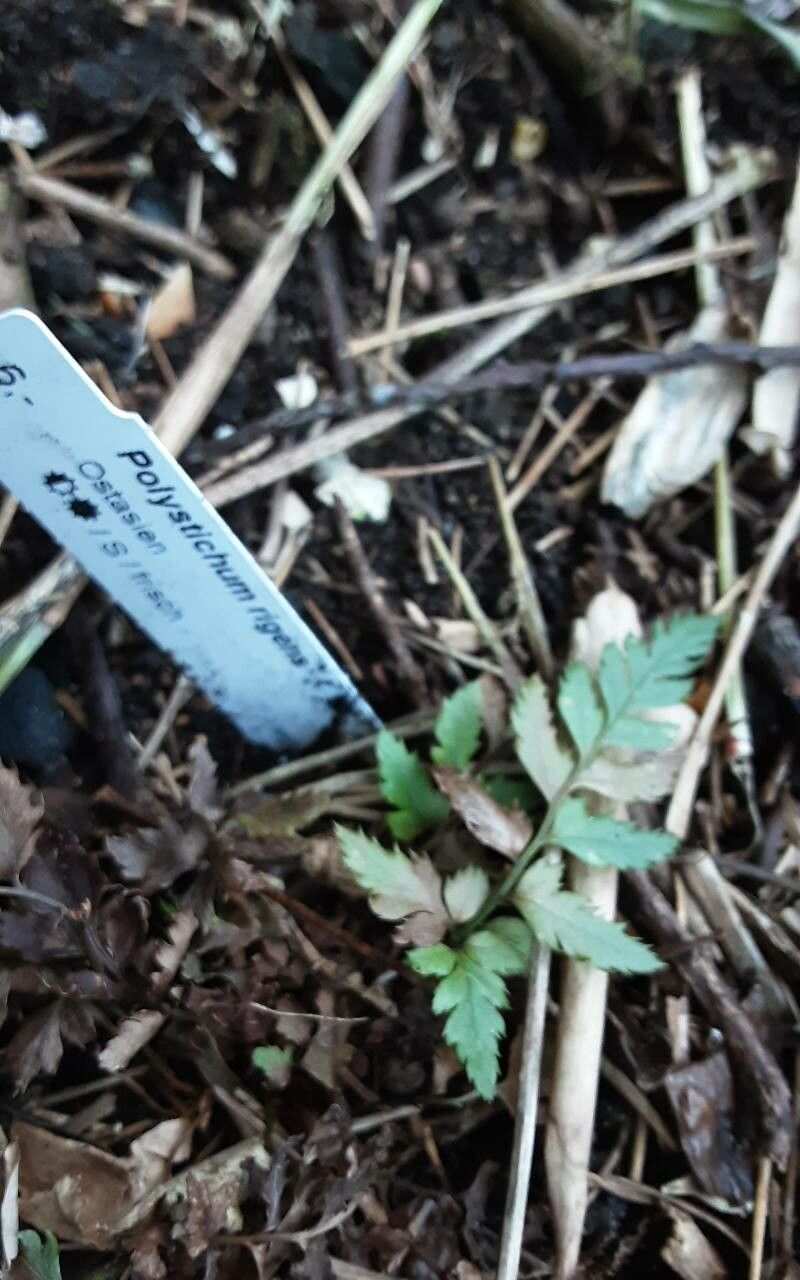
Unleashing the Ancient Power of Propagation: How to Multiply Your Polystichum Rigens Fern
Polystichum rigens, the magnificent rigid shield fern, is a sight to behold. With its upright, architectural fronds boasting a deep green hue and a uniquely rigid texture, it brings a touch of prehistoric charm to gardens. But have you ever considered multiplying this ancient wonder? Propagating your Polystichum rigens is a rewarding endeavor, allowing you to share this living fossil with others and expand your own fern family.
While propagating flowering plants often involves seeds or cuttings, ferns have their own unique methods. Let’s delve into the two main techniques for propagating your Polystichum rigens:
1. Division:
This method harnesses the fern’s natural growth pattern to create new plants. Here’s how it’s done:
- Timing is Key: The best time for division is during the early spring, just as new growth begins to emerge.
- Digging Deep: Carefully lift the entire fern clump from the ground, ensuring you get as much of the root system as possible.
- The Big Divide: Using a sharp, clean knife or spade, divide the clump into sections. Each section should have a healthy amount of roots and at least one growing point (a small, curled frond).
- Replant and Thrive: Replant the divisions at the same depth they were originally growing, ensuring the soil is well-draining and fertile. Water thoroughly and keep the divisions consistently moist while they establish themselves.
2. Spore Propagation:
This method, while slightly more demanding, offers a fascinating glimpse into the fern’s ancient reproductive strategy. Here’s a step-by-step guide:
- Spore Collection: On the underside of mature fronds, you’ll find small, brown clusters called sori. These contain the spores. Carefully snip a frond with mature sori and place it in a paper bag to dry.
- Spore Release: After a few days, the dry sori will release the spores into the bag. Carefully remove the frond and you’ll see a fine, dust-like powder – these are the spores!
- Sowing the Seeds of Antiquity: Fill a seed tray with sterile seed-starting mix and moisten it thoroughly. Sprinkle the spores over the surface, but do not bury them.
- Creating a Humid Haven: Cover the tray with a clear plastic lid or wrap to maintain high humidity. Place the tray in a bright location, but out of direct sunlight.
- Patience is a Virtue: Spore germination can take several weeks to several months. Once the spores germinate, they’ll look like small, green, heart-shaped structures called prothalli.
- Transplantation Time: When the prothalli develop small fronds, carefully transplant them into individual pots filled with well-draining potting mix.
Success Tips:
- Start with healthy plants: Choose vigorous ferns for division or spore collection to increase your chances of success.
- Sanitation is key: Use clean tools and sterile materials to prevent fungal or bacterial contamination.
- Mimic their natural environment: Polystichum rigens thrives in shady, moist environments with well-draining soil. Replicate these conditions as closely as possible.
- Don’t give up! Propagation can be a learning process. Don’t be discouraged if your first attempt doesn’t go as planned.
Propagating your Polystichum rigens is a rewarding way to connect with the fascinating life cycle of ferns. With a little patience and practice, you can multiply your collection and share the prehistoric beauty of these ferns with others.