Unlocking the Secrets of Pomaderris ledifolia Propagation: A Guide for Enthusiasts
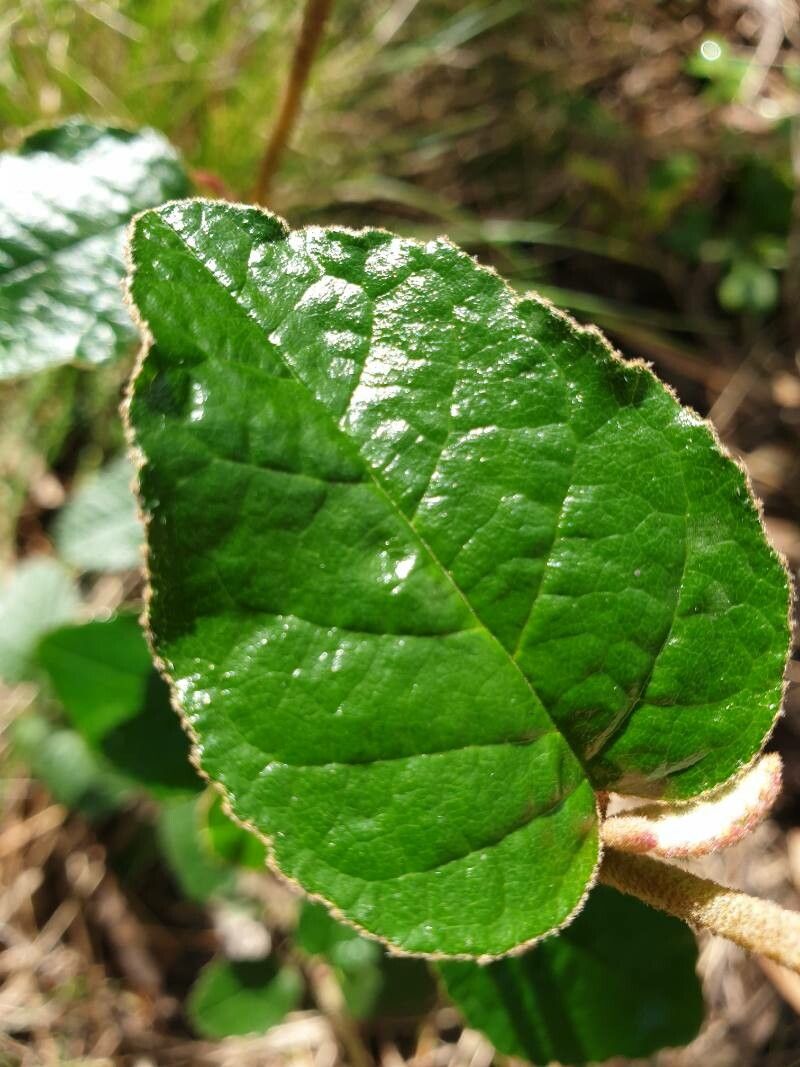
Pomaderris ledifolia, with its elegant foliage and charming yellow flowers, is a stunning addition to any garden. This Australian native, also known as the Rusty Pomaderris, is a favorite for its hardiness and unique aesthetic. But have you ever considered propagating your own Pomaderris ledifolia? While it might seem daunting, unlocking the secrets of its propagation can be a rewarding experience for any plant enthusiast.
This comprehensive guide will delve into the intricacies of propagating Pomaderris ledifolia, equipping you with the knowledge and confidence to expand your garden with these remarkable shrubs.
Understanding the Basics
Pomaderris ledifolia can be propagated through two primary methods:
- Seed Propagation: This method, while requiring patience, allows you to witness the plant’s entire life cycle.
- Cutting Propagation: A quicker method, cutting propagation involves rooting sections of the parent plant to produce genetically identical replicas.
Method 1: Seed Propagation
Timing is Key: Collect seeds from mature capsules in late summer or early autumn. The capsules should be brown and dry before collecting.
Steps for Success:
- Seed Treatment: Due to their hard seed coat, Pomaderris ledifolia seeds benefit from pre-treatment to encourage germination. Soak seeds in warm water for 24 hours, followed by gentle scarification. Scarification, a process of lightly scratching the seed coat, can be done using sandpaper or a nail file.
- Sowing: Prepare a well-draining seed-raising mix and sow the seeds shallowly, around 0.5 cm deep.
- Environment: Keep the seed tray in a warm, brightly lit location, avoiding direct sunlight. Mist regularly to maintain moisture without waterlogging the soil.
- Patience is a Virtue: Germination can be erratic and may take several weeks or even months. Don’t be discouraged!
- Transplanting: Once seedlings have developed a few sets of true leaves, they can be carefully transplanted into individual pots.
Method 2: Cutting Propagation
Optimal Timing: Late spring or early summer, when the plant is actively growing, is the best time for taking cuttings.
Steps for Success:
- Selecting Cuttings: Choose healthy, non-flowering stems that are around 10-15 cm long. Make a clean cut just below a node, the point where leaves emerge.
- Preparing the Cuttings: Remove the lower leaves to reduce moisture loss and dip the cut end in a rooting hormone powder to stimulate root development.
- Planting the Cuttings: Insert each cutting into a well-draining potting mix, ensuring at least one node is buried.
- Creating a Humid Environment: Cover the pot with a clear plastic bag or use a propagator to maintain humidity, which encourages rooting.
- Monitoring and Care: Place the cuttings in a bright location but out of direct sunlight. Keep the soil consistently moist but not waterlogged.
- Root Development: After 6-8 weeks, gently tug on the cuttings to check for resistance, indicating root development.
- Transplanting: Once roots are established, the cuttings can be transplanted into individual pots.
Nurturing Your Propagated Pomaderris ledifolia
Whether you choose seed or cutting propagation, young Pomaderris ledifolia plants thrive in well-drained soil and a sunny to partially shaded location in the garden. Regular watering, particularly during dry periods, is crucial.
By following these steps and understanding the plant’s needs, you can successfully propagate Pomaderris ledifolia and enjoy the satisfaction of nurturing these beautiful shrubs from their earliest stages. So, why not embark on this rewarding journey and witness the magic of propagation unfold before your very eyes?