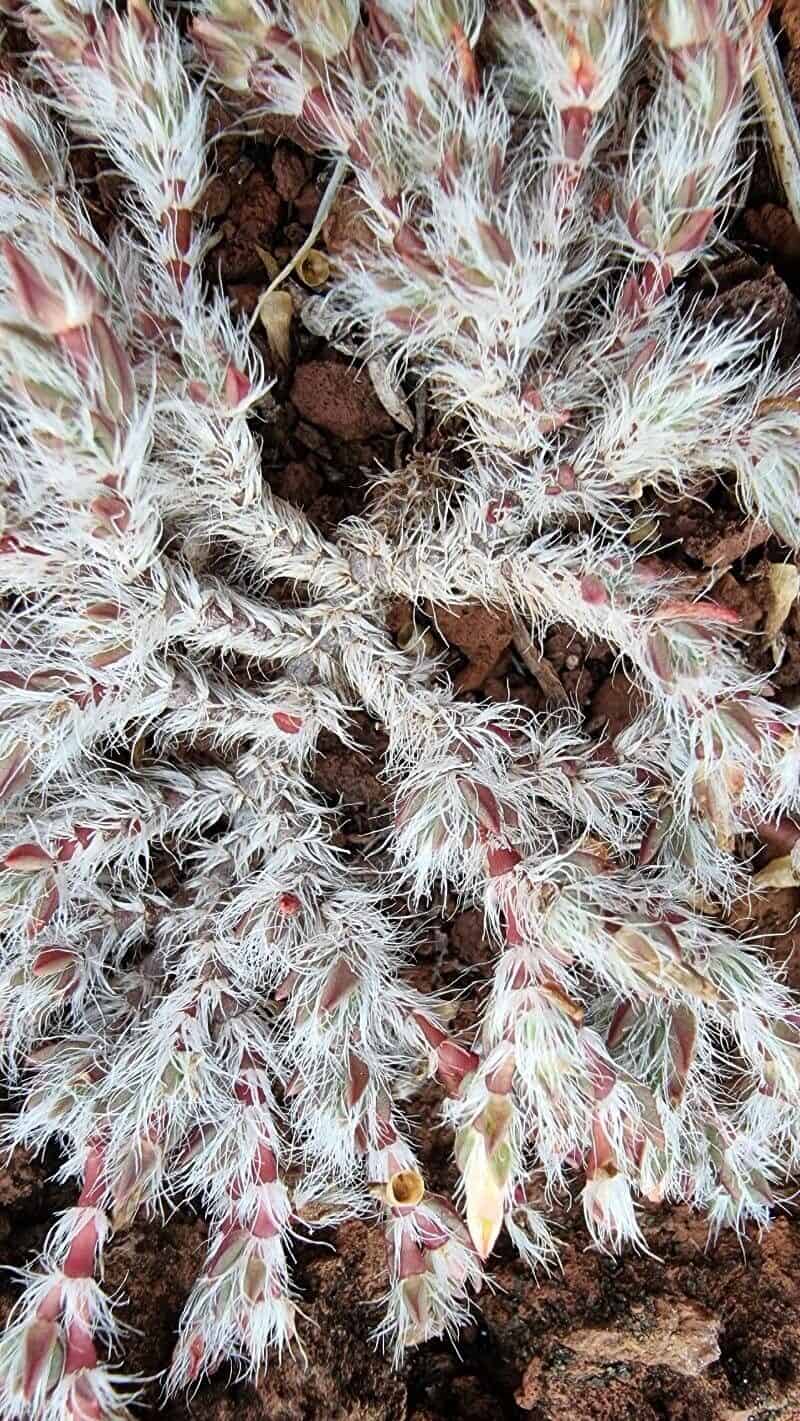
Unlocking the Secrets of Propagation: How to Easily Grow More Portulaca Wightiana
Portulaca wightiana, more charmingly known as Little Hogweed or Dwarf Portulaca, attracts attention with its vibrant flowers and intriguing succulent-like foliage. This low-maintenance groundcover thrives in warm climates, blanketing gardens with dazzling displays of pink, purple, red, or yellow blooms. Have you ever wished you could replicate this beauty across your garden? Well, you’re in luck! Propagating Portulaca wightiana is a surprisingly easy process, accessible even to novice gardeners. This guide will unlock the secrets to multiplying your collection, revealing two simple methods:
Method 1: Seed Propagation
- Collecting Seeds: Let the vibrant flowers mature on your Portulaca wightiana plant. Once the blooms begin to fade, you’ll notice tiny seed pods forming. Allow these pods to dry completely on the plant. They will turn brown and brittle as they dry, indicating readiness for collection. Gently crush the pods to extract the minuscule, black seeds within.
- Sowing: Prepare a well-draining seed starting mix or combine equal parts of potting soil and sand. Sprinkle the seeds on the surface and lightly press them in, but avoid burying them deep as they require light to germinate.
- Watering & Light: Mist the soil surface gently to avoid dislodging the seeds. Place the seed tray in a warm, sunny location or under grow lights.
- Germination: Portulaca wightiana seeds generally germinate within 7-14 days under optimal conditions. Once seedlings emerge and have a few sets of true leaves, they are ready for transplanting.
Method 2: Stem Cuttings
- Taking Cuttings: Choose healthy, non-flowering stems from your Portulaca wightiana plant. Ideally, select stems that are about 3-4 inches long. Using clean, sharp shears, make a clean cut just below a leaf node.
- Preparing the Cuttings: Remove the lower leaves from the cutting, leaving only a few leaves at the top. This encourages root development. Allow the cuttings to sit for a few hours, allowing the cut end to callus over slightly.
- Planting: Fill small pots with a well-draining potting mix. Dip the calloused end of the cuttings in rooting hormone (optional but beneficial) and gently insert them into the potting mix. Ensure at least one leaf node is buried in the soil.
- Watering & Light: Water the cuttings lightly but thoroughly. Place the pots in a bright, indirect light location, keeping the soil consistently moist but not waterlogged.
- Root Development: Within a few weeks, your cuttings should establish a healthy root system. You can test this by gently tugging on the base of the stem; resistance indicates successful rooting. Once the cuttings are well-rooted, you can transplant them into larger pots or directly into your garden.
Tips for Success:
- Optimal Timing: While both methods are relatively straightforward, spring and early summer offer the ideal conditions for propagating Portulaca wightiana. The warmth and longer daylight hours encourage faster germination and root development.
- Well-Draining Soil: Portulaca wightiana thrives in well-drained soil and is susceptible to root rot in waterlogged conditions. Ensure good drainage by amending the soil with sand or perlite.
- Sunlight Requirements: This sun-loving plant thrives in at least six hours of sunlight daily. Choose a sunny location in your garden or provide ample artificial light indoors.
- Minimal Watering: Once established, Portulaca wightiana is relatively drought-tolerant. Water sparingly, allowing the soil to dry out between watering sessions.
Propagating your own Portulaca wightiana is not just cost-effective but immensely rewarding. It allows you to expand your plant collection, share its beauty with others, and enjoy the satisfaction of nurturing new life. So why not roll up your sleeves, grab your gardening gloves, and embark on this fulfilling journey of plant propagation today? You’ll be greeted with a bounty of vibrant blooms in no time!