Unlocking the Secrets of Potalia Amara: A Guide to Propagation
Potalia amara, also known as the “Crescentia amara” or “bitter gourd,” is a fascinating plant with beautiful flowers and intriguing medicinal properties. While its bitter fruits might not be everyone’s cup of tea, its unique charm makes it a desirable addition to tropical gardens. But if you’re looking to expand your Potalia amara collection or share its beauty, understanding its propagation methods is key.
This guide dives deep into the world of Potalia amara propagation, offering you the knowledge to successfully multiply your plants.
Seeds: The Traditional Approach
Propagating Potalia amara from seeds is the most common and arguably the most rewarding method. Here’s how to do it:
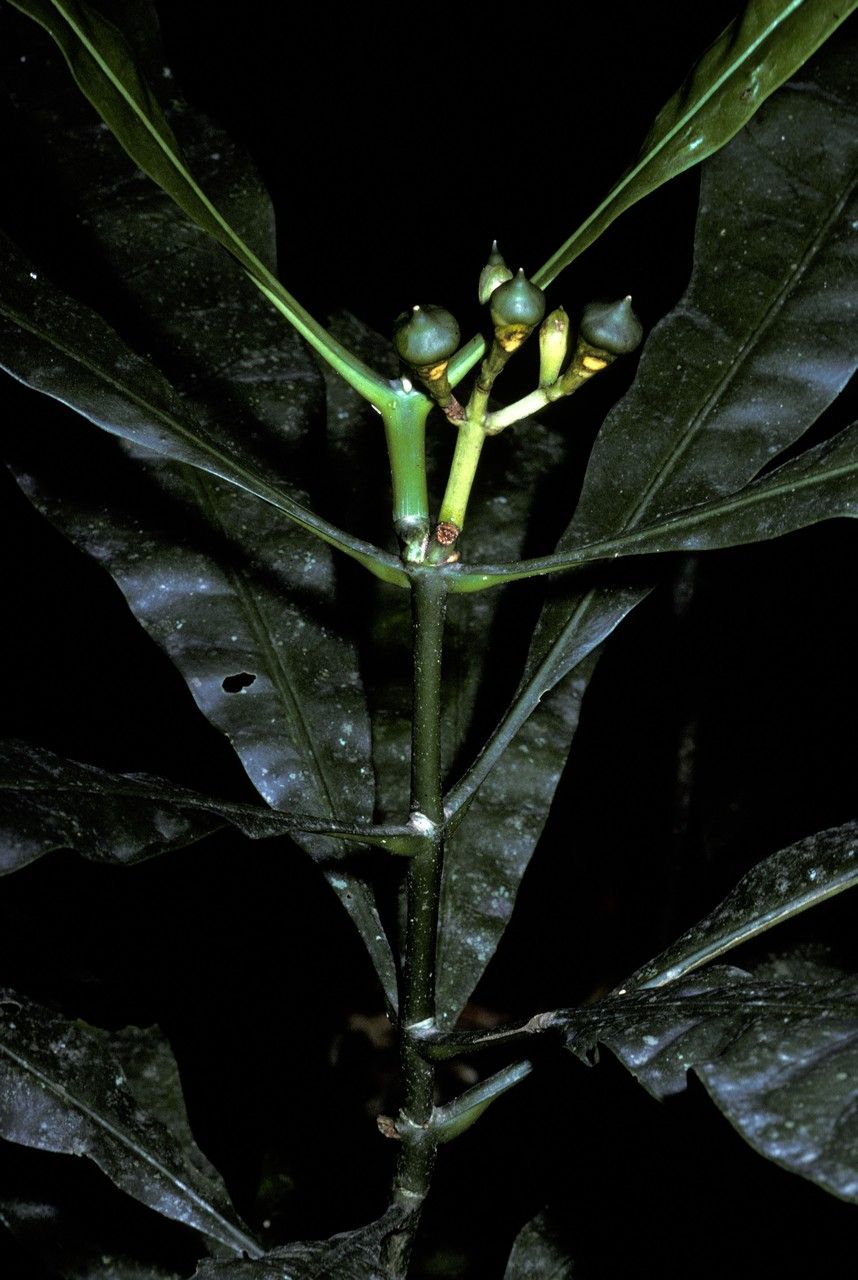
- Seed Collection: Source fresh seeds from ripe fruits. The fruits are typically ready for harvest when they turn yellow or orange. Break open the fruit and extract the seeds, cleaning off any remaining pulp.
- Seed Preparation: Potalia amara seeds benefit from scarification to improve germination rates. Gently rub the seeds with sandpaper or a nail file, creating a small nick in the outer coating. This allows moisture to penetrate and encourages sprouting.
- Sowing: Choose a well-draining seed-starting mix and sow the scarified seeds about ½ to 1 inch deep. Water thoroughly and keep the soil consistently moist but not waterlogged.
- Germination: Be patient! Potalia amara seeds can take anywhere from 2 to 8 weeks to germinate, depending on environmental conditions. Providing bottom heat using a seedling heat mat can speed up the process.
- Transplanting: Once seedlings develop a few sets of true leaves and are sturdy enough to handle, they can be transplanted into individual pots or directly into your garden. Ensure adequate spacing to allow for their mature size.
Cuttings: Faster Growth, Same Satisfaction
For a quicker propagation route, consider propagating Potalia amara from cuttings:
- Cutting Selection: Choose healthy, mature stems that are showing vigorous growth. The ideal cutting should be about 4 to 6 inches long and have at least two nodes.
- Cutting Preparation: Remove leaves from the lower half of the cutting and dip the cut end in rooting hormone powder (optional but recommended for faster root development).
- Planting: Plant the cuttings in a well-draining rooting mix, ensuring at least one node is buried beneath the surface. Water thoroughly.
- Rooting Environment: Maintain a humid environment around the cuttings by covering them with a clear plastic bag or humidity dome. This will help prevent them from drying out.
- Transplanting: Once roots have developed and new growth emerges (typically within a few weeks), you can transplant the rooted cuttings into individual pots or your garden.
Tips for Success:
- Light: Potalia amara thrives in full sun to partial shade. Ensure your seedlings or cuttings receive adequate light for optimal growth.
- Water: While they prefer consistent moisture, avoid overwatering. Allow the soil to dry slightly between waterings to prevent root rot.
- Fertilizer: Provide a balanced liquid fertilizer every 2-4 weeks during the growing season to support healthy development.
- Pests and Diseases: Be vigilant about common pests such as aphids and mealybugs. Address any signs of disease promptly.
Propagating Potalia amara, while not without its considerations, can be a truly rewarding experience. By following these guidelines and cultivating patience, you can unlock the secrets of this captivating plant and enjoy its unique beauty for years to come.