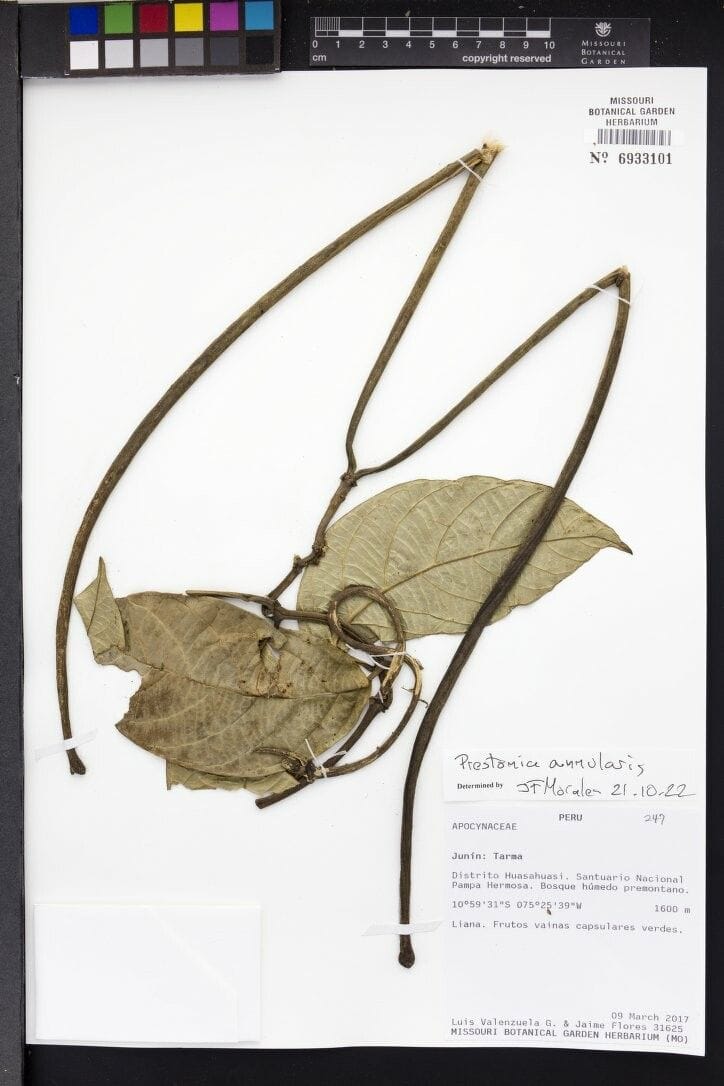
Unlocking the Secrets of the Matabele Rope Vine: A Guide to Propagating Prestonia Annularis
The Matabele Rope Vine, scientifically known as Prestonia annularis, is a fascinating climber with unique, rope-like stems and delicate white flowers. Native to Southern Africa, this intriguing plant has captured the hearts of plant enthusiasts worldwide. If you’re eager to welcome this botanical beauty into your home or garden, then mastering the art of propagation is key.
Two Paths to Propagation: Seeds vs. Cuttings
While Prestonia annularis produces seed pods, successfully germinating the seeds can be notoriously challenging. Therefore, propagation through cuttings reigns supreme as the most effective method. This involves encouraging a section of the vine to develop roots, eventually growing into a separate, independent plant.
Mastering Propagation through Cuttings: A Step-by-Step Guide
Ready to try your hand at propagating your own Matabele Rope Vine? Follow these detailed steps to maximize your success:
1. Timing is Everything: The optimal time to take cuttings is during the plant’s active growing season, typically spring or early summer. During this period, the plant channels its energy into new growth, increasing the chances of successful rooting.
2. Choose the Right Cutting: Select a healthy, non-flowering stem. Look for a stem with at least two or three nodes, those slightly swollen bumps where leaves emerge. The cutting should be about 4-6 inches long.
3. Prepare the Cutting: Using a clean, sharp knife or pruning shears, make a clean cut just below a node. Remove any leaves from the lower two-thirds of the cutting to prevent rotting and encourage root development.
4. Rooting Hormone: The Secret Weapon: While not strictly necessary, dipping the cut end of the stem in rooting hormone powder can significantly improve your chances of success. Rooting hormone contains growth regulators that stimulate root formation.
5. Creating the Perfect Rooting Environment: Prestonia annularis thrives in well-draining soil. Prepare a pot with a mix of peat moss and perlite or vermiculite. Moisten the mix thoroughly.
6. Planting the Cutting: Create a hole in the center of the prepared pot. Gently insert the bottom two-thirds of the cutting into the hole, ensuring that at least one node is buried. Firmly press the soil around the cutting.
7. Humidity is Key: Cover the pot with a clear plastic bag or a propagation dome to create a humid environment that mimics the warmth and moisture the cutting needs to develop roots.
8. Location, Location, Location: Place the pot in a bright location, but out of direct sunlight. Direct sun can overheat and dry out the cutting before it develops roots.
9. Patience is a Virtue: Rooting can take anywhere from 4 to 8 weeks, depending on various factors like temperature and humidity. Resist the urge to tug on the cutting to check for roots, as this can damage the developing root system.
10. Signs of Success: Once new growth emerges from the cutting, it’s a clear sign that roots have developed. You can gradually acclimate the new plant to less humidity by making small holes in the plastic bag or dome over a week or two.
11. Transplanting Your Success Story: After your Prestonia annularis cutting has developed a robust root system, it’s ready for its new home. Choose a larger pot with drainage holes and transplant the rooted cutting carefully.
A Rewarding Journey
Propagating Prestonia annularis might require a little patience and a touch of green thumb magic, but the rewards are well worth the effort. Watching a new plant thrive from a simple cutting is incredibly satisfying, and you’ll be able to enjoy the unique beauty of this fascinating vine for years to come.