Unveiling the Secrets of Primula hirsuta Propagation: From Seed to Success!
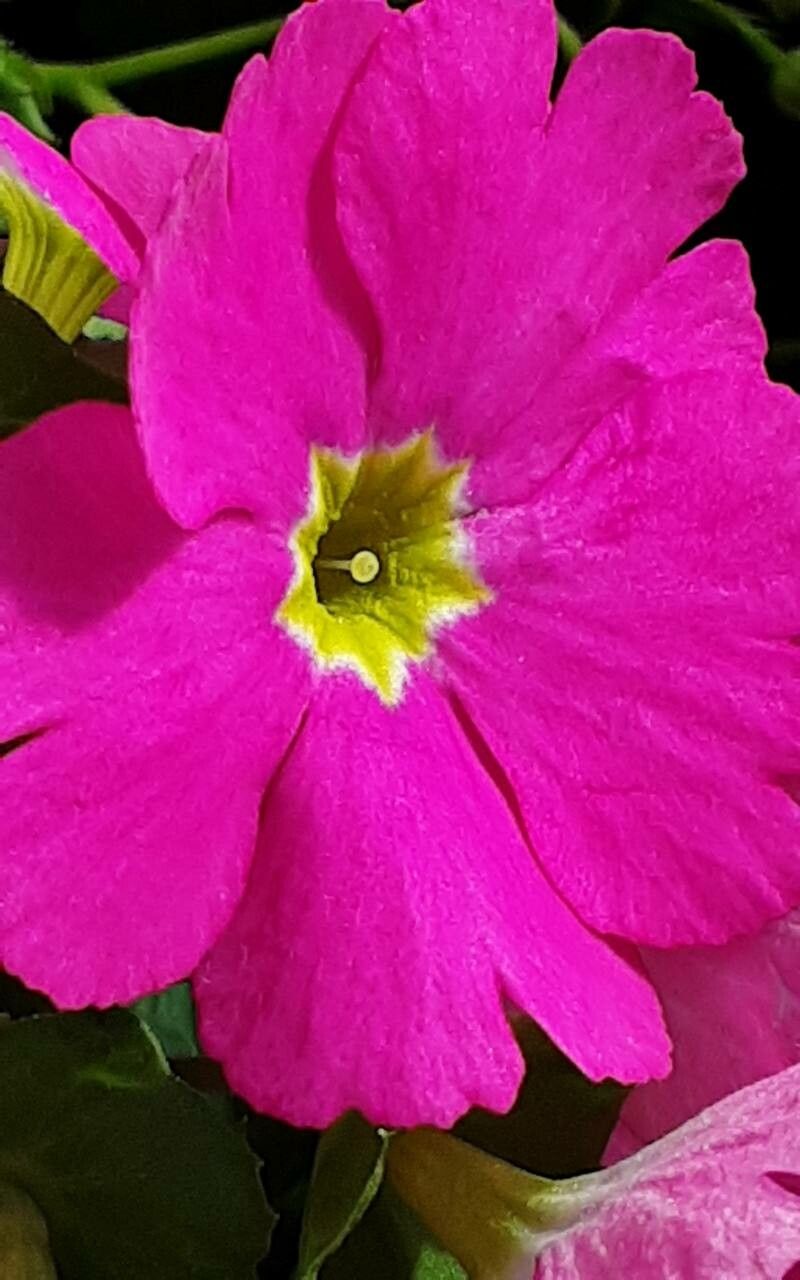
The Primula hirsuta, also known as the Hairy Primrose, captivates with its charm. This alpine treasure, flaunting vibrant pink to deep magenta blooms with a yellow eye, thrives in rocky, well-drained environments. While readily available in nurseries, propagating your own Primula hirsuta allows for a deeper connection with this charming plant. Let’s delve into the various techniques to multiply your Primula hirsuta collection and paint your garden with its captivating hues.
1. Seed Starting: A Journey from Tiny Specks to Blooming Delights
Starting from seed, while requiring a touch more patience, offers the immense satisfaction of witnessing the entire life cycle of your Primula hirsuta. Here’s what you need to know:
- The Right Time: Sow Primula hirsuta seeds in late winter or early spring (February to April).
- Sowing the Seeds: Utilize a seed starting mix with excellent drainage. Lightly press the seeds onto the surface; do not bury them.
- Creating the Ideal Environment: Mist the soil surface with water and cover the tray with a propagator lid or plastic wrap to maintain humidity. Place the tray in a cool (15-18°C), brightly lit location, out of direct sunlight.
- Germination: Be patient! Germination can take anywhere from 2-6 weeks. Once the seedlings emerge, remove the cover.
- Pricking Out and Potting On: When the seedlings develop a couple of true leaves, carefully transplant them into individual pots filled with a well-draining potting mix.
- Outdoor Acclimatization: Gradually acclimatize the young plants to outdoor conditions before planting them in their final location in late spring or early summer.
2. Division: Multiplying Your Floral Bounty
Once your Primula hirsuta matures, typically after two to three years, division offers a straightforward method to create more plants. Here’s how:
- The Perfect Time: Divide Primula hirsuta in early spring or after flowering has finished.
- The Process: Carefully lift the entire plant from the ground or pot. Use a sharp, clean knife or your hands to gently tease apart the root ball into smaller sections, ensuring each section has healthy roots and shoots.
- Replanting: Replant the divisions at the same depth as they were originally growing, water them thoroughly, and watch them flourish.
3. Leaf Cuttings: A Less Common, but Viable Option
While less common, propagating Primula hirsuta from leaf cuttings is possible, particularly with larger, healthier leaves. Here’s how:
- Timing: Take leaf cuttings in spring.
- Preparation: Choose healthy, mature leaves. Using a sharp, sterilized knife or pair of scissors, cut the leaf from the plant at its base. Trim the leafstalk to about an inch long.
- Planting the Cutting: Dip the cut end of the leafstalk in rooting hormone and then insert it into a pot filled with a moist, well-draining seed starting mix.
- Creating a Humid Environment: Cover the pot with a plastic bag to maintain humidity and place it in a cool, brightly lit spot.
- Root Development: After a few weeks, gently tug on the leaf to check for resistance, which indicates root development. Once the roots are established, you can transplant the new plantlets into individual pots.
No matter which method you choose, remember that patience and providing optimal growing conditions are key to success. With a little care and dedication, you can multiply your Primula hirsuta collection and enjoy a vibrant display of these alpine beauties for years to come.