Taming the Wild Beauty: A Guide to Propagating the Majestic Protea madiensis
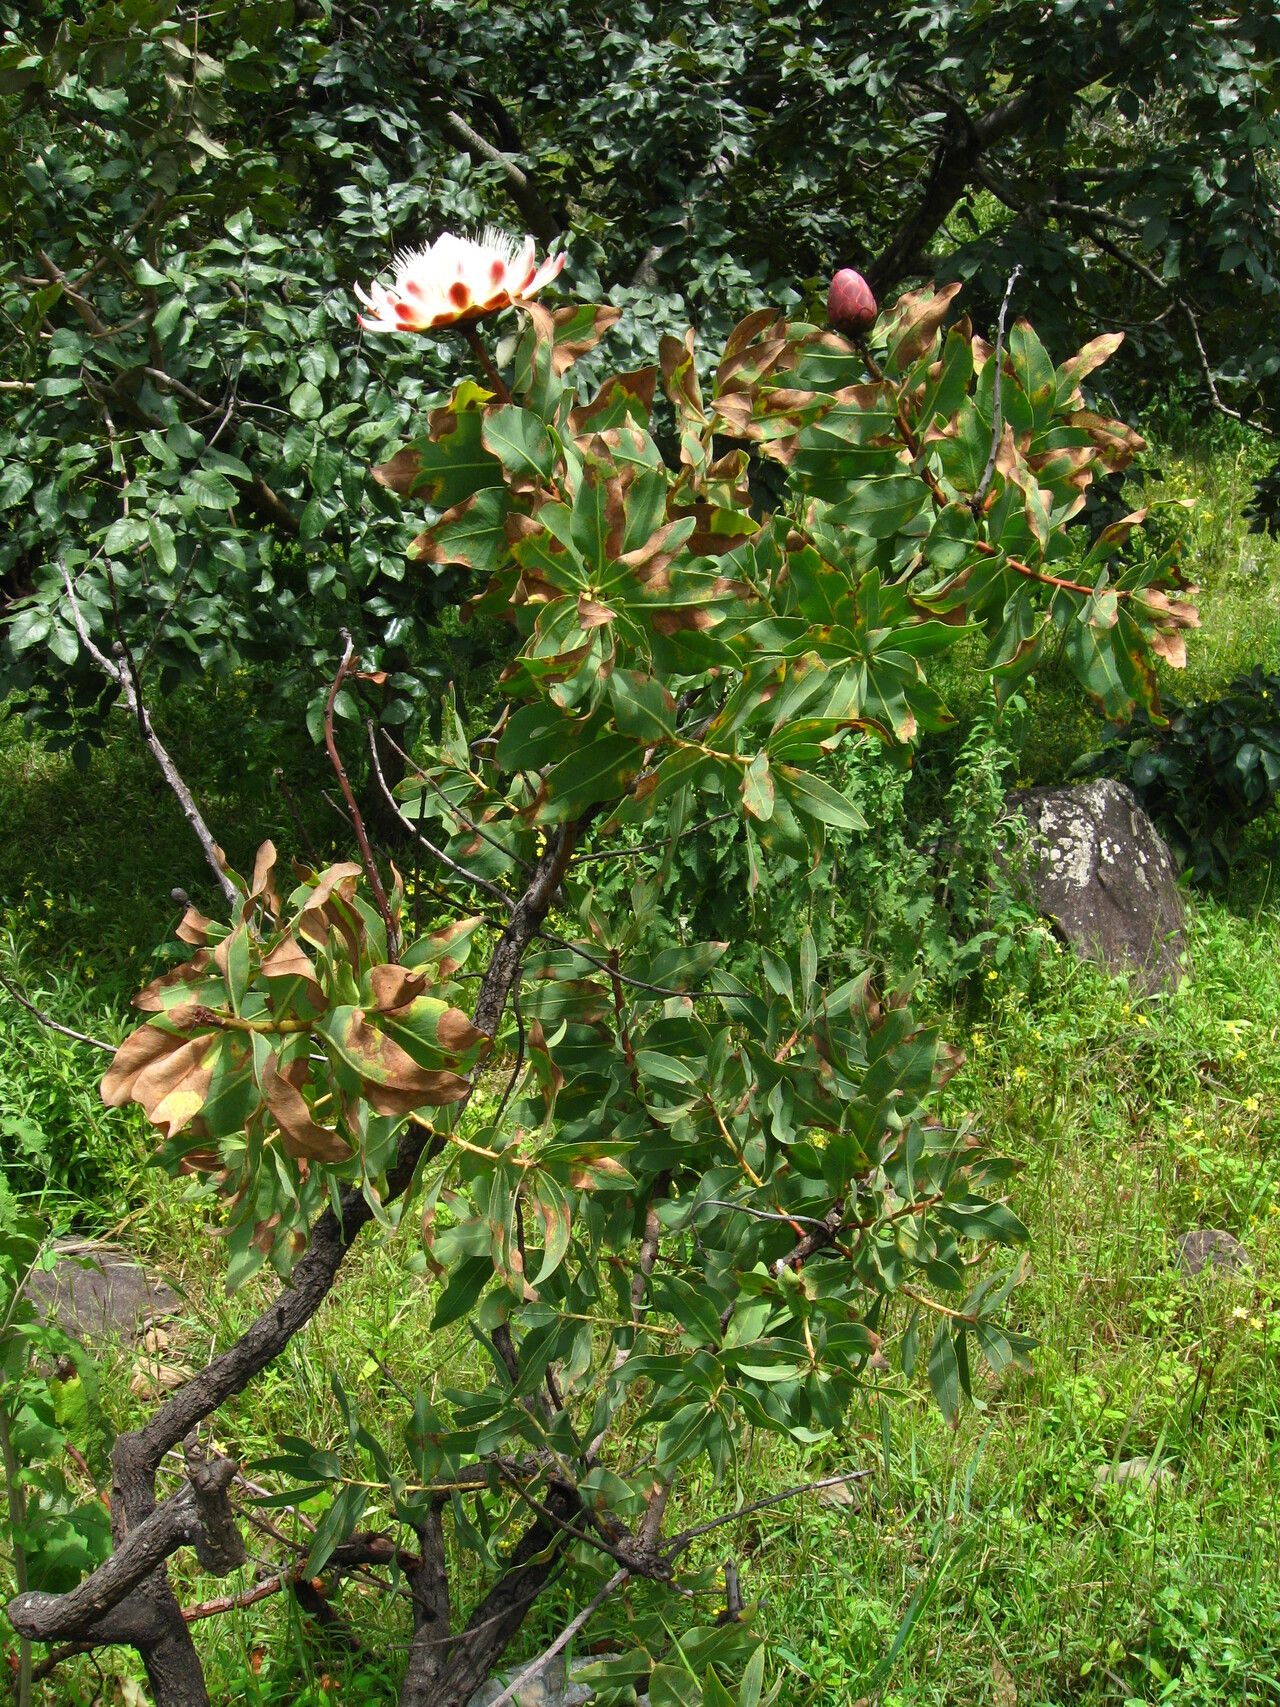
The Protea madiensis, with its striking, artichoke-like blooms and vibrant colors, is a showstopper in any garden. Native to the high-altitude grasslands of South Africa, this member of the Proteaceae family might seem like a challenging plant to grow outside of its natural habitat. However, with a bit of patience and the right techniques, propagating your own Protea madiensis is an achievable and rewarding endeavor.
Two Paths to Propagation: Seeds vs. Cuttings
You can propagate Protea madiensis through two primary methods: seeds and cuttings.
1. Seed Starting: A Test of Patience
- The Pros: Starting from seed allows you to witness the entire life cycle of the plant, and it can be a more economical option for obtaining multiple plants.
- The Cons: Germinating Protea madiensis seeds can be a slow and somewhat unpredictable process, requiring patience and a touch of luck. It can take anywhere from a few months to a year or more for seedlings to emerge.
Seed Starting Steps:
- Obtain fresh seeds: Source your seeds from a reputable supplier or, if you’re lucky enough to have access to a flowering plant, collect them after the flower heads have dried.
- Smoke Treatment (Optional): Soaking the seeds in a solution of smoked water (literally, water infused with smoke) can mimic the natural fire conditions that often precede germination in their native habitat, potentially increasing your success rate.
- Sowing: Sow the seeds in a well-draining seed-starting mix, barely covering them with a thin layer of the medium.
- Patience is Key: Keep the seed tray consistently moist but not waterlogged. Place it in a warm, bright location, out of direct sunlight.
- Transplanting: Once seedlings have developed several sets of true leaves, transplant them into individual pots with a well-draining, slightly acidic potting mix.
2. Cuttings: A Faster Route to Blooms
- The Pros: Taking cuttings often leads to quicker results and more predictable success rates compared to seeds.
- The Cons: Sourcing healthy cuttings might be challenging, and you’ll need a well-established mother plant.
Cutting Propagation Steps:
- Timing is Everything: Take cuttings during the plant’s active growing season (spring or early summer) from healthy, non-flowering stems.
- Prepare the Cutting: Using a sterilized, sharp knife or pruning shears, take a 4-6 inch cutting from a healthy stem. Remove the lower leaves to expose the nodes.
- Rooting Hormone (Optional): Dipping the cut end in rooting hormone can encourage faster root development.
- Potting the Cuttings: Plant the cuttings in a well-draining rooting mix, ensuring at least one node is buried.
- Creating a Humid Environment: Cover the pot with a plastic bag or use a humidity dome to maintain moisture around the cuttings.
- Patience and Observation: Keep the cuttings in a warm, bright spot, out of direct sunlight. It typically takes several weeks for roots to develop. Once you see new growth, you can gradually acclimate the cutting to normal humidity.
Nurturing Your Protea madiensis
No matter your chosen propagation method, caring for your Protea madiensis requires similar considerations:
- Well-Drained Soil: They thrive in loose, acidic soil with excellent drainage.
- Sun Lovers: Provide at least 6 hours of direct sunlight daily.
- Water Wisely: Allow the soil to dry out slightly between waterings, as they are susceptible to root rot.
- Feeding Time: Feed your plants with a slow-release fertilizer formulated for acid-loving plants.
- Pruning for Success: Regular pruning after flowering encourages bushier growth and more blooms.
Propagating Protea madiensis is a labor of love, but the rewards are abundant. With the right techniques and a dash of patience, you’ll be well on your way to enjoying these botanical treasures in your own garden.