Unlocking the Secrets of the Climbing Daisy: Propagating Pseudogynoxys Benthamii
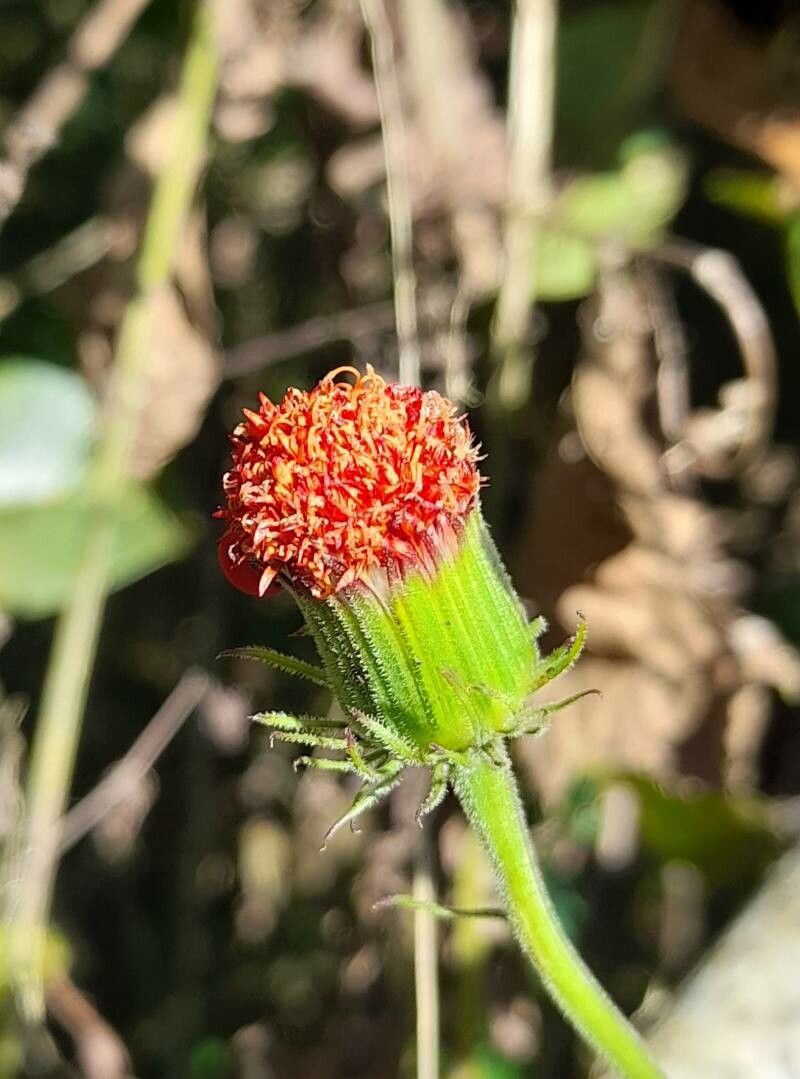
The Climbing Daisy (Pseudogynoxys benthamii), with its vibrant yellow blooms and vigorous climbing habit, is a welcome addition to any sunny garden. This South American native, also known as the Mexican Flame Vine, brings an effortless tropical charm to fences, trellises, and arbors. But did you know that multiplying your Climbing Daisy joy doesn’t require a trip to the nursery?
That’s right! Propagating Pseudogynoxys benthamii is surprisingly simple, even for beginner gardeners. With a bit of patience and the right techniques, you can easily create new plants to expand your garden or share with friends.
Two Paths to Propagation:
Climbing Daisy can be propagated through two main methods:
1. Seed Propagation:
While less common, growing Climbing Daisy from seed can be a rewarding experience. Here’s how:
- Collecting Seeds: Allow some flowers to mature fully and form seed heads. Once the heads turn brown and dry, carefully collect them and store them in a cool, dry place until ready to plant.
- Sowing the Seeds: Sow the seeds in a well-draining seed starting mix. Lightly press them onto the surface, ensuring they receive adequate light.
- Providing Optimal Conditions: Keep the soil consistently moist and provide warmth (around 70°F or 21°C) for successful germination.
- Transplanting Seedlings: Once the seedlings develop a few true leaves, they can be carefully transplanted into larger pots or directly into the garden.
2. Stem Cuttings: The Go-To Method
Propagating Pseudogynoxys benthamii from stem cuttings is the most popular and reliable method, boasting a high success rate. Here’s a step-by-step guide:
- Timing is Key: Take cuttings in the spring or early summer when the plant is actively growing.
- Selecting the Right Cuttings: Choose healthy, non-flowering stems that are approximately 4-6 inches (10-15 centimeters) long.
- Preparing the Cuttings: Using a sharp, sterilized knife or pruning shears, make a clean cut just below a leaf node. Remove the lower leaves, leaving only 2-3 sets of leaves at the top.
- Encouraging Root Development: (Optional) Dip the cut end of the stem in rooting hormone powder to stimulate faster root growth.
- Planting the Cuttings: Plant the prepared cuttings in a well-draining potting mix specifically formulated for cuttings.
- Creating a Humid Environment: Cover the pot with a plastic bag or use a propagation dome to create a warm, humid environment that promotes rooting.
- Patience is a Virtue: It may take several weeks for the cuttings to develop roots. Check periodically for signs of new growth, which indicates successful rooting.
- Transplanting to Their New Home: Once the cuttings have developed a healthy root system, transplant them into individual pots or directly into the garden.
Tips for Success:
- Use a light and airy potting mix that provides excellent drainage.
- Keep the soil consistently moist but avoid overwatering, which can lead to root rot.
- Place the cuttings in a bright location, but avoid direct sunlight, which can scorch the delicate new growth.
Propagating your own Climbing Daisy is a truly rewarding experience. It allows you to expand your garden with ease, creating a stunning display of these sun-loving beauties. So, grab your gardening gloves and unlock the secrets of propagating Pseudogynoxys benthamii – you might just discover a new favorite gardening hobby!