Unlocking the Secrets of the Round-headed Psiadia: A Propagation Guide
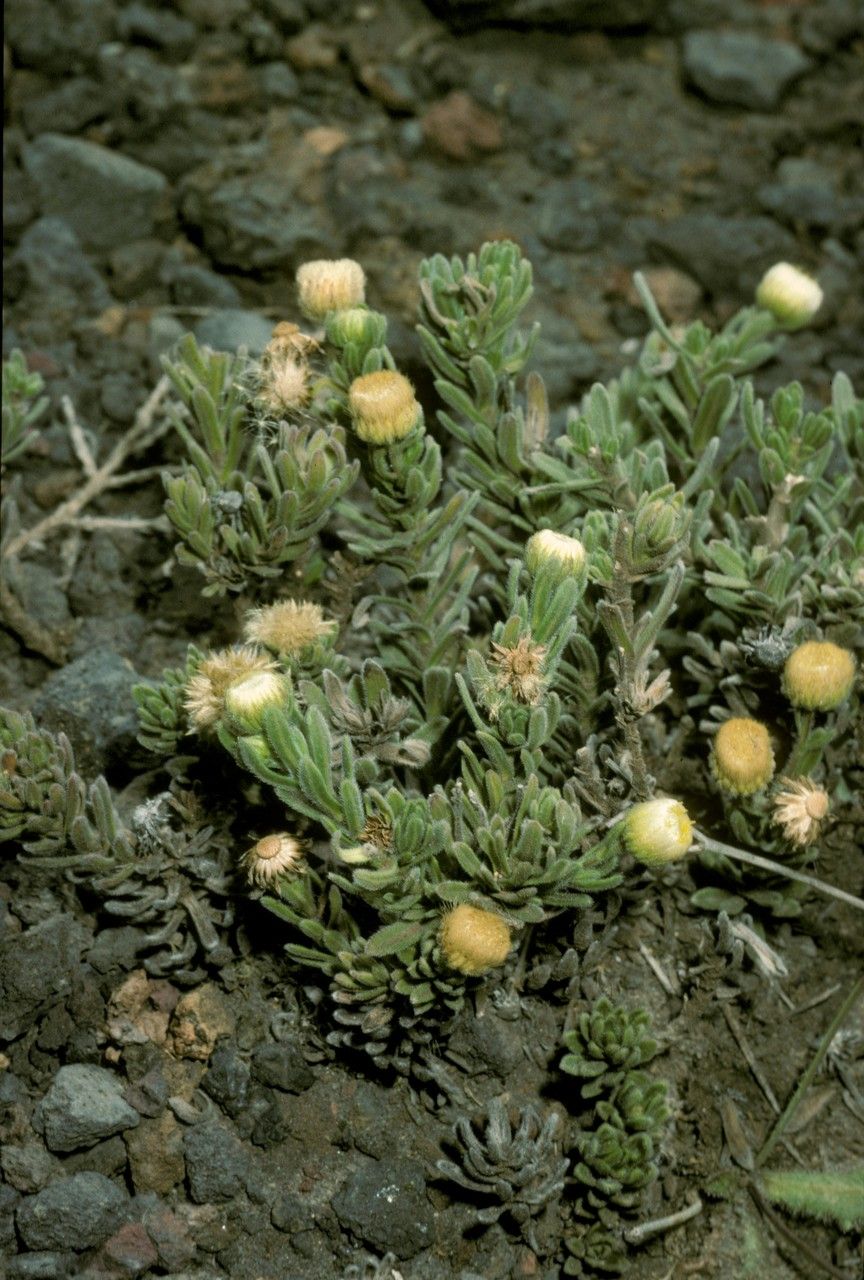
The Round-headed Psiadia (Psiadia callocephala) might be a bit of a mouthful to say, but this intriguing plant, with its silvery foliage and button-like yellow flowers, is a unique addition to any garden or home. Native to the island of Mauritius, this evergreen shrub thrives in warm climates and prefers well-drained soil. While not commonly found in garden centers, propagating your own Psiadia callocephala can be a rewarding experience for plant enthusiasts.
This comprehensive guide will demystify the propagation process for the Round-headed Psiadia, highlighting the most effective methods and providing practical tips for success.
Two Paths to Propagation: Seed vs. Cuttings
1. Starting from Seed: A Journey of Patience
Propagating Psiadia callocephala from seed requires patience and a touch of green thumb magic. While seeds might be a bit tricky to source, they offer a rewarding experience for dedicated gardeners:
- Sourcing Seeds: Your best bet is to search online for specialist seed suppliers or connect with botanical gardens that may offer seeds.
- Sowing: Sow the seeds in a well-draining seed-starting mix, lightly covering them with soil.
- Warmth & Moisture: Provide bottom heat with a seedling mat and maintain consistent moisture using a spray bottle to avoid dislodging the seeds.
- Germination: Be patient! Germination can be erratic and may take several weeks or even months.
- Transplanting: Once seedlings have a few sets of true leaves, carefully transplant them into individual pots.
2. Propagating from Cuttings: A Quicker Success Route
Taking cuttings from an established Psiadia callocephala provides a quicker and often more successful propagation method:
- Timing is Key: Take cuttings in the spring or early summer when the plant is actively growing.
- Selecting the Right Cuttings: Choose healthy, non-flowering stems that are about 4-6 inches long.
- Preparing the Cuttings: Remove the lower leaves, leaving 2-3 pairs at the top. Dip the cut end in rooting hormone (optional but recommended).
- Planting the Cuttings: Plant the cuttings in a well-draining potting mix, ensuring the bottom node is buried.
- Creating a Humid Environment: Cover the cuttings with a plastic bag or humidity dome to create a greenhouse-like environment.
- Rooting Time: Cuttings should root in 4-6 weeks. You’ll know roots have formed when you feel resistance when gently tugging on the cutting.
- Transplanting: Once rooted, transplant the cuttings into individual pots.
Nurturing Your Psiadia Callocephala: Essential Care Tips
Regardless of your chosen propagation method, providing the right growing conditions is vital for successfully establishing your new Psiadia callocephala plants:
- Sunlight: Place your plants in a location that receives bright, indirect sunlight.
- Watering: Water thoroughly when the soil is dry to the touch, but avoid overwatering, which can lead to root rot.
- Soil: Use a well-draining potting mix.
- Fertilizing: Feed with a balanced liquid fertilizer diluted to half strength during the growing season (spring to summer).
- Pruning: Pinching back the growing tips encourages a bushier and fuller plant.
Reaping the Rewards: Enjoying Your Psiadia Callocephala
Propagating your own Psiadia callocephala, whether from seed or cuttings, is a fulfilling journey that allows you to expand your plant family and appreciate the unique beauty of this fascinating species. So, why not embark on this botanical adventure and add a touch of Mauritian charm to your green space?