From One to Many: Mastering the Art of Propagating Psiadia Laurifolia
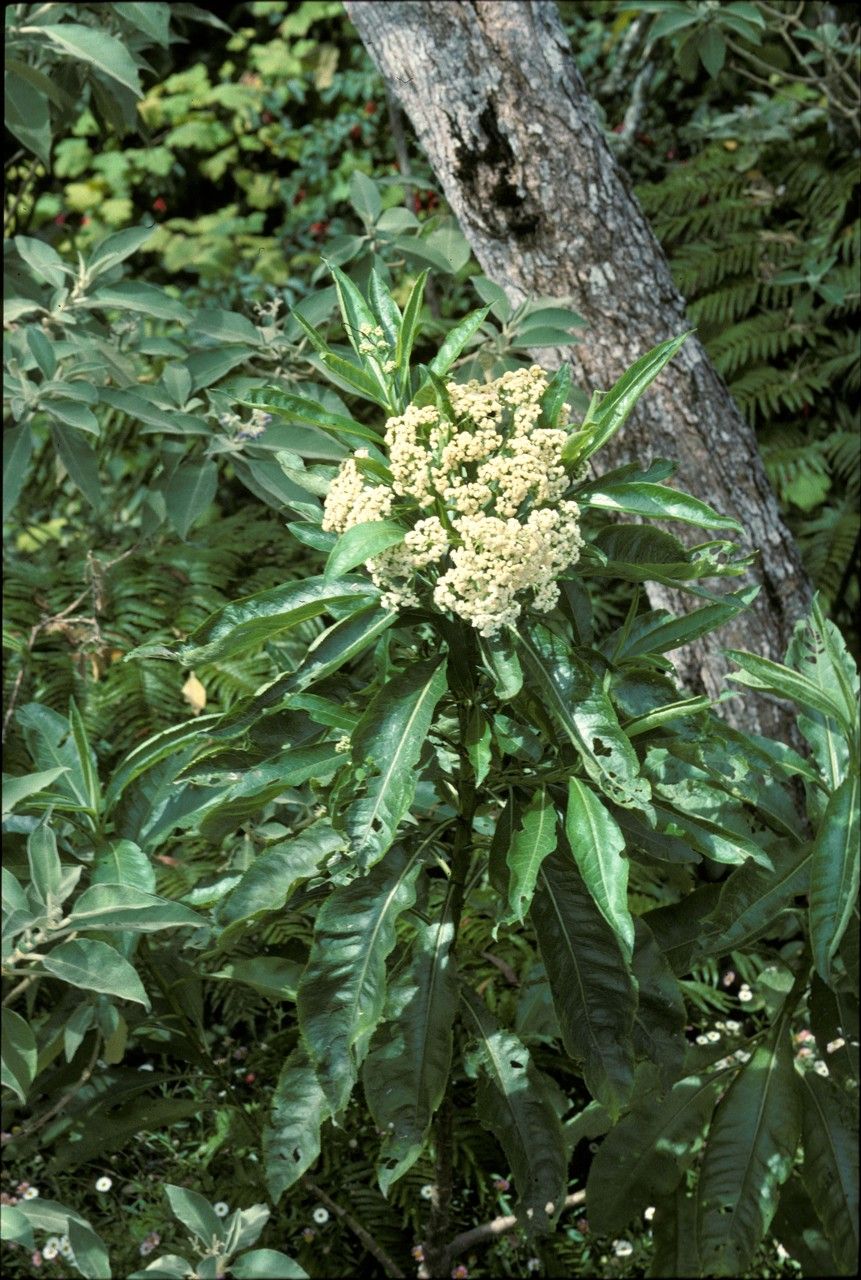
Psiadia laurifolia, also known as the “fever plant,” is a fragrant, medicinal herb with striking foliage and vibrant purple flowers. This South African native is not only a beautiful addition to any garden but also boasts a rich history of traditional healing uses. But what if you could share this remarkable plant with friends, family, or even your own growing collection?
The good news is, propagating Psiadia laurifolia is surprisingly simple, making it accessible to even novice gardeners. This blog post will guide you through the most effective methods for creating new plants from cuttings and seeds, ensuring your Psiadia laurifolia kingdom continues to flourish.
The Power of Cuttings:
The most common and reliable method for propagating Psiadia laurifolia is through stem cuttings. Here’s how to do it:
- Timing is Key: The best time to take cuttings is during the spring or summer when the plant is actively growing.
- Choose Your Cutting: Select healthy, non-flowering stems with at least two sets of leaves. Make a clean cut just below a node (the point where leaves emerge).
- Prepare the Cutting: Remove the lower leaves on the cutting, leaving only a few at the top. This reduces the surface area losing water and encourages root growth.
- The Magic of Hormones: Dip the cut end of the stem in rooting hormone powder. This helps stimulate root development.
- Potting Up: Plant the cutting in a small pot filled with a well-draining potting mix, ensuring the nodes are buried just below the soil surface.
- Create the Right Environment: Cover the pot with a clear plastic bag or dome to create a humid environment crucial for root growth. Place it in a warm, bright location, but avoid direct sunlight.
- Patience is a Virtue: Keep the soil consistently moist (but not soggy). New roots should develop within a few weeks. Remove the plastic cover gradually once you see signs of new growth.
From Seed to Seedling:
For those who enjoy the process of nurturing life from the very beginning, propagation from seeds offers a rewarding experience. Here’s the breakdown:
- Gathering Seeds: Collect mature seeds from dried flower heads. Allow them to dry completely before storing them in a cool, dry location.
- Prepping for Growth: Sow seeds in a seed tray or small pot filled with seed-starting mix. Gently press the seeds into the soil, but don’t bury them too deep.
- The Sunshine Touch: Cover the tray with a clear plastic dome and place it in a bright location with indirect light.
- Germination Time: Keep the soil moist and watch for germination, which can take anywhere from a few weeks to a couple of months.
- First Transplant: Once seedlings have developed a few true leaves, you can carefully transplant them into individual pots filled with a well-draining potting mix.
Tips for Success:
- Water Wisely: Psiadia laurifolia prefers well-draining soil, so water only when the top inch of the soil is dry.
- Sun and Shade: This plant enjoys full sun to partial shade.
- Feed Your Friend: Regularly fertilize your Psiadia laurifolia with a balanced liquid fertilizer during the growing season.
By mastering the art of propagation, you can expand your collection of Psiadia laurifolia, share its beauty and benefits with others, and contribute to the preservation of this remarkable medicinal plant. Whether you choose cuttings or seeds, patience, care, and the right techniques will ensure your propagation efforts thrive. Enjoy the journey!