Unfurling the Secrets of the Neotropical Bracken Fern: A Guide to Propagating Pteridium arachnoideum
The Pteridium arachnoideum, also known as the Neotropical bracken fern, is a fascinating plant with a wide distribution across the tropical and subtropical regions of the Americas. This fast-growing fern, with its intricate fronds and resilient nature, can be a striking addition to gardens in suitable climates. But unlike many cultivated plants, successfully propagating Pteridium arachnoideum requires a deeper understanding of its natural life cycle.
Understanding the Nature of the Beast (Fern?)
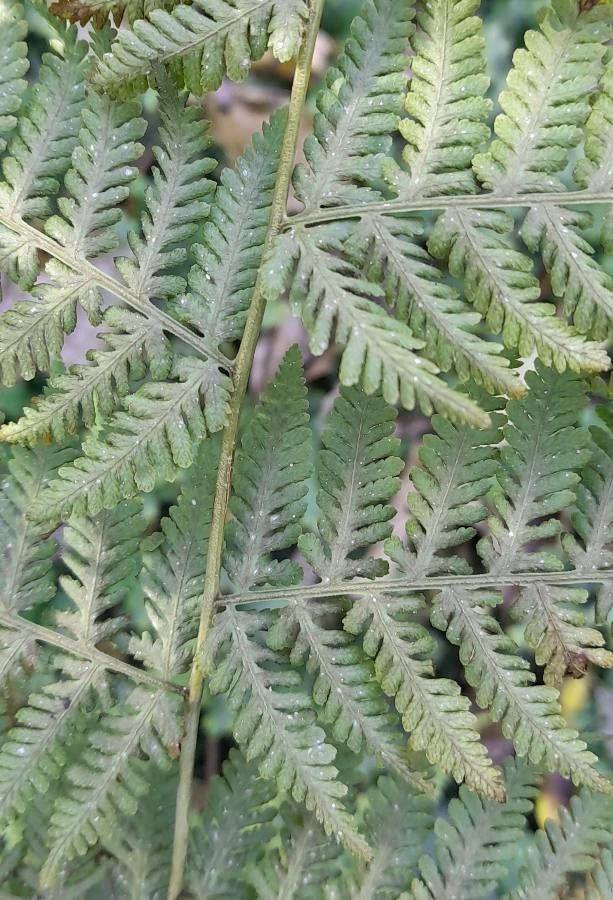
Before we delve into propagation methods, it’s crucial to remember that ferns like Pteridium arachnoideum don’t produce seeds. Instead, they rely on spores, microscopic reproductive units found on the undersides of their fronds. These spores are housed in structures called sporangia, often clustered together in brown or black dots or lines called sori.
Spore Collection: A Delicate Dance of Timing
Collecting viable spores from your Pteridium arachnoideum is the first step to successful propagation. Here’s how:
- Identify Mature Sori: Look for sori that have turned dark brown or black. Gently tap a frond over a white sheet of paper – if a dust-like powder falls, the spores are mature and ready for collection.
- Careful Removal: Carefully cut a frond with mature sori and place it in a paper bag. Fold the top of the bag over and store it in a dry, warm place for a few days. The sori will release the spores as they dry.
- Store like Gold: Once dry, carefully collect the spores from the bag – they will be a fine, dust-like powder. Store them in a cool, dry place in a sealed envelope or container until you’re ready to sow.
Sowing the Spores: Patience is Your Virtue
Propagating ferns from spores is a rewarding but slow process. Be prepared for a wait of several weeks to months for the first signs of life:
- Prepare the Potting Mix: Use a well-draining, sterile seed starting mix or a mixture of peat moss and perlite. Moisten the mix thoroughly.
- Sowing: Scatter the spores thinly over the surface of the potting mix. Do not bury them, as they need light to germinate.
- Creating a Humid Haven: Place the pot in a clear plastic bag or cover it with a humidity dome to create a warm, humid environment. Place it in a location with bright, indirect light.
- Maintaining Moisture: Mist the potting mix regularly with a spray bottle to keep it consistently moist, but not soggy.
From Spore to Sporophyte: A Tiny Transformation
Once the spores germinate, they will first grow into a heart-shaped structure called a prothallus. This tiny, independent plant produces both male and female gametes, which eventually fuse to form a new fern sporophyte – the fern as we know it. This process can take several weeks to months.
Transplanting and Beyond:
Once the sporophytes are large enough to handle (about the size of a dime), you can carefully transplant them into individual pots filled with a well-draining potting mix. Keep the young ferns in a humid environment until they are well-established.
Propagating Pteridium arachnoideum from spores requires patience and a gentle touch, but the reward of witnessing the fern’s life cycle unfold from tiny spore to flourishing frond is well worth the effort. With careful observation and the right conditions, your own Neotropical bracken fern can become a captivating centerpiece in your indoor or outdoor garden.