Unfurling the Secrets of Bracken Fern Propagation: A Guide to Growing Pteridium esculentum
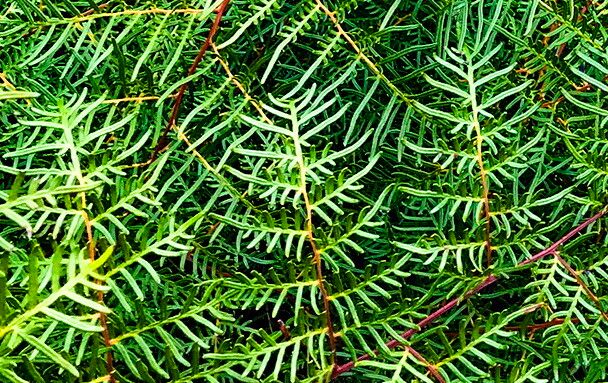
The sight of feathery fronds gracefully unfurling from the forest floor is a sure sign of spring. These elegant ferns, often known as bracken ferns (Pteridium esculentum), possess a wild beauty that can enhance any shady garden corner. But did you know that these ancient plants can be propagated, allowing you to invite a touch of prehistoric charm into your own backyard?
Before we delve into the how-to, it’s crucial to remember that while bracken ferns hold historical significance as a food source in some cultures, they contain compounds that are considered carcinogenic. It is therefore recommended to appreciate their beauty without consuming them.
Now, let’s unearth the secrets to successfully propagating Pteridium esculentum:
Two Routes to Fern Expansion:
Bracken ferns offer two primary methods of propagation:
- Spore Propagation: This method, mimicking nature’s way, involves collecting and germinating spores from mature fronds.
- Division: A simpler and faster technique, division involves separating established fern clumps into smaller sections.
1. Spore Propagation: A Journey of Patience:
- Collection: In late summer, search for mature fronds with dark brown, spore-producing structures called “sori” on their undersides. Snip the frond, place it in a paper bag, and store it in a warm, dry location for a few days to allow spores to release.
- Sowing: Prepare a seed-starting tray with a moist, sterile seed-starting mix. Sprinkle the spores sparsely over the surface, misting them gently with water. Cover the tray with a clear plastic lid or wrap to maintain humidity.
- Patience is Key: Place the tray in a warm, shaded location and wait. Germination can take several weeks to months, so don’t lose heart! Once the tiny fern gametophytes emerge, ensure they remain consistently moist.
- Transplanting: After the gametophytes mature and produce sporophytes (young ferns), they can be carefully separated and potted into individual containers with well-draining soil.
2. Division: The Path of Least Resistance:
- Timing is Everything: Spring, just as new growth emerges, is the ideal time for division.
- Digging Deep: Carefully dig around the established fern clump, ensuring you dig wide enough to avoid damaging the rhizomes (underground stems).
- Separation Anxiety: Gently pull apart the rhizome mass into smaller sections, ensuring each division has a healthy set of fronds and roots.
- New Beginnings: Replant the divisions at the same depth they were previously growing, water them thoroughly, and provide shade until they establish themselves.
Caring for Your Bracken Fern Progeny:
Whether you choose spores or division, success lies in providing optimal growing conditions:
- Shade Seekers: Plant your ferns in a shady or partially shaded location, sheltered from harsh winds.
- Moisture Matters: Maintain consistently moist soil, as bracken ferns thrive in damp conditions. However, avoid waterlogging the soil, which can lead to root rot.
- Nutrients for Growth: While not heavy feeders, a light application of balanced fertilizer in spring can promote healthy growth.
Propagating Pteridium esculentum may require a touch of patience and care, but the reward of witnessing these ancient ferns unfurl their delicate fronds in your own garden is well worth the effort. So why not embark on your own fern propagation adventure today?