Unleash Your Inner Fernatic: Mastering Pteris fauriei Propagation
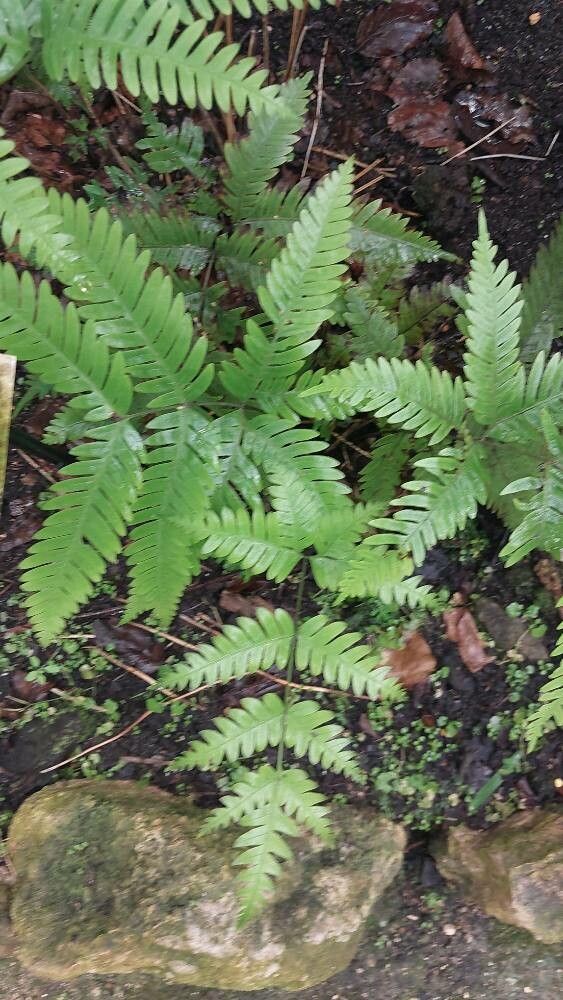
The Pteris fauriei, also known as the Ribbon Fern or Brake Fern, is a captivating beauty that brings a touch of prehistoric elegance to any space. With its delicate, cascading fronds and vibrant green hues, this fern enchants both seasoned plant enthusiasts and curious beginners alike.
Ready to expand your Ribbon Fern family? While acquiring new plants is always exciting, propagating your existing Pteris fauriei offers a deeply rewarding experience. Let’s delve into the fascinating world of fern propagation and discover how you can easily multiply your leafy companions.
Understanding Pteris fauriei Propagation:
Unlike many houseplants propagated through stem cuttings, Pteris fauriei reproduces through spores. These tiny, dust-like particles contain all the genetic material needed to create a new fern. While the process might sound intimidating, it’s surprisingly straightforward and accessible, even for novice gardeners.
Two Pathways to Pteris fauriei Propagation:
1. Spore Propagation:
- Gathering Spores: Look for small, brown structures called “sori” on the underside of mature fronds. These sori contain the spores. Gently scrape them onto a white sheet of paper for easy collection.
- Preparing the Spore Bed: Choose a well-draining potting mix, ideally a blend designed for ferns or seed starting. Moisten the mix and fill a shallow tray or container.
- Sowing the Spores: Lightly sprinkle the collected spores over the damp potting mix, ensuring they are evenly distributed. Avoid burying them, as light is crucial for germination.
- Creating a Humid Environment: Cover the tray with a clear plastic lid or wrap to maintain high humidity, mimicking the ferns’ natural environment. Place the tray in a warm, brightly lit location, out of direct sunlight.
- Patience is Key: Germination can take anywhere from a few weeks to a couple of months. During this time, ensure the potting mix remains consistently moist, misting with a spray bottle as needed.
- Transplanting: Once the spores develop into small ferns with a few sets of leaves, they are ready to be carefully transplanted into individual pots with a suitable potting mix.
2. Division:
- Timing is Crucial: The best time for division is during the early spring, just as new growth begins to emerge.
- Gentle Separation: Carefully remove the Pteris fauriei from its pot and gently tease apart the root ball into smaller sections. Each division should have a healthy set of roots and fronds.
- Potting the Divisions: Plant each division into individual pots with a well-draining potting mix, ensuring the crown of the fern sits slightly above the soil line.
- Nurturing New Growth: Water thoroughly after potting and place the newly divided ferns in a warm, humid location, out of direct sunlight.
Essential Tips for Propagation Success:
- Hygiene is Key: Sterilize all tools and containers before use to prevent fungal or bacterial contamination.
- Maintain Consistent Moisture: Keep the potting mix consistently moist but not waterlogged throughout the propagation process.
- Patience is a Virtue: Remember that propagation takes time, so don’t get discouraged if you don’t see immediate results.
- Enjoy the Process: Embrace the journey of witnessing new life emerge from tiny spores or divided plants. It’s a truly magical experience!
By following these steps and embracing a bit of patience, you’ll soon be surrounded by a lush collection of Pteris fauriei, transforming your space into a vibrant, green oasis. So, why wait? Unleash your inner fernatic and embark on your Pteris fauriei propagation adventure today!