Spreading the Beauty: How to Propagate Pultenaea retusa
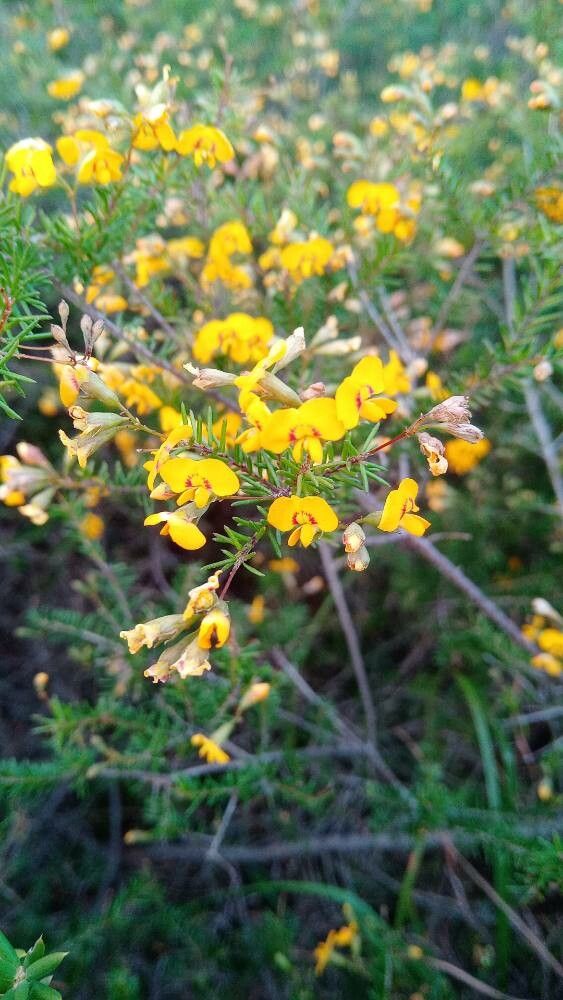
Pultenaea retusa, with its delicate foliage and vibrant yellow blooms, is a wonderful addition to any garden. But did you know you can easily share its beauty with others (and grow more for yourself!) through propagation? This Australian native is surprisingly easy to multiply, offering an exciting way to get more of these stunning plants.
Understanding the Propagation Process
Propagation is the process of creating new plants from existing ones. For Pultenaea retusa, two methods are particularly effective:
- Cuttings: This involves taking a section of stem from a healthy plant and encouraging it to grow roots.
- Seed Propagation: This method utilizes seeds to cultivate new plants.
Cuttings: A Quick and Easy Method
Cuttings are the most common and fastest method for propagating Pultenaea retusa. Here’s how:
- Choose Your Cutting: Select a healthy, non-flowering stem that is about 10-15 cm long. Look for a stem with several nodes (the points where leaves grow).
- Prepare the Cutting: Use a sharp knife or shears to make a clean cut just below a node. Remove any leaves that will be submerged in the rooting medium.
- Rooting Medium: Fill a pot with a well-draining potting mix and dip the cut end of the stem in a rooting hormone (optional, but can improve success).
- Plant and Care: Gently insert the cutting about 2-3 cm deep into the rooting medium. Water thoroughly and place the pot in a bright, indirect location. Keep the soil consistently moist but not soggy.
- Patience: Roots will typically develop within 4-6 weeks. Maintain a moist environment and gently check the soil every few days, especially in hotter climates.
Seed Propagation: For a New Generation
If you want to grow plants from seed, here’s what you need to do:
- Collect Seeds: Pultenaea retusa produces small, brown seed pods. Collect these pods once they have matured and turned brown.
- Extraction: Gently crack open the pods and extract the seeds.
- Pre-Sowing Treatment (Optional): Scarifying the seeds by lightly nicking the seed coat can improve germination rates. You can also soak the seeds in warm water overnight.
- Sowing: Sow the seeds in a seed tray or a pot filled with a seed-raising mix. Cover them very lightly with soil as they need light to germinate.
- Germination: Keep the soil moist and the tray or pot in a bright, indirect location. Depending on the temperature and conditions, germination can take 2-4 weeks.
- Thinning: Once the seedlings have developed a few true leaves, thin them out to give the strongest ones more room to grow.
Important Tips for Success
- Watering: Both cuttings and seedlings are sensitive to overwatering. Allow the soil to dry out slightly between waterings.
- Sunlight: Pultenaea retusa prefers a bright, indirect location. Avoid exposing them to strong, direct sunlight.
- Humidity: Maintaining humidity (especially for cuttings) can help promote root growth. You can use a propagator dome or cover the pots with a clear plastic bag.
- Patience: It takes time for plants to establish. Be patient and provide consistent care.
Beyond the Garden: Exploring Pultenaea retusa
With its beautiful blooms and ability to attract native pollinators, Pultenaea retusa is more than just a pretty plant. It plays a role in maintaining ecosystem health and supporting biodiversity. By propagating this native species, you’re not only beautifying your garden but also contributing to the preservation of Australia’s unique flora.
So, give it a try! The rewarding process of propagating Pultenaea retusa will bring you closer to the beauty of nature and allow you to share its magic with the world.