
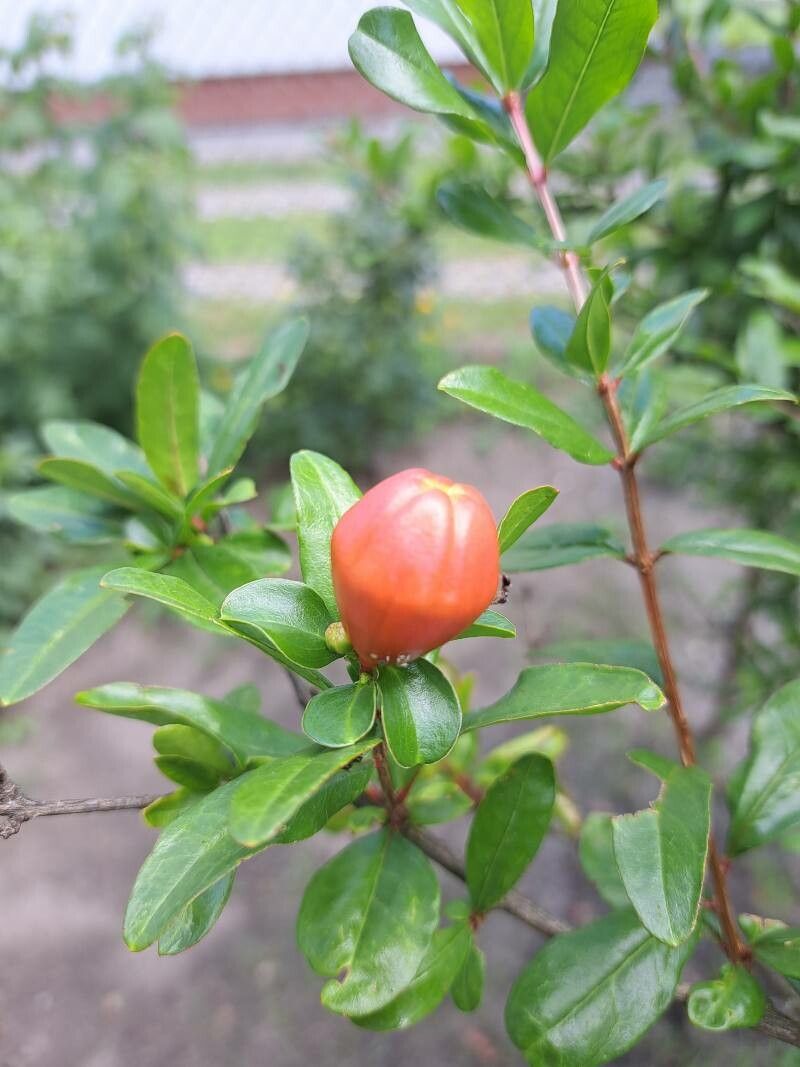
From One Pomegranate to Many: The Art of Propagating Your Own Fruitful Paradise
The pomegranate, with its jewel-toned fruit and ancient history, is a cherished plant with a unique allure. And the best part? You can easily bring this beauty into your own garden, thanks to the magic of propagation! This article dives into the world of pomegranate propagation, revealing the secrets to cultivating your own fruit-bearing paradise.
Understanding the “Why” of Pomegranate Propagation
Before we delve into the “how”, let’s understand the “why”. There are excellent reasons to propagate your own pomegranate plants:
- Genetic Continuity: Propagating from cuttings or seeds ensures that the character traits of your beloved pomegranate are passed down to its offspring, preserving its unique flavor, fruit size, and even disease resistance.
- Cost-Effectiveness: Purchasing young pomegranate trees can be expensive, but propagation allows you to create multiple plants for a fraction of the cost.
- The Joy of Creation: There’s a deep sense of satisfaction that comes with nurturing a new plant from a cutting or seed, watching it grow from humble beginnings into a thriving fruiting tree.
Methods of Pomegranate Propagation: A Guide for Beginners
Here are the most common and effective methods for propagating pomegranates:
1. Hardwood Cuttings (Wintertime Propagation):
- Time: Best done in late winter or early spring before new growth emerges.
- Technique: Take 6-8 inches long cuttings from mature, dormant branches. Remove any leaves below the first node and dip the cut end in rooting hormone. Plant the cuttings in a moist, well-draining potting mix, ensuring at least one node is buried.
- Care: Keep the cuttings in a warm, sunny location and maintain consistent moisture. Root development typically takes 6-8 weeks.
2. Softwood Cuttings (Summertime Propagation):
- Time: Best done in late spring or early summer, when new growth is tender and pliable.
- Technique: Similar to hardwood cuttings, but you’ll use new season growth. Cuttings are 4-6 inches long.
- Care: Keep the cutting in a warm, humid environment, perhaps under a plastic dome or in a propagator. Root development can take 4-6 weeks.
3. Seed Propagation (A Little Patience Required):
- Time: Can be done year-round.
- Technique: Remove the seeds from ripe pomegranates and soak them in water for 24 hours. Plant them in a seed tray or pot filled with well-draining potting mix.
- Care: Keep the soil moist and provide ample sunlight. Seedlings typically emerge within 2-4 weeks. Be prepared for it to take several years for your seedling to produce fruit.
Tips for Success
- Sterilization: Always sanitize your cutting tools with rubbing alcohol to prevent disease transmission.
- Moisture Management: Avoid overwatering, which can lead to rot. Keep the soil consistently moist, but not soggy.
- Patience: Propagation takes time, so be patient and give your cuttings or seedlings plenty of time to establish roots.
Beyond the Basics: A Word on Grafting
For enthusiasts seeking specific variety traits, grafting is a powerful technique. This involves attaching a scion (a piece of a desired variety) to the rootstock (a compatible plant). Grafting allows you to enjoy the desired characteristics of a specific cultivar, such as fruit size or color, while harnessing the vigor and adaptability of a different rootstock.
Conclusion:
Propagating your own pomegranate plants is an achievable and rewarding endeavor. By following these techniques and paying attention to the needs of your new plants, you can successfully cultivate a vibrant pomegranate orchard, complete with delicious fruit and breathtaking beauty, all from a single seed or cutting.