Beyond the Bloom: Propagating Callery Pears for a Pear-fect Landscape
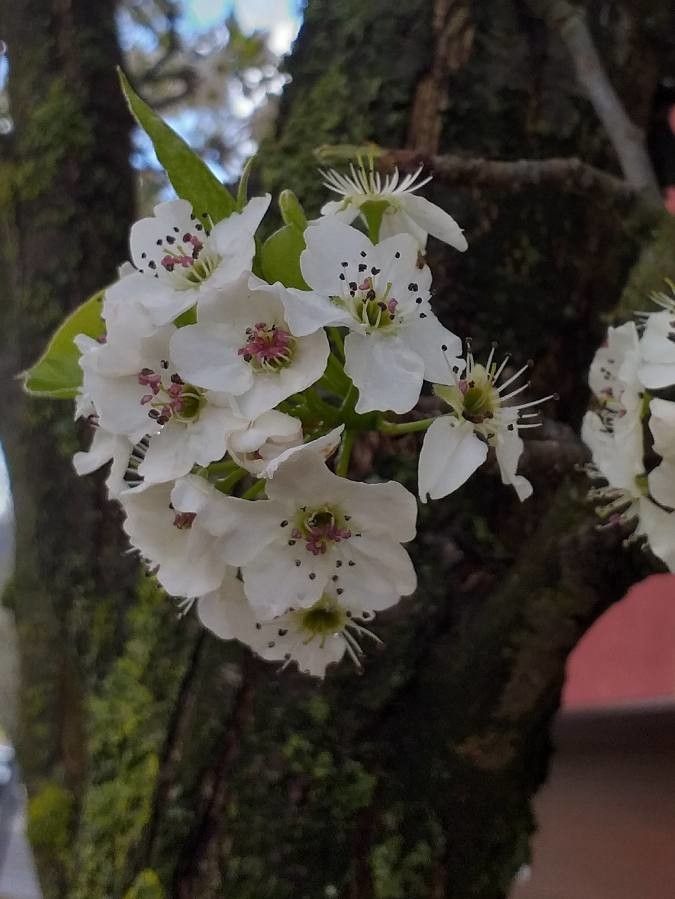
The Callery pear tree (Pyrus calleryana), with its explosion of spring blossoms and vibrant autumn foliage, has become a staple in many landscapes. While admiring their beauty is a treat, have you ever considered propagating your own Callery pear trees? It might be easier than you think!
This article delves into the world of Callery pear propagation, exploring the two most common methods:
1. Growing from Seed:
- Collecting Seeds: Wait for the small, brown fruits of the Callery pear to ripen in the fall. Crack them open to reveal the tiny, black seeds inside. Clean off any fruit pulp as it can inhibit germination.
- Stratification (Cold Treatment): Callery pear seeds require a period of cold dormancy to sprout successfully. Place the seeds in a damp paper towel within a sealed plastic bag. Store them in the refrigerator for 60-90 days.
- Sowing: Once stratified, sow the seeds in a seed-starting mix about ½ inch deep. Keep the soil consistently moist but not waterlogged.
- Germination: Be patient! Callery pear seeds can take several weeks to sprout. Once seedlings have a few sets of true leaves, they can be transplanted into individual pots with well-draining soil.
Pros of Seed Propagation:
- Cost-effective: Collecting seeds is essentially free.
- Rewarding Experience: Witnessing the entire life cycle of a tree from seed to sapling is incredibly rewarding.
Cons of Seed Propagation:
- Genetic Variability: Seed-grown trees may not inherit the exact characteristics of the parent tree, especially if it’s a hybrid variety.
- Longer Timeframe: It takes several years for seed-grown trees to reach a size capable of flowering and fruiting.
2. Growing from Cuttings:
- Timing is Key: Take cuttings in late spring or early summer from healthy, disease-free branches. Look for softwood cuttings, which are new growth that is flexible but starting to firm up.
- Taking the Cutting: Using sharp, sterilized shears or a knife, take 4-6 inch cuttings just below a leaf node. Remove the leaves from the lower third of the cutting.
- Encouraging Root Development: Dip the cut end in rooting hormone powder to encourage faster and stronger root development.
- Planting the Cutting: Plant the cuttings in a well-draining potting mix, burying the bottom node.
- Maintaining Humidity: Place the pot in a humid environment, such as a covered seed tray or under a plastic bag, to prevent the cuttings from drying out.
- Transplanting: After several weeks, gently tug on the cutting. Resistance indicates successful rooting. You can now transplant it into a larger pot.
Pros of Cutting Propagation:
- Preserves Parent Traits: Cuttings produce clones of the parent tree, ensuring consistent characteristics.
- Faster Results: Cuttings reach maturity faster than seed-grown trees.
Cons of Cutting Propagation:
- Slightly Higher Skill Level: Taking successful cuttings requires a bit more practice compared to planting seeds.
A Final Note:
Whichever method you choose, remember to provide your newly propagated Callery pear trees with proper care, including well-draining soil, adequate sunlight, and regular watering. With patience and attention, you’ll be well on your way to expanding your landscape with these beautiful and resilient trees.