Snow Pear Propagation: A Guide to Growing this Hardy Delight
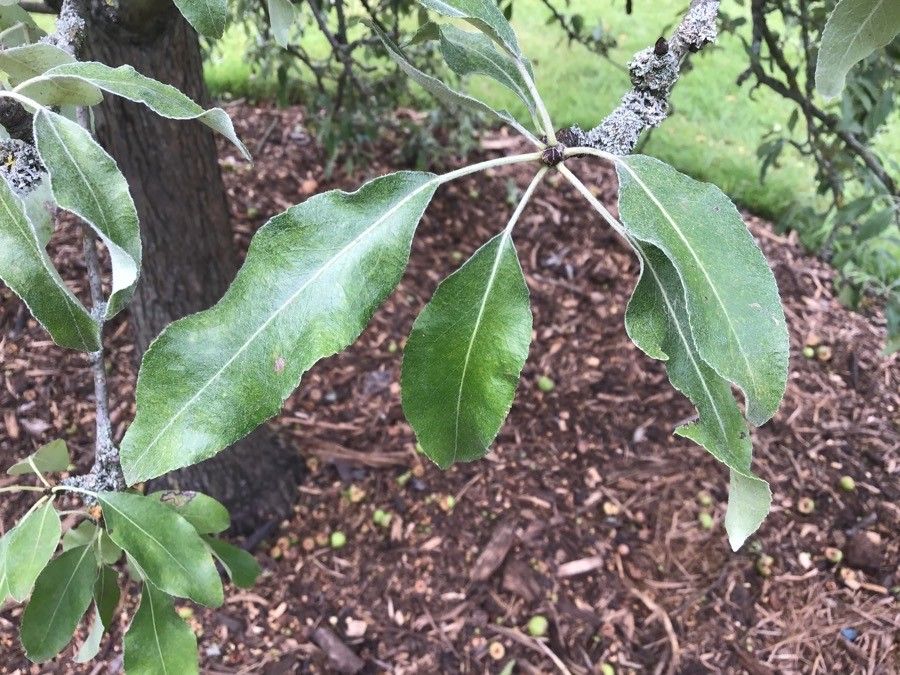
The Snow Pear, known scientifically as Pyrus nivalis, is a remarkable tree. Famed for its beautiful silvery foliage and delicate white blossoms in spring, this hardy pear species deserves a place in more gardens. While acquiring a Snow Pear from a nursery is always an option, propagating your own can be a rewarding experience. So, let’s delve into the fascinating world of Snow Pear propagation and discover the best methods to bring forth new life from this resilient species.
Understanding the Methods:
While Snow Pears can be grown from seed, the process is lengthy and doesn’t guarantee exact replicas of the parent plant. Seed-grown trees can take several years to bear fruit and may exhibit variations due to cross-pollination. That’s why vegetative propagation methods, like grafting and cuttings, are generally preferred for reliable and faster results.
1. Grafting: The Gold Standard:
Grafting is the most recommended method for propagating Snow Pears. This technique involves joining a piece of the desired Snow Pear (the scion) onto a compatible rootstock, typically a hardy pear variety like ‘Bartlett’ or ‘Callery’.
- Timing: Late winter or early spring, when the rootstock is dormant but the sap is starting to flow, is ideal for grafting.
- Technique: Common grafting methods include whip and tongue grafting or cleft grafting. You’ll need a sharp grafting knife and grafting tape to secure the scion to the rootstock.
- Benefits: Grafting ensures the new tree possesses the desirable traits of the Snow Pear scion while benefiting from the established root system and hardiness of the rootstock.
2. Taking Cuttings: A Patient Approach:
While slightly less reliable than grafting, propagating Snow Pear from cuttings offers a satisfying challenge.
- Timing: Take hardwood cuttings in late fall or early winter when the tree is dormant.
- Selection: Choose healthy, woody stems from the previous year’s growth, approximately 6-8 inches long with multiple buds.
- Preparation: Remove any leaves from the lower half of the cutting and wound the base slightly to encourage rooting.
- Rooting: Dip the base in rooting hormone and plant the cuttings in a well-draining potting mix, ensuring at least one bud remains above the soil.
- Environment: Provide a humid environment with bottom heat and indirect light.
- Patience: It can take several months for roots to develop.
Essential Care for Successful Propagation:
- Watering: Keep the soil consistently moist but not waterlogged, as excessive moisture can lead to root rot.
- Warmth: Both grafts and cuttings benefit from a warm environment with temperatures around 70°F (21°C).
- Protection: Shield your newly propagated plants from harsh weather conditions and direct sunlight until they are well-established.
The Rewards of Patience:
Propagating Snow Pear takes time and dedication, but the results are well worth the effort. Imagine the satisfaction of harvesting the fruits of your labor – literally! You’ll have a beautiful and resilient tree that will grace your garden for years to come, a testament to your horticultural skills and the enduring legacy of this remarkable species.