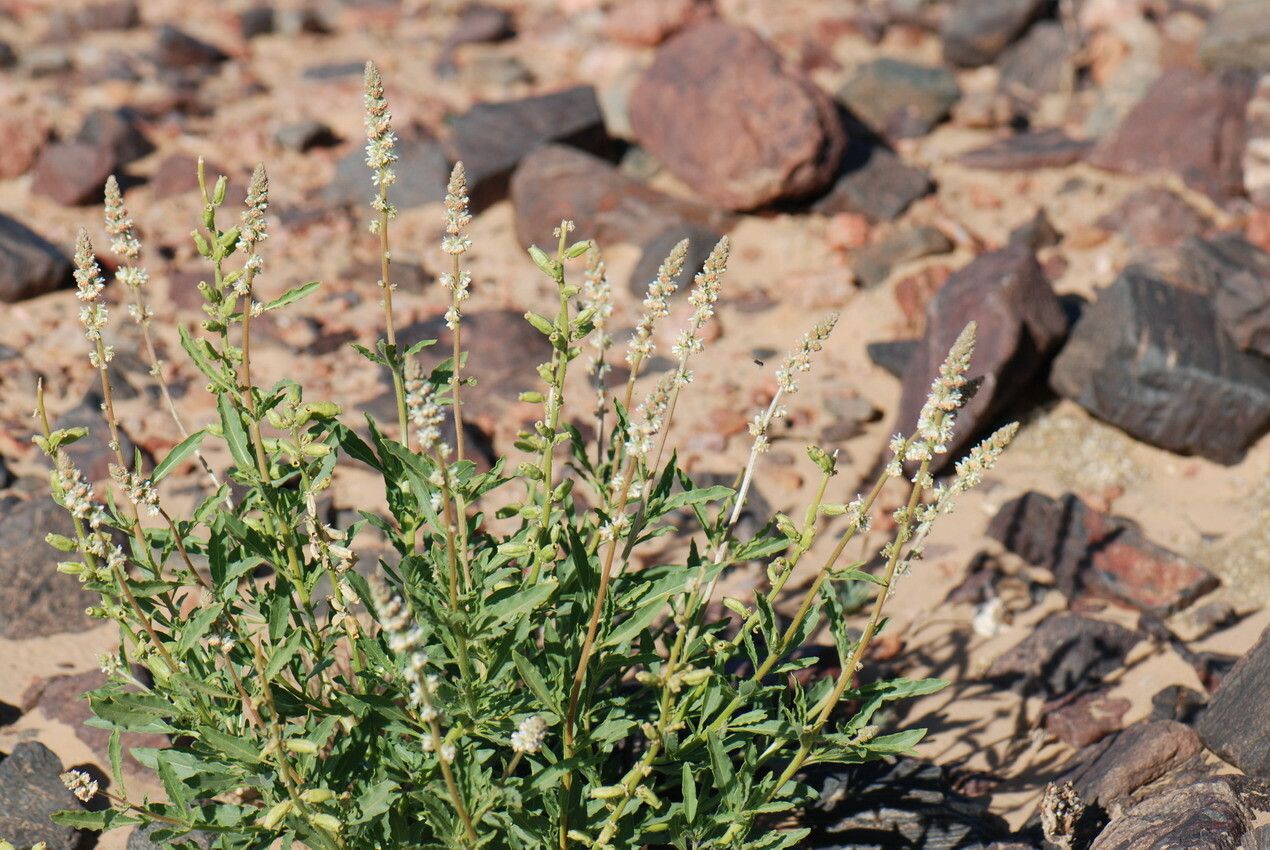
From Seed to Beauty: A Guide to Propagating Mignonette
Mignonette (Reseda villosa) is a captivating aromatic herb that boasts a sweet, honey-like fragrance and delicate, green flower clusters. Its captivating scent has made it a beloved garden staple, but did you know that you can easily expand your mignonette collection through propagation? With this guide, you’ll learn how to take your mignonette from seed to bloom, filling your garden with its enchanting fragrance.
Seed Starting: The First Bloom
Mignonette is best started from seed, with the perfect time for sowing depending on your location’s climate. For optimal success, consider these steps:
- Prepare Your Seedbed: Choose a sunny location and prepare a seedbed with loose, well-draining soil. A raised bed or container with a good drainage system will work well.
- Sow the Seeds: Mignonette seeds are tiny, so sprinkle them thinly on the surface of the soil, gently pressing them into the ground. Avoid burying them too deep, as this can hinder their germination.
- Water Gently: Moisten the soil thoroughly, but avoid overwatering, which can lead to fungal growth.
- Protect Until Germination: Keep the soil moist and protect your seedlings from harsh sunlight until they sprout.
Direct Sowing for Easy Growth:
For an effortless approach, direct sowing is a great option.
- Timing is Key: In warmer climates, direct sowing is best done in spring or early fall. In cooler regions, wait until the soil has sufficiently warmed up.
- Keep it Simple: Follow the same steps for preparing the seedbed as outlined above. You can even sprinkle seeds directly onto the soil where you ultimately want your mignonette to grow.
Thinning Out for Success:
Once your mignonette seedlings are established, it’s essential to thin them out to prevent overcrowding. This process creates space for individual plants to thrive and reach their full potential:
- Early Thinning: Once your seedlings have a few true leaves, gently remove the weaker or overcrowded plants, leaving the healthiest ones to grow.
- Spacing is Key: Mignonette prefers some space to grow, so aim for a spacing of 6 to 12 inches between plants.
Transplanting for a New Home:
If you’ve chosen to start your mignonette indoors, you can transplant seedlings outdoors once the weather is consistently warm. This method adds a degree of control to the process:
- Hardening Off: Gradually acclimatize your young plants to outdoor conditions. Before transplanting, expose them to increasing amounts of sunlight and wind over a period of 7-10 days.
- Gentle Handling: When transplanting, be careful not to damage the delicate roots. Water well after planting to help the seedlings establish themselves in their new home.
Enjoy the Fragrance:
With proper care, your mignonette plants will soon be reaching for the sun, their delicate blooms adding a touch of elegance to your garden. The fragrance of mignonette is best appreciated in the evening, when it releases its alluring aroma, adding a touch of magic to your outdoor space.
With a little patience and care, growing mignonette from seed can be a rewarding experience. Not only will you be able to enjoy its enchanting scent and beauty, but you’ll also have the satisfaction of nurturing a beautiful, fragrant herb from its very beginnings. Happy gardening!