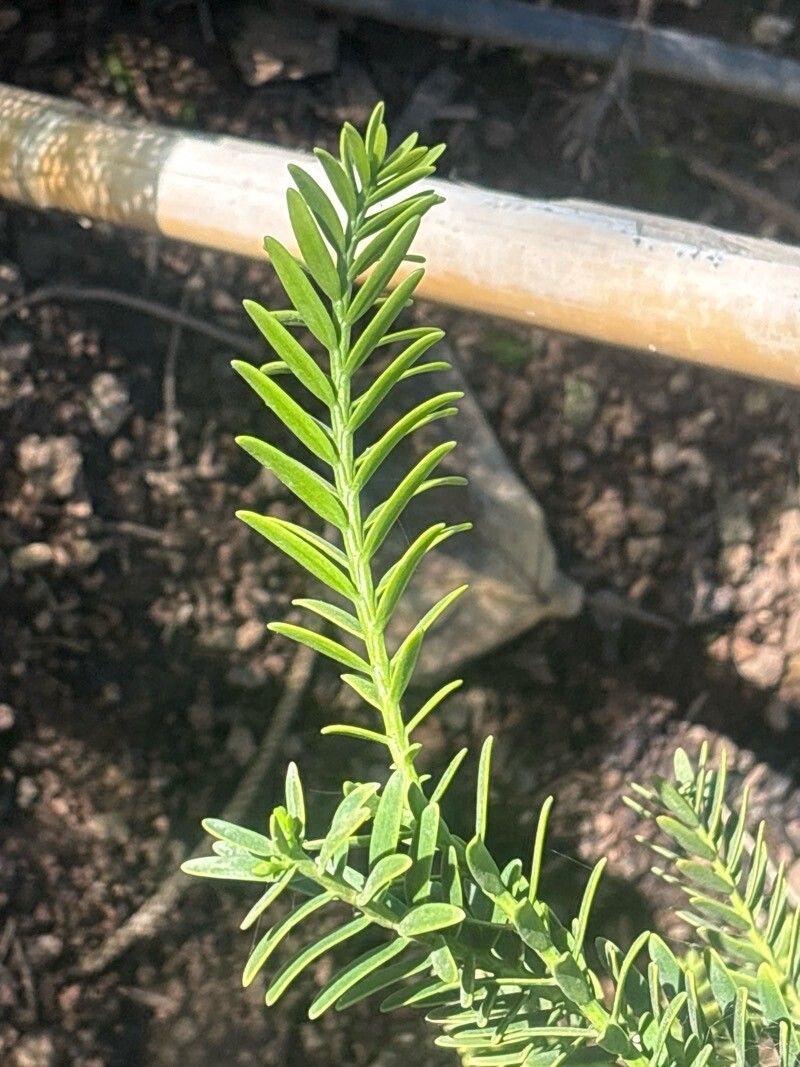
From One to Many: Propagating Your Retrophyllum minus (and Why You Should!)
Have you ever gazed upon the delicate, feathery foliage of a Retrophyllum minus and thought, “I need more of that in my life?” Many plant enthusiasts have, and the good news is, it’s an achievable dream! This unique and beautiful conifer, also known as the “New Zealand Plum Pine,” is surprisingly easy to propagate, allowing you to share its beauty with friends or simply grow your own lush, miniature forest.
Why Propagate?
Beyond the sheer joy of nurturing new life, there are several practical reasons to consider propagating your Retrophyllum minus:
- Cost-effective: Purchasing multiple plants can be costly, whereas propagation lets you multiply your investment with just a few cuttings.
- Genetic consistency: Propagation ensures you’ll have clones of your cherished plant, preserving its distinctive traits.
- Personal connection: There’s a certain satisfaction that comes from watching your own cuttings root and flourish, knowing you played a hand in their growth.
The Methods: Choosing Your Path
There are two primary methods for propagating Retrophyllum minus:
- Cuttings: This is the most commonly used and accessible method. You’ll simply snip a healthy stem from a mature plant, remove the bottom leaves, and dip the end in rooting hormone. Then, simply plant the cutting in a well-draining potting mix and maintain consistent moisture.
- Seeds: While less common than cuttings, seed propagation is also possible. You’ll need to gather mature cones from your plant or purchase them online. After removing the seeds, they need to be stratified (exposed to cold temperatures) for several weeks to trigger germination. While a bit more involved, this method offers the chance to cultivate new, unique variations within the species.
A Guide to Successful Propagation
Whatever method you choose, here are some crucial points to remember:
- Timing is Key: The best time for propagation is during the spring or early summer when the plant is actively growing.
- Select the Right Material: For cuttings, choose healthy, semi-mature stems. For seeds, ensure they’re plump and full.
- Prepare the Cutting: Remove the lower leaves, exposing the stem to be buried in the rooting medium. Using rooting hormone can significantly increase success.
- Use the Right Medium: A well-draining potting mix is essential to prevent rot.
- Maintain Moisture: Keep the medium consistently moist but not waterlogged. A plastic dome or humidity tent can help maintain optimal humidity.
- Patience is a Virtue: Rooting can take several weeks to months, depending on the method. Observe the cuttings for signs of new growth, which signifies success.
Enjoy Your New Forest
Once your cuttings or seedlings have established roots, you can pot them into individual containers or transplant them to a larger outdoor space. Ensure they enjoy filtered sunlight, well-drained soil, and consistent watering.
Whether you’re a seasoned gardener or just starting out, propagating your Retrophyllum minus is a rewarding experience. You’ll gain a deeper connection with your plants and have the satisfaction of witnessing their journey from tiny cuttings to flourishing specimens. So grab your shears, gather your rooting hormone, and get ready to expand your miniature forest!