Unveiling the Secrets: How to Propagate Rhamnus crenulata
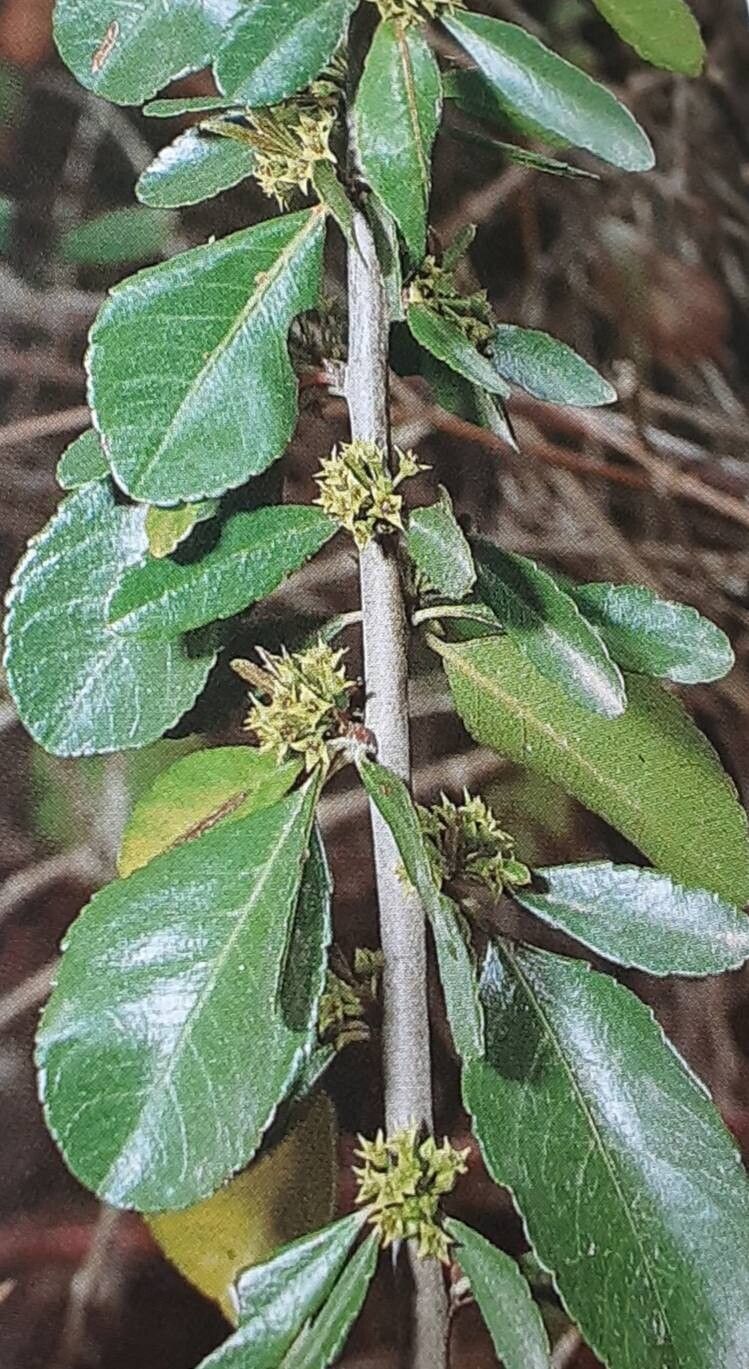
Rhamnus crenulata, also known by its charming moniker “Hollyleaf Redberry”, is a visual delight for any garden. This evergreen shrub, native to California, boasts glossy, holly-like leaves and vibrant red berries that attract an array of birds to your backyard. If you’re looking to welcome more of this lively greenery into your space, learning to propagate Rhamnus crenulata is a rewarding endeavor.
While seeds are an option, they can be notoriously slow to germinate. Luckily, there’s a quicker and more reliable method: propagation from cuttings.
Gathering Your Tools:
Before embarking on your propagation journey, assemble the following:
- Sharp pruning shears or a clean knife: Crucial for making clean cuts and preventing disease.
- Rooting hormone (optional, but recommended): Significantly increases the success rate.
- Seedling starting mix or a well-draining potting mix: Provides the optimal environment for root development.
- Small pots or seed trays: Choose containers with good drainage.
- Clear plastic wrap or a humidity dome: Helps maintain a warm and humid environment for the cuttings.
Step-by-Step Guide to Propagating Rhamnus crenulata Cuttings:
Timing is Key: The ideal time for taking cuttings is in late spring or early summer when the plant is actively growing.
Selecting Your Cuttings: Look for healthy, non-flowering stems that are about 4-6 inches long. Using your sharp shears, make a clean cut just below a leaf node (the point where a leaf attaches to the stem).
Preparing the Cuttings: Remove the leaves from the bottom third of the cutting. If the remaining leaves are large, you can cut them in half to reduce moisture loss.
Hormone Boost (Optional but Recommended): Dip the bottom inch of each cutting in rooting hormone, tapping off any excess.
Planting the Cuttings: Fill your chosen containers with the pre-moistened potting mix. Create a small hole in the center of each container using your finger or a pencil. Gently insert the bottom inch of the cutting into the hole, ensuring the leaf nodes are covered.
Creating a Humid Environment: Water the cuttings thoroughly and cover the pots with clear plastic wrap or place them inside a humidity dome. This trapped humidity helps mimic the moist environment cuttings need to develop roots.
Location, Location, Location: Place your cuttings in a warm, bright location, but out of direct sunlight. Direct sunlight at this stage can scorch the developing roots.
Patience is a Virtue: Keep the potting mix consistently moist, but not waterlogged. Within 4-6 weeks, you should start to see new growth, a sign that roots are developing.
- Transplant Time: Once the cuttings have a well-established root system (after about 8-12 weeks), you can transplant them into larger pots or directly into your garden. Choose a spot with well-drained soil and partial to full sun exposure.
Caring for Your New Rhamnus crenulata:
With your newly propagated shrubs gracing your garden, remember to water them regularly, especially during dry periods. A light application of fertilizer in the spring can encourage healthy growth.
Propagating your own Rhamnus crenulata might seem like a plant enthusiast’s task, but with a little patience and these simple steps, you can successfully multiply your collection and enjoy the beauty of these vibrant shrubs for years to come.