Unveiling the Secrets of Redberry Propagation: Tips for Success
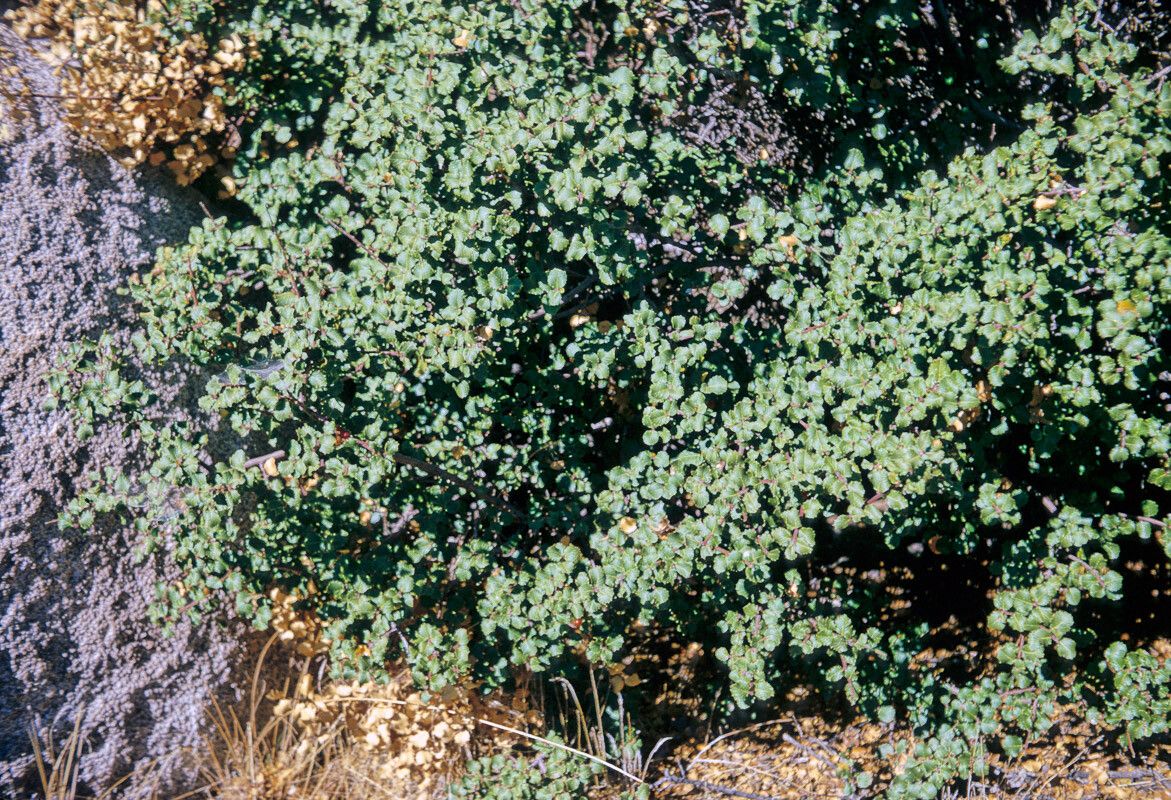
The Redberry (Rhamnus crocea), with its vibrant berries and evergreen foliage, is a California native shrub prized for its beauty and resilience. Whether you’re an experienced gardener or just starting, propagating your own Redberry can be a rewarding experience. Let’s explore the two most effective methods: growing from seed and taking cuttings.
Method 1: Sowing the Seeds of Success
Propagating Redberry from seed requires patience, as the seeds have a natural dormancy that must be broken for successful germination. Follow these steps for best results:
Seed Collection and Preparation: Collect ripe berries in the fall and extract the seeds. Clean off any remaining fruit pulp, as it can inhibit germination.
Breaking Dormancy: Redberry seeds require a period of cold stratification to mimic natural winter conditions. You can achieve this by placing the seeds in a moist mix of sand and peat moss, sealing them in a plastic bag, and storing them in the refrigerator for 60-90 days.
Sowing the Seeds: Once stratified, sow the seeds in a well-draining seed-starting mix, placing them about ¼ inch deep. Water gently and keep the soil consistently moist but not waterlogged.
Light and Warmth: Place the seed tray in a bright location, but out of direct sunlight. A temperature around 70°F (21°C) is ideal for germination.
- Patience is Key: Germination can take several weeks to a few months. Once the seedlings have developed a couple of sets of true leaves, you can transplant them into individual pots.
Method 2: Taking the Cutting Edge: Propagation with Cuttings
Propagating Redberry from cuttings offers a faster route to establishing new plants. The best time to take cuttings is in late spring or early summer when the plant is actively growing.
Cutting Selection: Choose healthy, non-flowering stems that are about 4-6 inches long. Make a clean cut just below a leaf node, the point where the leaf attaches to the stem.
Prepare the Cutting: Remove the lower leaves from the cutting, leaving only a couple of leaves at the top. Dip the cut end in rooting hormone powder to encourage root development.
Potting and Care: Plant the cutting in a pot filled with a well-draining rooting mix, burying the bottom node. Water well and cover the pot with a plastic bag to create a humid environment.
Root Development: Place the pot in a bright location, out of direct sunlight. Keep the soil consistently moist. Roots should develop in 4-6 weeks. You can test for root development by gently tugging on the cutting. Resistance indicates root formation.
- Transplanting: Once the cutting has rooted well, transplant it into a larger pot or directly into the garden.
Cultivating Success: General Redberry Care
Once your Redberry plants are established, whether from seed or cuttings, they are relatively low-maintenance. They prefer well-drained soil and can tolerate full sun to partial shade. Water regularly during the first growing season to establish a deep root system. Once established, they are drought-tolerant.
Propagating your own Redberry is a rewarding endeavor. By following these simple guidelines, you can enjoy the beauty and resilience of this remarkable California native for years to come.