Unlocking the Secrets of Rhaphidophora pertusa Propagation: How to Grow More of This Stunning Plant
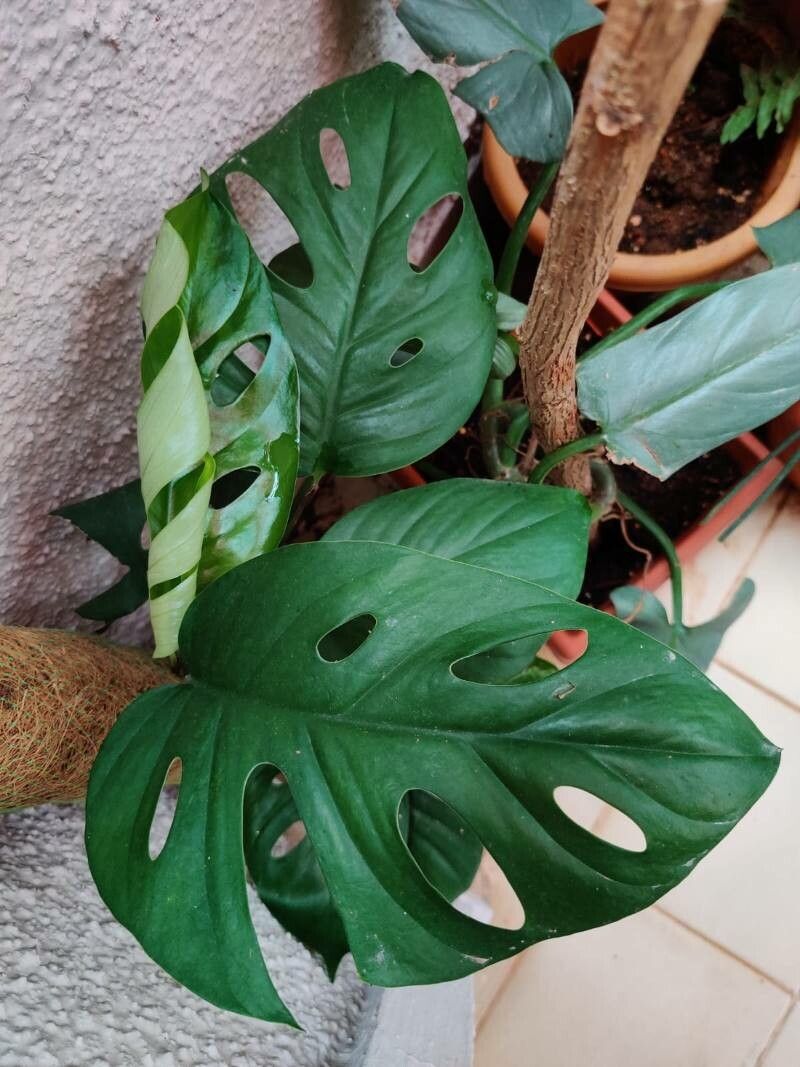
The Rhaphidophora pertusa, also known as the “Monstera adansonii” or the “Swiss Cheese Plant,” is a popular choice for plant enthusiasts due to its captivating foliage and relatively easy care. But what if you want to share this beauty with friends or simply expand your own collection? Thankfully, propagating this plant is a surprisingly straightforward process!
This blog post will guide you through the most common and successful propagation methods for your Rhaphidophora pertusa, empowering you to create new plants from cuttings.
Method 1: The Air Layering Technique
For those seeking a slightly more advanced approach, air layering is a fascinating method that can be used to propagate R. pertusa. This technique involves stimulating root growth on a stem while it’s still attached to the parent plant, creating a new plant directly from a cutting.
Here’s how to air layer your R. pertusa:
- Choose a healthy stem: Select a stem that’s about 6-8 inches long with several nodes (where leaves grow).
- Make a cut: Carefully cut a small section of the stem, removing a portion of the bark to expose the cambium layer beneath.
- Apply rooting hormone: Gently apply a rooting hormone powder or gel to the exposed cambium to promote root growth.
- Wrap the wound: Cover the wound with a mixture of moist sphagnum moss and wrap it securely with cling film or aluminum foil. This creates a mini-greenhouse to encourage root development.
- Keep it moist: Regularly mist the moss to ensure it stays moist, but avoid over-watering.
- Patience is key: Roots will typically develop within 4-6 weeks. Once you see roots growing out of the moss, you can carefully cut the stem below the air layer and pot it up.
Method 2: Stem Cuttings
For a beginner-friendly approach, propagation with stem cuttings is ideal. This method is simple to execute and offers a higher success rate for new plant parents.
Here’s how to propagate your R. pertusa using stem cuttings:
- Select healthy cuttings: Take cuttings from a healthy stem, ensuring each cutting has at least 1-2 nodes.
- Prepare the cutting: Remove the leaves from the lower node and make a clean cut just below the node.
- Rooting hormone (optional): Dip the end of the cutting into a rooting hormone powder or gel to accelerate root development.
- Planting medium: Fill a small pot with a well-draining potting mix.
- Plant the cutting: Insert the cut end of the cutting into the potting mix and water it thoroughly.
- Provide humidity: Cover the pot with a plastic dome or bag to create a humid environment that will help the cutting develop roots.
- Patience and light: Place the pot in a bright location, but avoid direct sunlight. The cutting will typically take a few weeks to root. Once new growth emerges, remove the plastic covering and care for the new plant as you would a mature one.
Tips for Success:
- Use sharp tools: Clean, sharp tools will minimize damage to the plants during the propagation process.
- Avoid overwatering: Keep the soil consistently moist, but not soggy. Overwatering can lead to root rot.
- Provide proper lighting: Place the newly rooted plants in bright, indirect light.
- Be patient: Propagation takes time, so don’t give up if you don’t see results immediately.
By following these simple steps, you can successfully propagate your Rhaphidophora pertusa and enjoy the beauty of these leafy companions for years to come. Not only does propagation offer a cost-effective way to expand your plant collection, but it also provides a sense of accomplishment and a deeper appreciation for the incredible world of plants!