From Tiny Twig to Thorny Beauty: Propagating the Chilean “Espino”
Have you ever dreamed of having your very own Chilean “Espino” (Rhaphithamnus spinosus) in your garden? This striking, thorny shrub is a true conversation starter with its spiky foliage and vibrant flowers. But did you know that you can easily add this beauty to your life without even buying a plant? That’s right, you can propagate “Espino” yourself and watch a tiny twig transform into a magnificent, thorny gem!
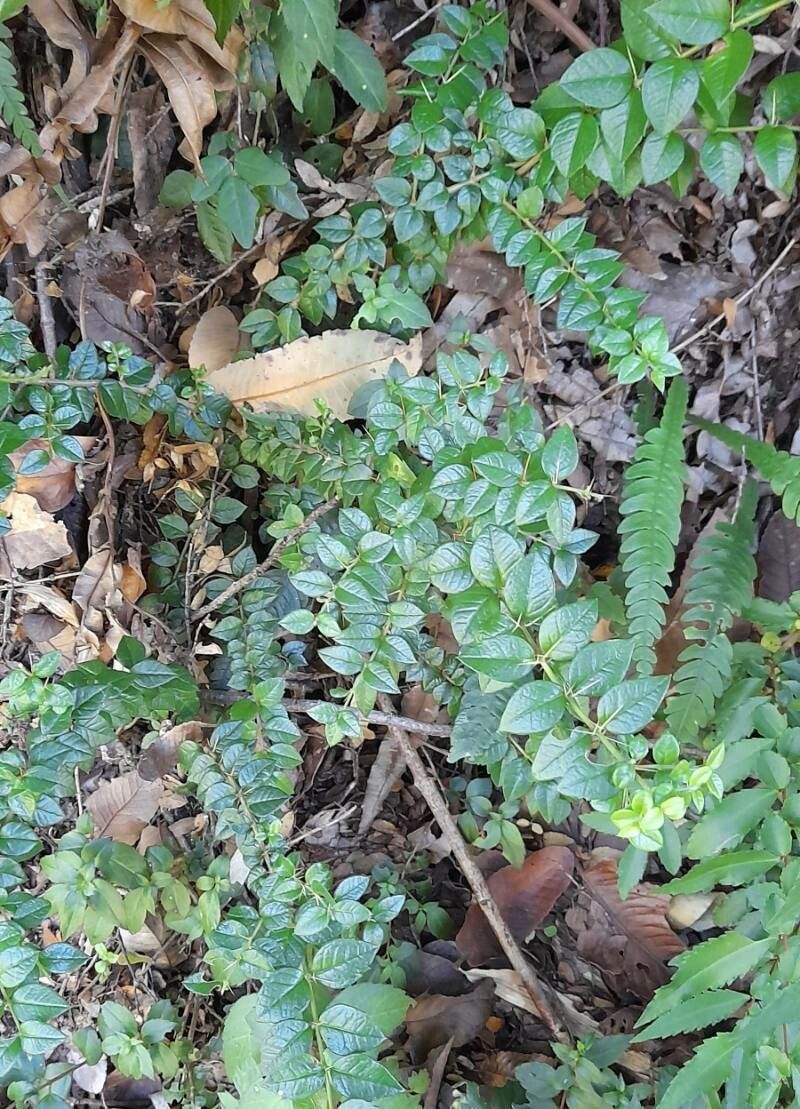
Taking Cuttings:
The most popular way to propagate “Espino” is through semi-hardwood cuttings. Here’s how:
- Timing is Key: The best time to take cuttings is during the late spring or early summer when the plant is actively growing, but the wood has started to harden.
- Choose Your Cuttings: Select healthy, non-flowering stems with at least 4-6 inches in length. Make sure the stems have a few sets of leaves.
- Sharp Tools: Use a clean, sharp knife or pruning shears to make a clean cut just below a leaf node.
- Prepare the Cuttings: Remove the lower leaves and about half of the remaining leaves. This will help the cutting focus its energy on root development.
- Root Hormone Boost: Dip the cut end of the cutting into a rooting hormone powder or liquid. This will encourage root growth.
Ready to Root:
Now that your cuttings are ready, it’s time to get them into the rooting medium:
- Choose Your Medium: You can use a mixture of peat moss and perlite, or simply a bagged potting mix.
- Prepare the Pot: Fill a small pot with your chosen rooting medium and moisten it thoroughly.
- Planting the Cuttings: Make a hole in the rooting medium and insert the cutting, ensuring that at least two nodes are buried. Firm the rooting medium around the base of the cutting.
- Create a Greenhouse Effect: Cover the pot with a plastic bag or dome to create a humid environment that promotes root growth.
- Light and Temperature: Place the pot in a bright, indirect light location where temperatures are between 65-75°F.
- Patience is Key: It can take anywhere from 4 to 8 weeks for roots to develop. Keep the rooting medium consistently moist, but not soggy.
Transplantation and Care:
Once your “Espino” cuttings have developed roots, it’s time to transplant them:
- Check for Roots: Gently tug on the base of the cutting. If you feel resistance, roots have formed!
- Gradually Acclimate: Remove the plastic cover and gradually acclimate the cuttings to their new environment over a week or two.
- Transplant into Larger Pots: When the cuttings have established themselves in their original pots, transplant them into larger pots with fresh potting mix.
- Care for Your New Plant: “Espino” prefers well-drained soil, full sun to partial shade, and moderate watering. Avoid overwatering, as this can lead to root rot.
Enjoy Your New “Espino”:
Congratulations! You’ve successfully propagated your own Chilean “Espino” and now have a beautiful, spiky shrub to enjoy for years to come! Remember that these hardy plants can withstand a variety of conditions, but they do require regular pruning to maintain their shape.
With patience, care, and a few basic techniques, you too can enjoy the beauty and uniqueness of the Chilean “Espino”. So grab a stem, put on your gloves, and start your own propagation journey!