Sun Kisses for Sale: Multiplying the Charm of Your Moroccan Daisy
The Rhodanthemum hosmariense, more affectionately known as the Moroccan daisy, is a sight to behold. Imagine a cascade of sunshine-yellow blooms, each one a miniature sun rising above a bed of silvery-green foliage. This North African native, with its resilience and captivating charm, is a welcome addition to any sunny garden. But did you know you can easily multiply this charm? Propagating Rhodanthemum hosmariense is a rewarding process that even beginner gardeners can master.
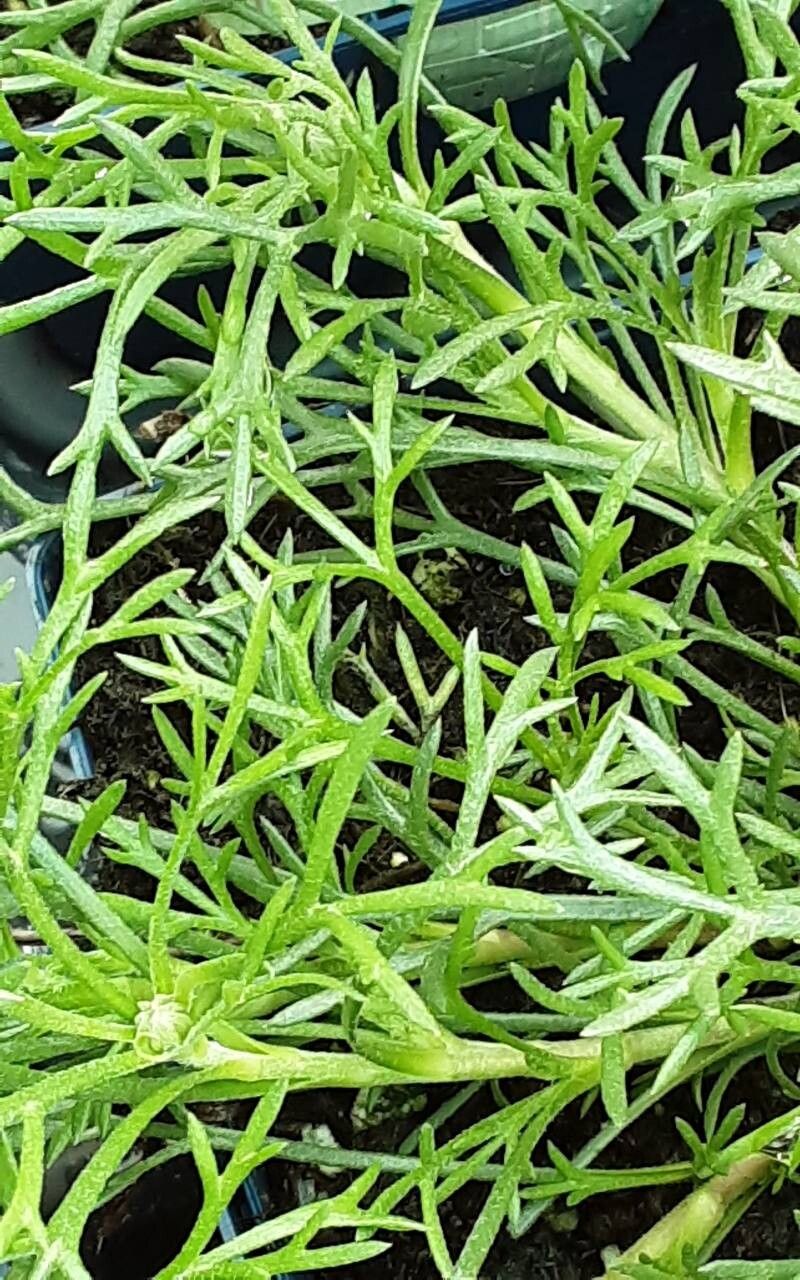
Seeds of Joy: Starting Your Moroccan Daisy from Seed
Spring is the season of new beginnings, and for the Moroccan daisy, it’s the perfect time to sow its seeds. Here’s a step-by-step guide:
- Prepare the Seedbed: Choose a well-draining seed starting mix and dampen it lightly. You can use seed trays or small pots for this purpose.
- Sow the Seeds: Sprinkle the tiny, dark seeds over the surface, barely pressing them in. Rhodanthemum seeds need light to germinate.
- Provide Warmth and Light: Cover the tray or pots with a plastic dome or cling film to retain moisture and place them in a warm, bright spot, out of direct sunlight.
- Be Patient: Germination usually takes 10-14 days. Once the seedlings emerge, remove the cover and maintain consistent moisture.
- Thinning Out: When seedlings have developed a few true leaves, thin them out, leaving the strongest ones to flourish.
- Harden Off: Before transplanting outdoors after the last frost, gradually acclimate the seedlings to outdoor conditions by exposing them to increasing durations of sunlight and wind.
Cuttings: Cloning Your Moroccan Daisy for Abundance
Another effective method to propagate your Moroccan daisy is through cuttings:
- Timing is Key: The ideal time for taking cuttings is late spring or early summer when the plant is actively growing.
- Choose Healthy Stems: Select non-flowering stems that are healthy and about 3-4 inches long.
- Prepare the Cuttings: Using a sharp, clean knife or pruning shears, make a cut just below a leaf node. Remove the lower leaves, leaving only a few at the top.
- Encourage Root Development: Dip the cut end in rooting hormone powder (optional but beneficial). Then, insert the cuttings into a pot filled with a well-draining potting mix.
- Create a Humid Environment: Cover the pot with a plastic bag or use a propagator to maintain humidity and warmth.
- Rooting Success: After a few weeks, gently tug on the cuttings. If you feel resistance, it indicates successful rooting!
- Transplant and Enjoy: Once the cuttings have established a healthy root system, transplant them into individual pots or your garden bed.
Tips for Success:
- Well-Draining Soil: Moroccan daisies thrive in well-drained soil and dislike constantly wet feet. Amending your soil with perlite or sand can improve drainage.
- Sunny Disposition: These sun worshippers bloom best in locations that receive at least 6 hours of direct sunlight daily.
- Deadheading Diligence: Regularly removing spent blooms encourages continuous flowering throughout the growing season.
By mastering these simple techniques, you can create a vibrant display of sunshine-yellow Moroccan daisies year after year, filling your garden with cheer and a touch of Moroccan magic. So go ahead, multiply the joy, and share sun kisses with your friends and family!