Conquering the Heights: Propagating Your Own Himalayan Rhodiola
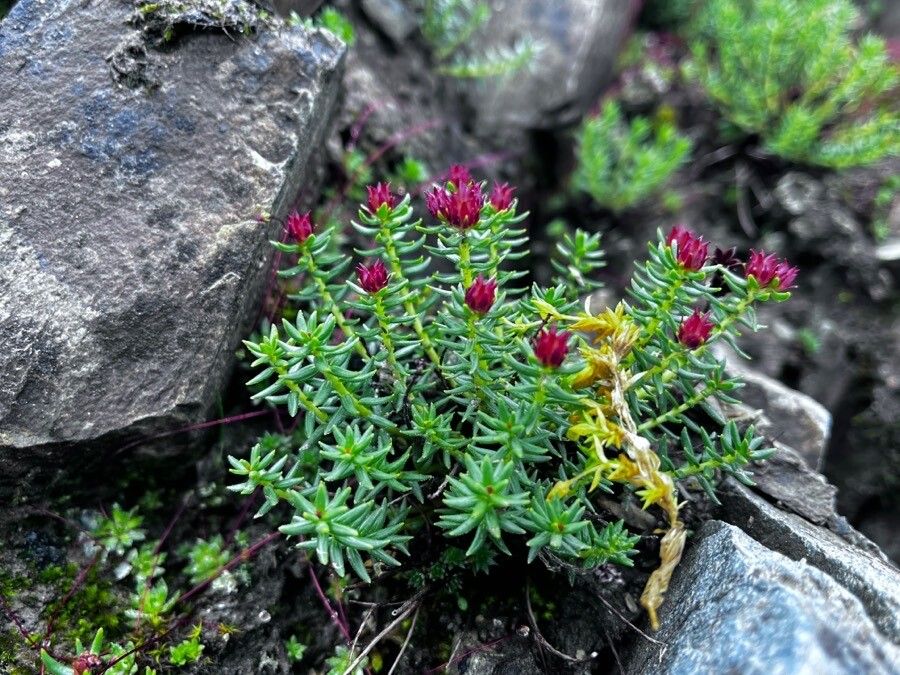
Rhodiola himalensis, with its delicate pink flowers and reputation as a potent adaptogen, is a fascinating addition to any garden. Native to the high altitudes of the Himalayas, this resilient plant might seem intimidating to propagate, but fear not! With a little patience and the right techniques, you can successfully grow new Rhodiola plants and harness their unique allure.
Two Paths to Propagation:
There are two primary ways to propagate Rhodiola himalensis: seeds and cuttings. Each method has its pros and cons, so understanding both will help you choose the best approach for your gardening style:
1. Starting from Seed: An Exercise in Patience
Propagating Rhodiola from seed is a rewarding but lengthy process. Here’s how to do it:
- Sourcing Seeds: Reputable online nurseries are your best bet for finding Rhodiola himalensis seeds.
- Cold Stratification: Mimicking the natural conditions of its Himalayan home, these seeds require a period of cold stratification. In late fall or early winter, sow seeds on the surface of a well-draining seed starting mix and lightly press them down. Then, place the tray in a refrigerator (around 4°C or 40°F) for 4-6 weeks.
- Bringing them to Life: After stratification, move the seed tray to a bright location out of direct sunlight. Keep the soil consistently moist but not waterlogged. Germination can be slow, taking anywhere from a few weeks to a couple of months.
- Transplanting: Once seedlings develop a few sets of true leaves and are large enough to handle, transplant them into individual pots or directly into your garden after the last frost.
2. Cuttings: A Faster Route to New Plants
Taking cuttings is a quicker method for propagating Rhodiola himalensis. Here’s what you need to know:
- Timing is Key: The best time to take cuttings is in late spring or early summer when the plant is actively growing.
- Taking the Cutting: Select a healthy stem that is at least 3 inches long. Using a sharp, clean knife or pruning shears, make a cut just below a leaf node.
- Preparing the Cutting: Remove the lower leaves from the cutting, leaving only a few at the top. Dip the cut end in rooting hormone (optional but recommended) to encourage faster root development.
- Planting the Cutting: Plant the cutting in a pot filled with a well-draining soil mix. Keep the soil consistently moist and place the pot in a bright location out of direct sunlight.
- Rooting and Transplanting: Within a few weeks, your cutting should develop roots. Once you see new growth, you can transplant the rooted cutting into a larger pot or directly into your garden.
Nurturing Your New Rhodiola Plants:
Regardless of which propagation method you choose, providing the right growing conditions is crucial for success:
- Sunlight: Rhodiola himalensis thrives in full sun to partial shade.
- Soil: Well-draining soil is essential. Consider amending your soil with sand or perlite to improve drainage.
- Watering: While drought-tolerant once established, regular watering is important for young plants, especially during dry periods. Allow the soil to dry out slightly between waterings.
Propagating Rhodiola himalensis might require a touch of dedication, but the reward of witnessing new life sprout from seeds or observing roots develop on a cutting is truly gratifying. With these tips, you’ll be well on your way to cultivating these fascinating alpine treasures in your own backyard.