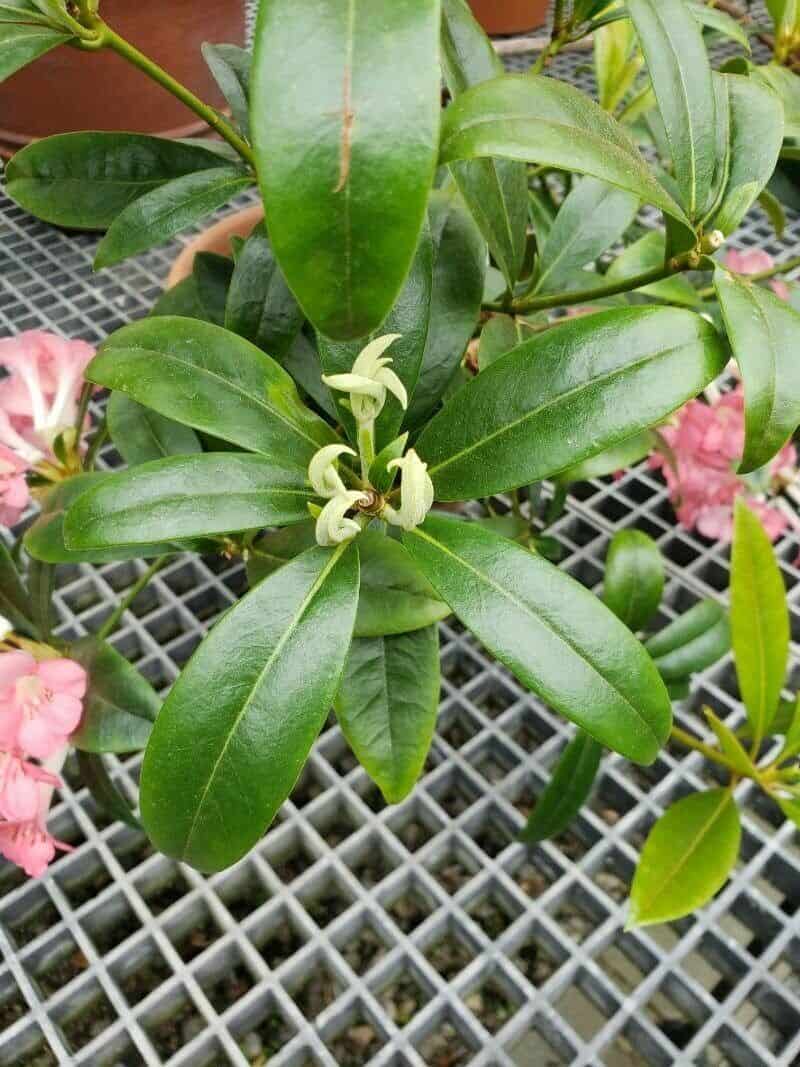
Unlocking the Secrets of the Golden Rhododendron: Propagating Rhododendron aurigeranum
The world of rhododendrons is a vibrant one, filled with a rainbow of colors and a diversity of forms. Yet, few can match the sheer beauty of the “Golden Rhododendron,” scientifically known as Rhododendron aurigeranum. This stunning species, with its golden-yellow blooms and distinctive foliage, is a true treasure for any garden. But how do you go about adding this rare beauty to your collection? Let’s delve into the secrets of propagating Rhododendron aurigeranum.
Understanding the Challenge
Propagating Rhododendron aurigeranum from seed can be a slow and often challenging process. This species, like many rhododendrons, tends to be recalcitrant, meaning the seeds have a short lifespan and specific germination requirements. Success rates can be low, requiring patience and careful attention to detail.
Method 1: The Adventure of Seed Propagation
Source Fresh Seeds: Your best bet is to obtain seeds from a reputable supplier specializing in rhododendrons. Look for the freshest seeds available, ideally collected within the same year.
Prepare the Seedbed: Rhododendron seeds need a well-draining, slightly acidic medium. A mix of peat moss, perlite, and vermiculite works well. Surface sow the seeds, as they need light to germinate.
- Provide the Right Conditions: Place the seed tray in a bright location, but out of direct sunlight. Keep the medium consistently moist but not waterlogged. Consider using a humidity dome or placing the tray inside a plastic bag to maintain humidity. Germination can take anywhere from a few weeks to several months.
Method 2: The Efficiency of Cuttings
For those seeking a quicker and more reliable method, propagation from cuttings is the preferred approach for Rhododendron aurigeranum:
Timing is Key: Take semi-ripe cuttings in late spring or early summer, when new growth has started to firm but is still pliable.
Choose the Right Cuttings: Select healthy, non-flowering shoots. Ideally, the cutting should be about 3-4 inches long, taken just below a leaf node.
Prepare the Cuttings: Remove the lower leaves, leaving 2-3 pairs at the top. Wound the base of the cutting slightly to expose the cambium layer, which aids in root formation.
The Rooting Hormone Advantage: Dipping the base of the cutting in rooting hormone powder significantly increases your chances of success.
Potting Up: Plant the cuttings in a well-draining rooting mix, ensuring the bottom leaf nodes are buried.
Creating a Greenhouse Effect: Cover the pot with a clear plastic bag or use a humidity dome to create a warm, humid environment essential for rooting. Place the pot in a bright location, out of direct sunlight.
- Patience is Rewarded: Root development can take several weeks. Once you see new growth, it’s a good sign that your cutting has rooted.
Caring for Your Propagated Treasures
Whether you choose to propagate from seed or cuttings, young Rhododendron aurigeranum plants need extra care:
Potting On: Once the seedlings or rooted cuttings have developed a good root system, pot them on into larger containers using a suitable rhododendron potting mix.
Gradual Acclimatization: Young plants need to be gradually acclimated to outdoor conditions. This process, known as hardening off, helps them adjust to sunlight, wind, and temperature fluctuations.
- Finding the Perfect Spot: Plant your Rhododendron aurigeranum in a sheltered location with dappled shade and acidic, well-drained soil that is rich in organic matter.
Propagating Rhododendron aurigeranum might require a bit of effort, but the reward of seeing these exquisite golden blooms gracing your garden makes it an endeavor well worth undertaking. With patience, care, and the right techniques, you can unlock the secrets of this horticultural treasure.