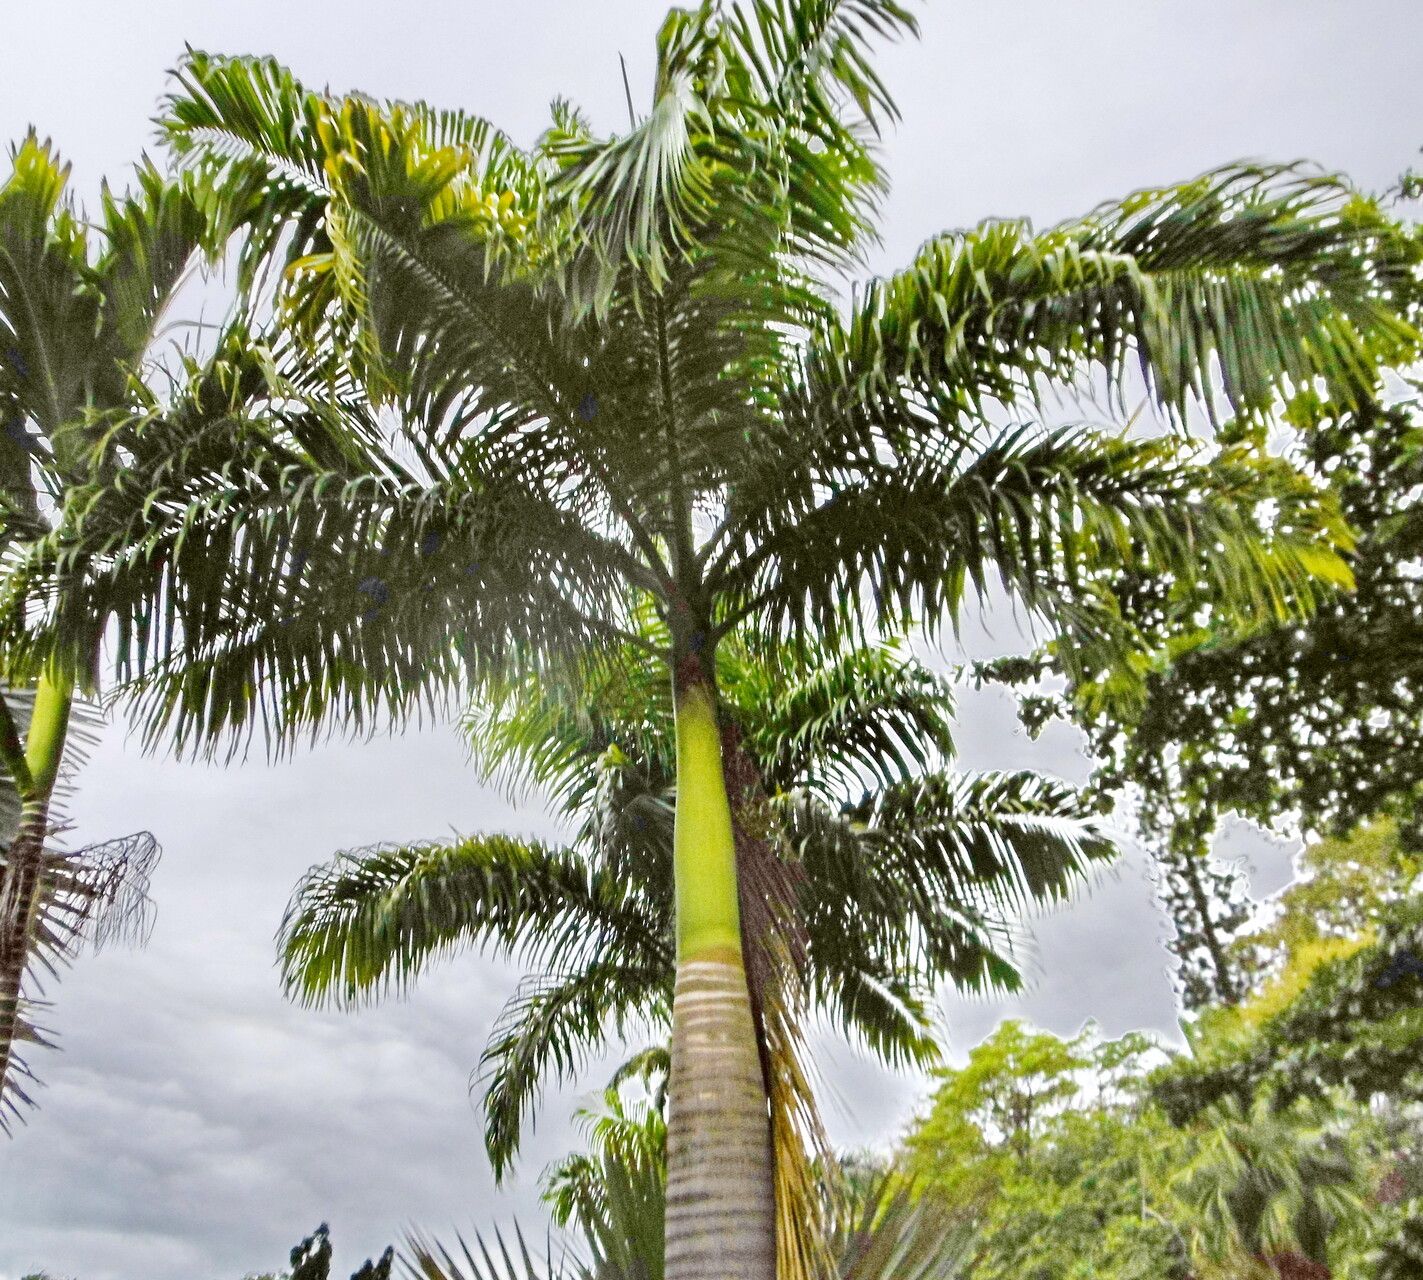
Reaching for the Sky: A Guide to Propagating the Majestic Royal Palm (Roystonea oleracea)
The Royal Palm (Roystonea oleracea) is an awe-inspiring sight. With its towering, smooth trunk and crown of feathery fronds, it evokes images of tropical paradises and sun-drenched beaches. While many admire this majestic palm, few realize that propagating it isn’t reserved for botanical experts. With a bit of patience and the right knowledge, you can cultivate these regal giants from seed.
Seed Starting: The Journey Begins
The Royal Palm’s journey begins with a seed, a small capsule of potential that holds the blueprint for greatness. Fresh seeds offer the best viability, and you can often source them online or from specialty nurseries. Once you’ve acquired your seeds, it’s time to awaken their dormant potential.
Preparation is Key: Begin by soaking the seeds in lukewarm water for 24-48 hours. This softens the outer shell and jumpstarts germination.
A Nutrient-Rich Cradle: Choose a well-draining seed starting mix, preferably one specifically designed for palms. The mix should provide adequate moisture retention while preventing waterlogging.
Sowing the Seeds: Plant the seeds about an inch deep in the moist seed starting mix. While Royal Palm seeds aren’t particularly fussy about light during germination, providing them with a warm, brightly lit location (around 75-85°F) can accelerate the process.
- Patience is a Virtue: Germination is a leisurely process for Royal Palm seeds. It can take anywhere from a few weeks to several months for the first green shoots to emerge. During this period, maintain consistent moisture in the seed starting mix but avoid overwatering.
Transplanting: Giving Your Palm Room to Reign
Once your Royal Palm seedling has developed a few sets of true leaves and its root system is well-established, it’s time to provide it with a more spacious abode.
Choosing the Right Home: Select a deep pot with good drainage to accommodate the palm’s extensive root system. A pot that is slightly larger than the seedling’s current root ball is ideal.
Careful Handling: Gently remove the seedling from the seed starting mix, taking care not to damage the delicate roots.
Providing Support: Position the seedling in the new pot, ensuring the top of the root ball is level with the soil surface. Backfill the pot with a well-draining potting mix specifically formulated for palms.
- Continued Care: Place your transplanted Royal Palm in a warm, bright location, but shield it from direct sunlight initially. As it acclimates to its new environment, you can gradually increase its sun exposure.
Long-Term Care: Nurturing a Legacy
With proper care, your Royal Palm will thrive and eventually become a majestic presence in your landscape. Here are some key tips for ensuring its long-term health:
- Light Requirements: Royal Palms thrive in full sun. Ensure your palm receives at least 6 hours of direct sunlight daily.
- Water Wisely: While these palms are relatively drought-tolerant once established, regular watering is crucial, especially during dry spells. Water deeply, allowing the water to reach the roots.
- Feed Your Giant: Royal Palms are heavy feeders and benefit from regular fertilization. Choose a high-quality, slow-release fertilizer specifically formulated for palms.
- Protection from the Elements: While generally hardy, young Royal Palms may be susceptible to cold damage. If you live in an area prone to frost, consider providing protection during colder months.
A Rewarding Endeavor:
Propagating a Royal Palm from seed is a labor of love—a testament to patience and nurturing that culminates in a living legacy. As you watch your seedling grow into a towering giant, you’ll have the satisfaction of knowing you played a vital role in its journey from a humble seed to a majestic palm.