Unlocking the Secrets: Propagating the Enchanting Rudgea Citrifolia
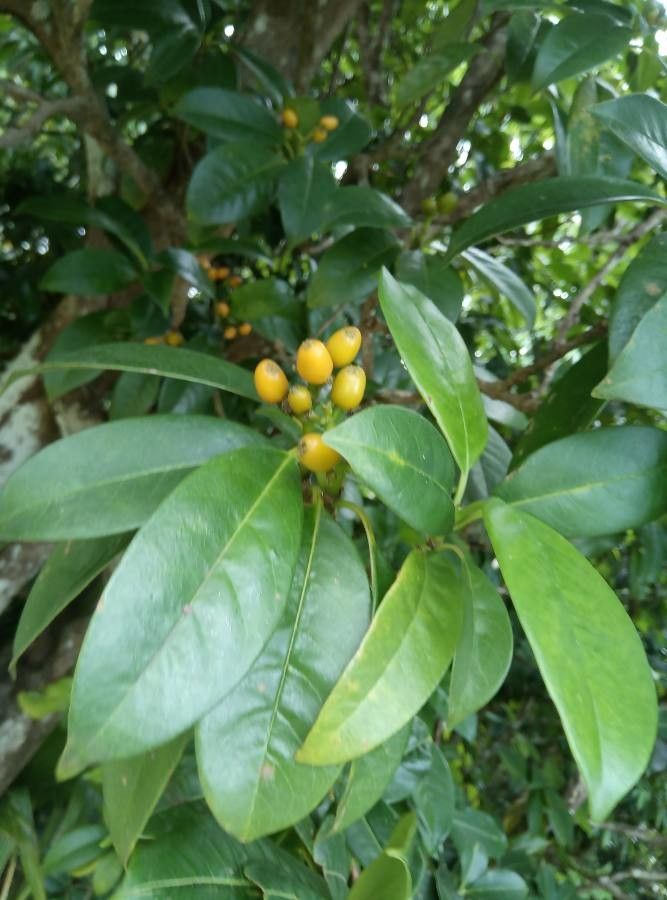
The Rudgea citrifolia, a tropical gem hailing from the Rubiaceae family, captivates with its glossy foliage, delicate white blooms, and alluring berry-like fruit. While somewhat lesser-known in the world of horticulture, its beauty and relative ease of care are steadily garnering attention. Whether you’re a seasoned plant parent or just starting your green journey, learning how to propagate Rudgea citrifolia can multiply your enjoyment and share its unique charm.
Before we delve into techniques, it’s helpful to understand the natural tendencies of this plant. In its natural habitat, Rudgea citrifolia readily reproduces through seed dispersal. However, for home enthusiasts, propagation through cuttings offers a quicker and often more reliable path to success.
Reap the Rewards of Cuttings
Propagating from cuttings involves encouraging a severed portion of the parent plant to develop its own roots, essentially cloning the original. Here’s how to do it:
Timing is Key: Spring and early summer, when the plant is actively growing, are the ideal times to take cuttings. This ensures optimal hormone activity for root development.
Select Healthy Stems: Choose stems that are young, firm, and free from any disease or pest damage. Ideally, select a stem with at least two or three nodes (small bumps where leaves emerge).
Make the Cut: Using a sharp, sterilized cutting tool (pruning shears or a knife), make a clean cut just below a node. The cutting should be about 4-6 inches long.
Prepare the Cutting: Remove the leaves from the bottom inch or two of the cutting. This prevents them from rotting in the rooting medium.
Rooting Hormone (Optional): While not strictly necessary, dipping the cut end in rooting hormone powder can significantly increase the odds and speed of successful rooting.
Planting the Cutting: Choose a well-draining potting mix, or create your own using a combination of peat moss, perlite, and vermiculite. Moisten the mix and make a small hole with your finger or a pencil. Gently insert the bottom inch or two of the cutting into the hole and firm the soil around it.
Creating a Humid Environment: Maintaining humidity is crucial for root development. Cover the pot with a clear plastic bag, a humidity dome, or place it in a propagator. This helps retain moisture and simulates a greenhouse-like environment.
- Patience is a Virtue: Place the cutting in a warm, bright location, but out of direct sunlight. Avoid overwatering, as this can lead to rot. Depending on the conditions, roots can take anywhere from a few weeks to a couple of months to develop.
Signs of Success & Next Steps
You’ll know your Rudgea citrifolia cutting has rooted when you see new growth emerging. At this stage, gradually acclimate the new plant to lower humidity by opening the covering for increasing periods each day. Once acclimated, you can transplant your rooted cutting into its own pot filled with a well-draining potting mix.
Propagating your own Rudgea citrifolia is a rewarding experience that connects you deeper with the joys of plant parenthood. Not only will you expand your plant family, but you’ll gain valuable horticultural skills and a deeper appreciation for the magic of plant propagation. So go ahead, give it a try, and watch your green thumb turn even greener!