From One to Many: Unlocking the Secrets of Rydingia persica Propagation
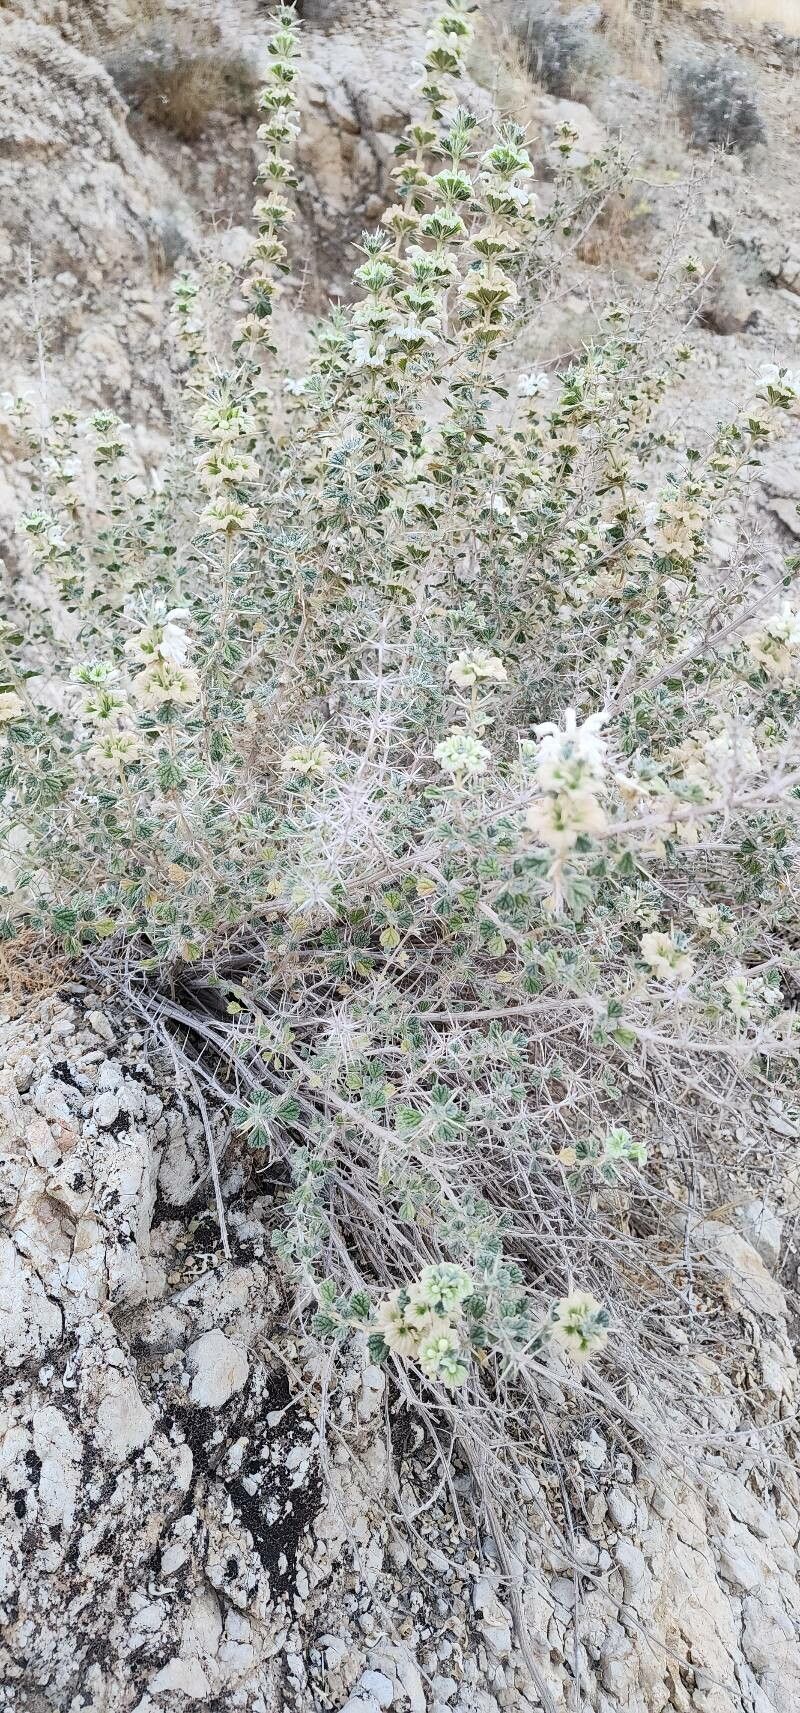
Rydingia persica, with its captivating foliage and delicate blooms, is a plant that whispers “add me to your collection.” But what if you could share this beauty with friends, fill your garden with more of its charm, or even start a new hobby? The answer lies in propagation – the art of creating new plants from existing ones.
This blog post delves into the world of propagating Rydingia persica, offering practical advice and insider tips to help you succeed.
Understanding the Basics
Propagation refers to the process of creating new plants from a parent plant, whether through seeds, cuttings, or division. For Rydingia persica, the most effective method is cutting propagation. This technique involves taking a piece of stem from the parent plant and encouraging it to develop roots.
Ready to Grow? Timing is Key
Just like any skilled gardener knows, timing is crucial. The optimal time to propagate Rydingia persica is during the spring or early summer when growth is active. This ensures the cuttings have sufficient energy to develop roots.
The Steps to Success
Now, let’s dive into the step-by-step process of propagating Rydingia persica through cuttings:
Selection is Crucial: Choose healthy, non-flowering stems from your parent plant. Ideally, these should be semi-hardwood cuttings, meaning they are firm but not yet fully woody.
The Cut: Use sharp, clean clippers to make a cut just below a node (the point where a leaf grows from the stem). Aim for a cutting that is about 4-6 inches long.
Prepping for Growth: Remove any lower leaves that would be submerged in the rooting medium. This prevents rot.
The Rooting Medium: Choose a suitable rooting medium — a mix of peat moss and perlite or vermiculite works well. This provides the optimal balance of moisture retention and aeration.
Planting Time: Dip the cut end of the stem in rooting hormone powder, which encourages root development. Make a small hole in the rooting medium and gently insert the cutting.
Covering Up and Care: Cover the pot with a plastic dome or bag to create a humid environment. This helps maintain moisture and promotes root growth. Place the container in a bright, indirect light location.
- Patience is Key: With regular checks for moisture, avoid overwatering. Within a few weeks, the cuttings should begin to root. You’ll notice new growth, indicating success.
Bonus Tip: For a boost in success, you can also utilize a misting propagator. This automated system helps maintain the ideal humidity for root development.
From Cutting to Plant
Once your cuttings have established roots, you can carefully transfer them to individual pots with a well-draining potting mix. Remember to provide them with gentle watering and the same care as your established plants.
Share Your Rydingia persica Joy
Now comes the rewarding part! Share these new Rydingia persica plants with friends, family, or even sell them at a local market. By learning and applying the principles of propagation, you’ll not only expand your gardening knowledge but also multiply the beauty and joy of this unique plant.
So, why wait? Start your Rydingia persica propagation journey today. It’s an adventure filled with anticipation and the promise of blooming success!