Tiny but Mighty: Mastering the Art of Propagating Sagina Saginoides (Scotch Moss)
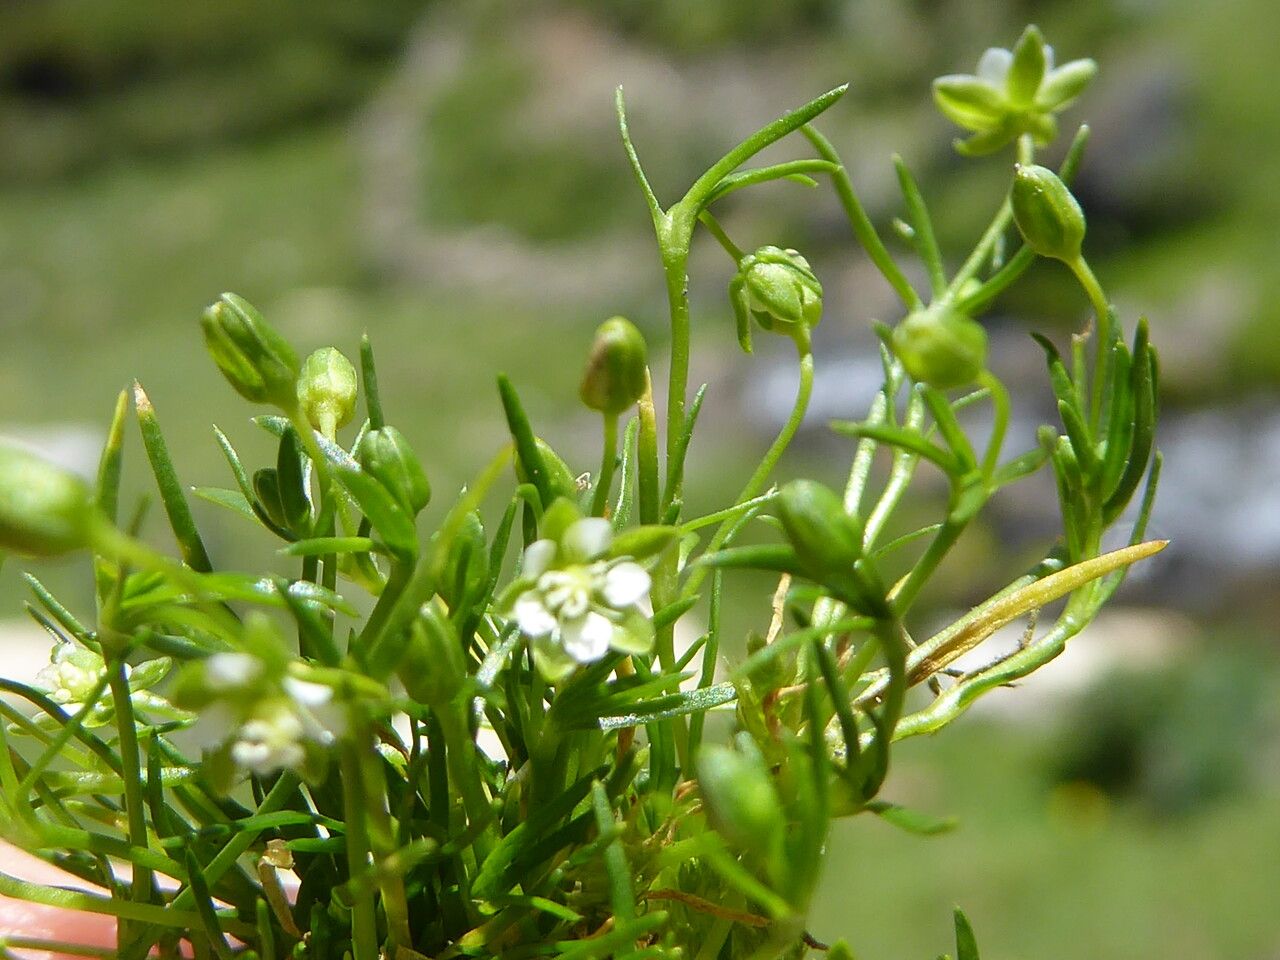
Sagina saginoides, more commonly known as Scotch Moss or Pearlwort, might not have the showiest blooms or the most imposing presence, but this little plant packs a punch when it comes to versatility. Whether you’re aiming for a carpet-like lawn alternative, a whimsical addition to a fairy garden, or simply a touch of verdant charm spilling over your container arrangements, Scotch Moss delivers.
And the best part? Propagating Scotch Moss is as easy as its care! If you’ve got a patch already thriving, you can multiply your stock with minimal effort. Let’s delve into the simple methods that will turn you into a Sagina saginoides propagation pro:
1. Division: The “Set it and Forget it” Method
This is the easiest and most popular propagation technique for Scotch Moss, best done in spring or early fall. Simply follow these steps:
- Identify a healthy clump: Choose a well-established section of your Scotch Moss patch.
- Gently dig it up: Use a hand trowel or garden fork to carefully lift the clump, minimizing root disturbance.
- Divide and conquer: Depending on the size of your clump, you can divide it into smaller sections, ensuring each part has a good portion of roots.
Replant and water in: Choose a spot with good drainage and partial to full sun. Replant the divisions, leaving some space between them for growth, and water thoroughly.
2. Seed Starting: For the Patient Gardener
Propagating Scotch Moss from seed requires a little more patience, but it’s still quite straightforward:
- Start indoors: Sow seeds in seed trays filled with a well-draining seed-starting mix around 6-8 weeks before the last frost.
- Surface Sow: Scotch Moss seeds need light to germinate, so simply sprinkle them on the surface of the soil without burying them.
- Mist and cover: Mist the seeds gently and cover the tray with plastic wrap or a humidity dome to maintain moisture.
- Provide light and warmth: Place the tray in a bright location, out of direct sunlight. Aim for temperatures around 65-70°F (18-21°C).
- Thinning and transplanting: Once the seedlings are large enough to handle (about 2-3 inches tall), thin them out to give each plant space to grow. Harden them off gradually by acclimating them to outdoor conditions before transplanting them to their final location.
3. Taking Cuttings: Quick and Efficient
While less common, taking stem cuttings is another viable option:
- Choose healthy stems: Select non-flowering stems that are about 2-3 inches long.
- Prepare the cuttings: Remove the lower leaves, leaving only a few at the top.
- Plant in moist medium: Pot the cuttings in a well-draining potting mix, ensuring the leaf nodes are buried.
- Maintain humidity: Cover the pot with a plastic bag or humidity dome to trap moisture.
- Root development: After a few weeks, gently tug on the cuttings. If you feel resistance, roots have likely formed!
Tips for Success:
- Well-draining soil is key: Scotch Moss prefers soil that doesn’t stay soggy.
- Water consistently but avoid overwatering: Keep the soil moist, especially after planting, but allow it to dry slightly between waterings.
- Partial sun is ideal: Although adaptable, Scotch Moss prefers some shade, especially during the hottest part of the day.
With a bit of care and the right techniques, you’ll be well on your way to multiplying your Scotch Moss and transforming your garden into a lush haven!